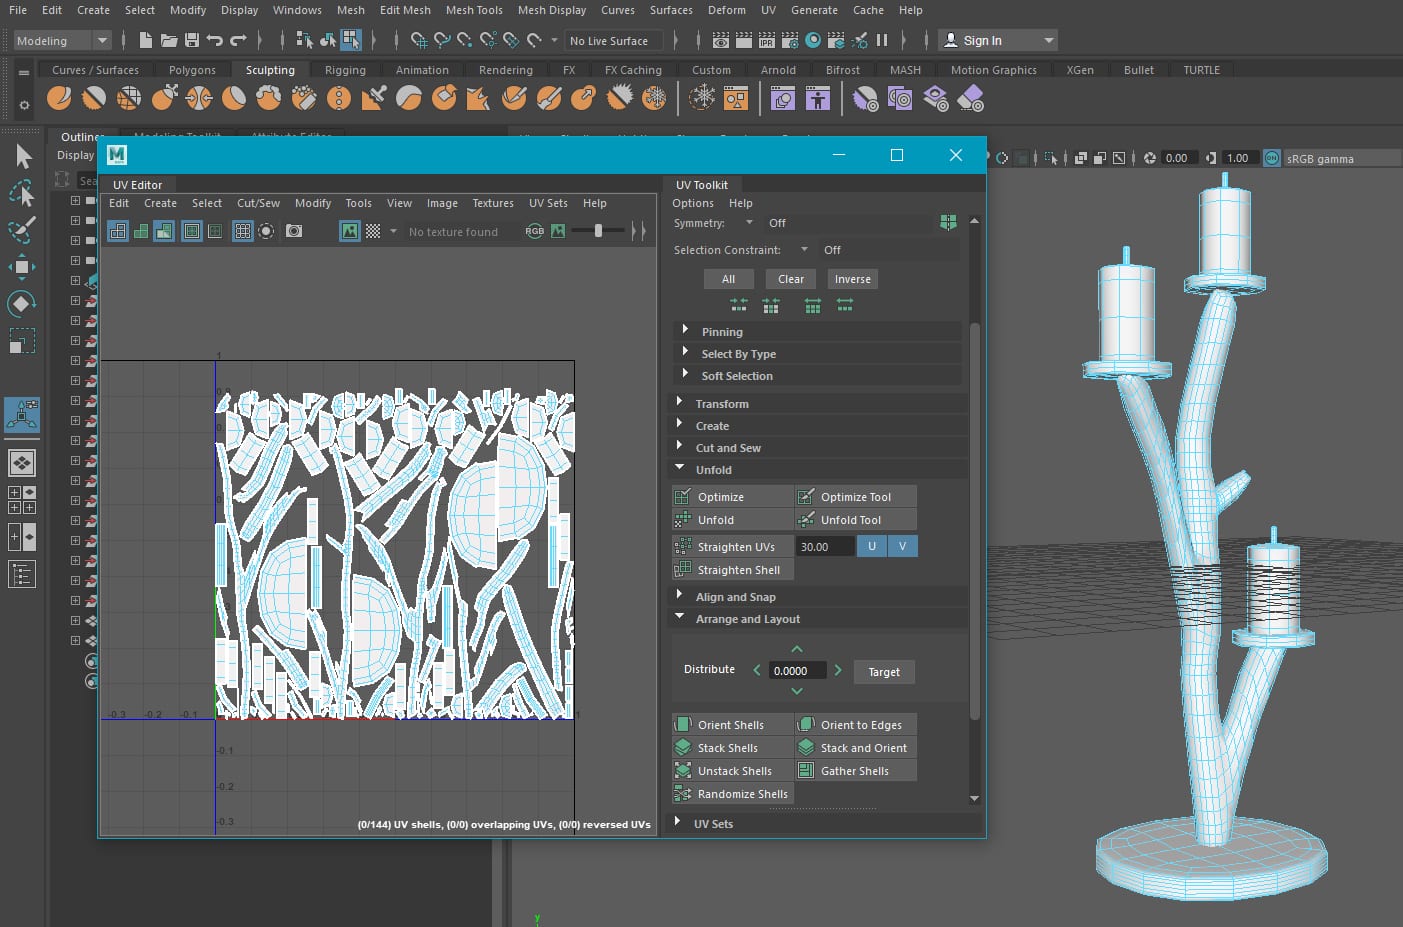
For this test, I have taken my candlestick, and attempted to follow this tutorial, to apply colour ID to my UVs. After a lot of searching, I found that many tutorials were out of date, so I had a limited pool of knowledge to learn this, and I struggled. my first 3 attempts were all a disaster. I tried various UV maps, and struggled to get all of my objects onto one UV map. I successfully reached this point after a great amount of trial and error.
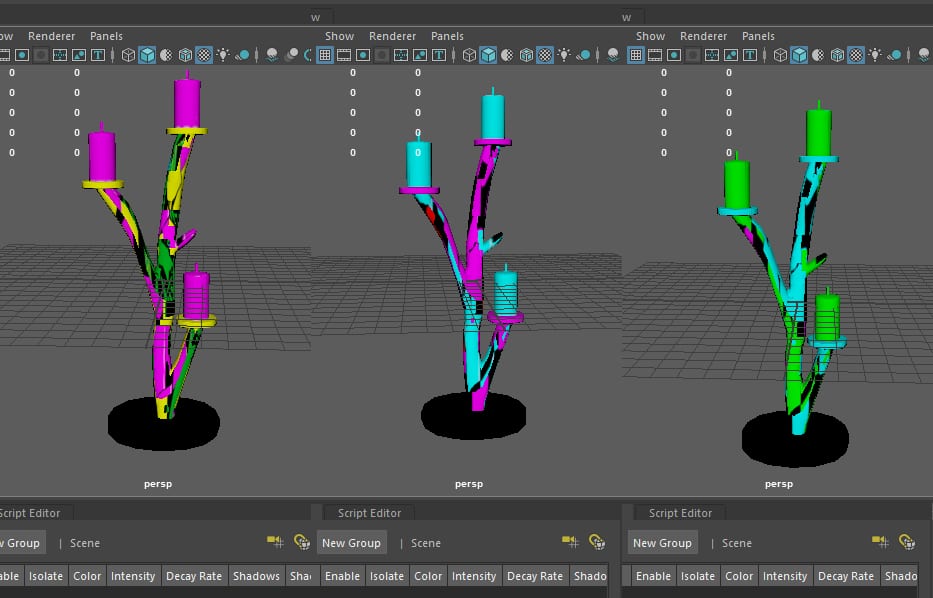
After following the tutorials again and again, I ended up with a very similar result, even though each attempt, I altered UVs, and even tried just using exact duplicates for high and low poly to make sure the colour ID applied correctly. None of this worked, and I took a break.
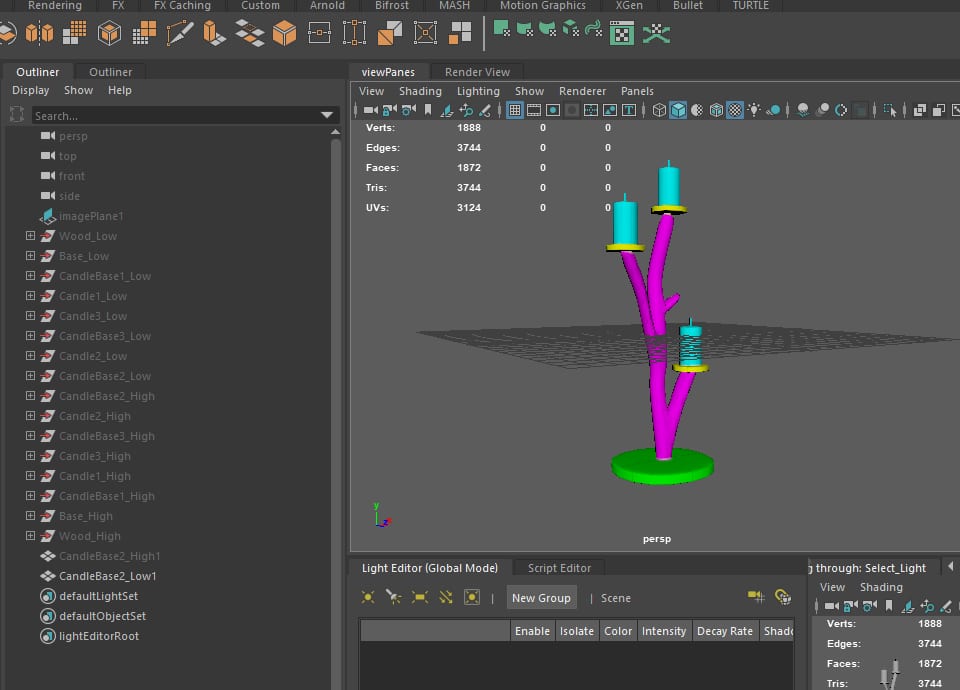
After a short break, I noticed that the tutorial only had one object for both high and low poly, whereas I had eight objects for each. I decided to combine all the low and high poly meshes into one high, and one low, before UV unwrapping, and after colouring the high poly meshes. I then followed the tutorial through with my two meshes, and was successful.
Unwrapping my UV as a whole also made the branch unwrap a little more cleanly. I uploaded the un-painted .fbx to Sketchfab here, to show the new UV results. Although these are still a little messy, they are an improvement on the last attempt.
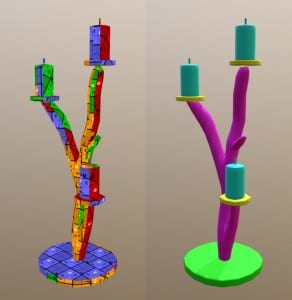
I then imported my Colour ID map into Substance, and applied this, following this tutorial.
This week, I have come to realise that although I have improved my UV projections, there are still many issues.
These include;
- Stretching of UVs which cause distortion
- Low resolution UVs, even with a 4K map
- An unclean automatic UV unwrap
Jon has pointed me in the direction of some helpful tutorials, so my next step will be to better improve my UVs, including learning about texel density.