My next challenge was to add my bed to an image and render it out, to see how this would look in a high definition setting. Jon informed me that substance has a ray tracer built in, so I experimented with this, but struggled to get anything near the results I was hoping for. I tried various settings and setups, but had issues with scale of the model, as well as backgrounds. I tried re-exporting as .obj and .fbx files with various unit changes, but this didn’t fix the issue. Whenever I rendered, the results were very poor, even at UHD resolution, and 4K textures as seen below.
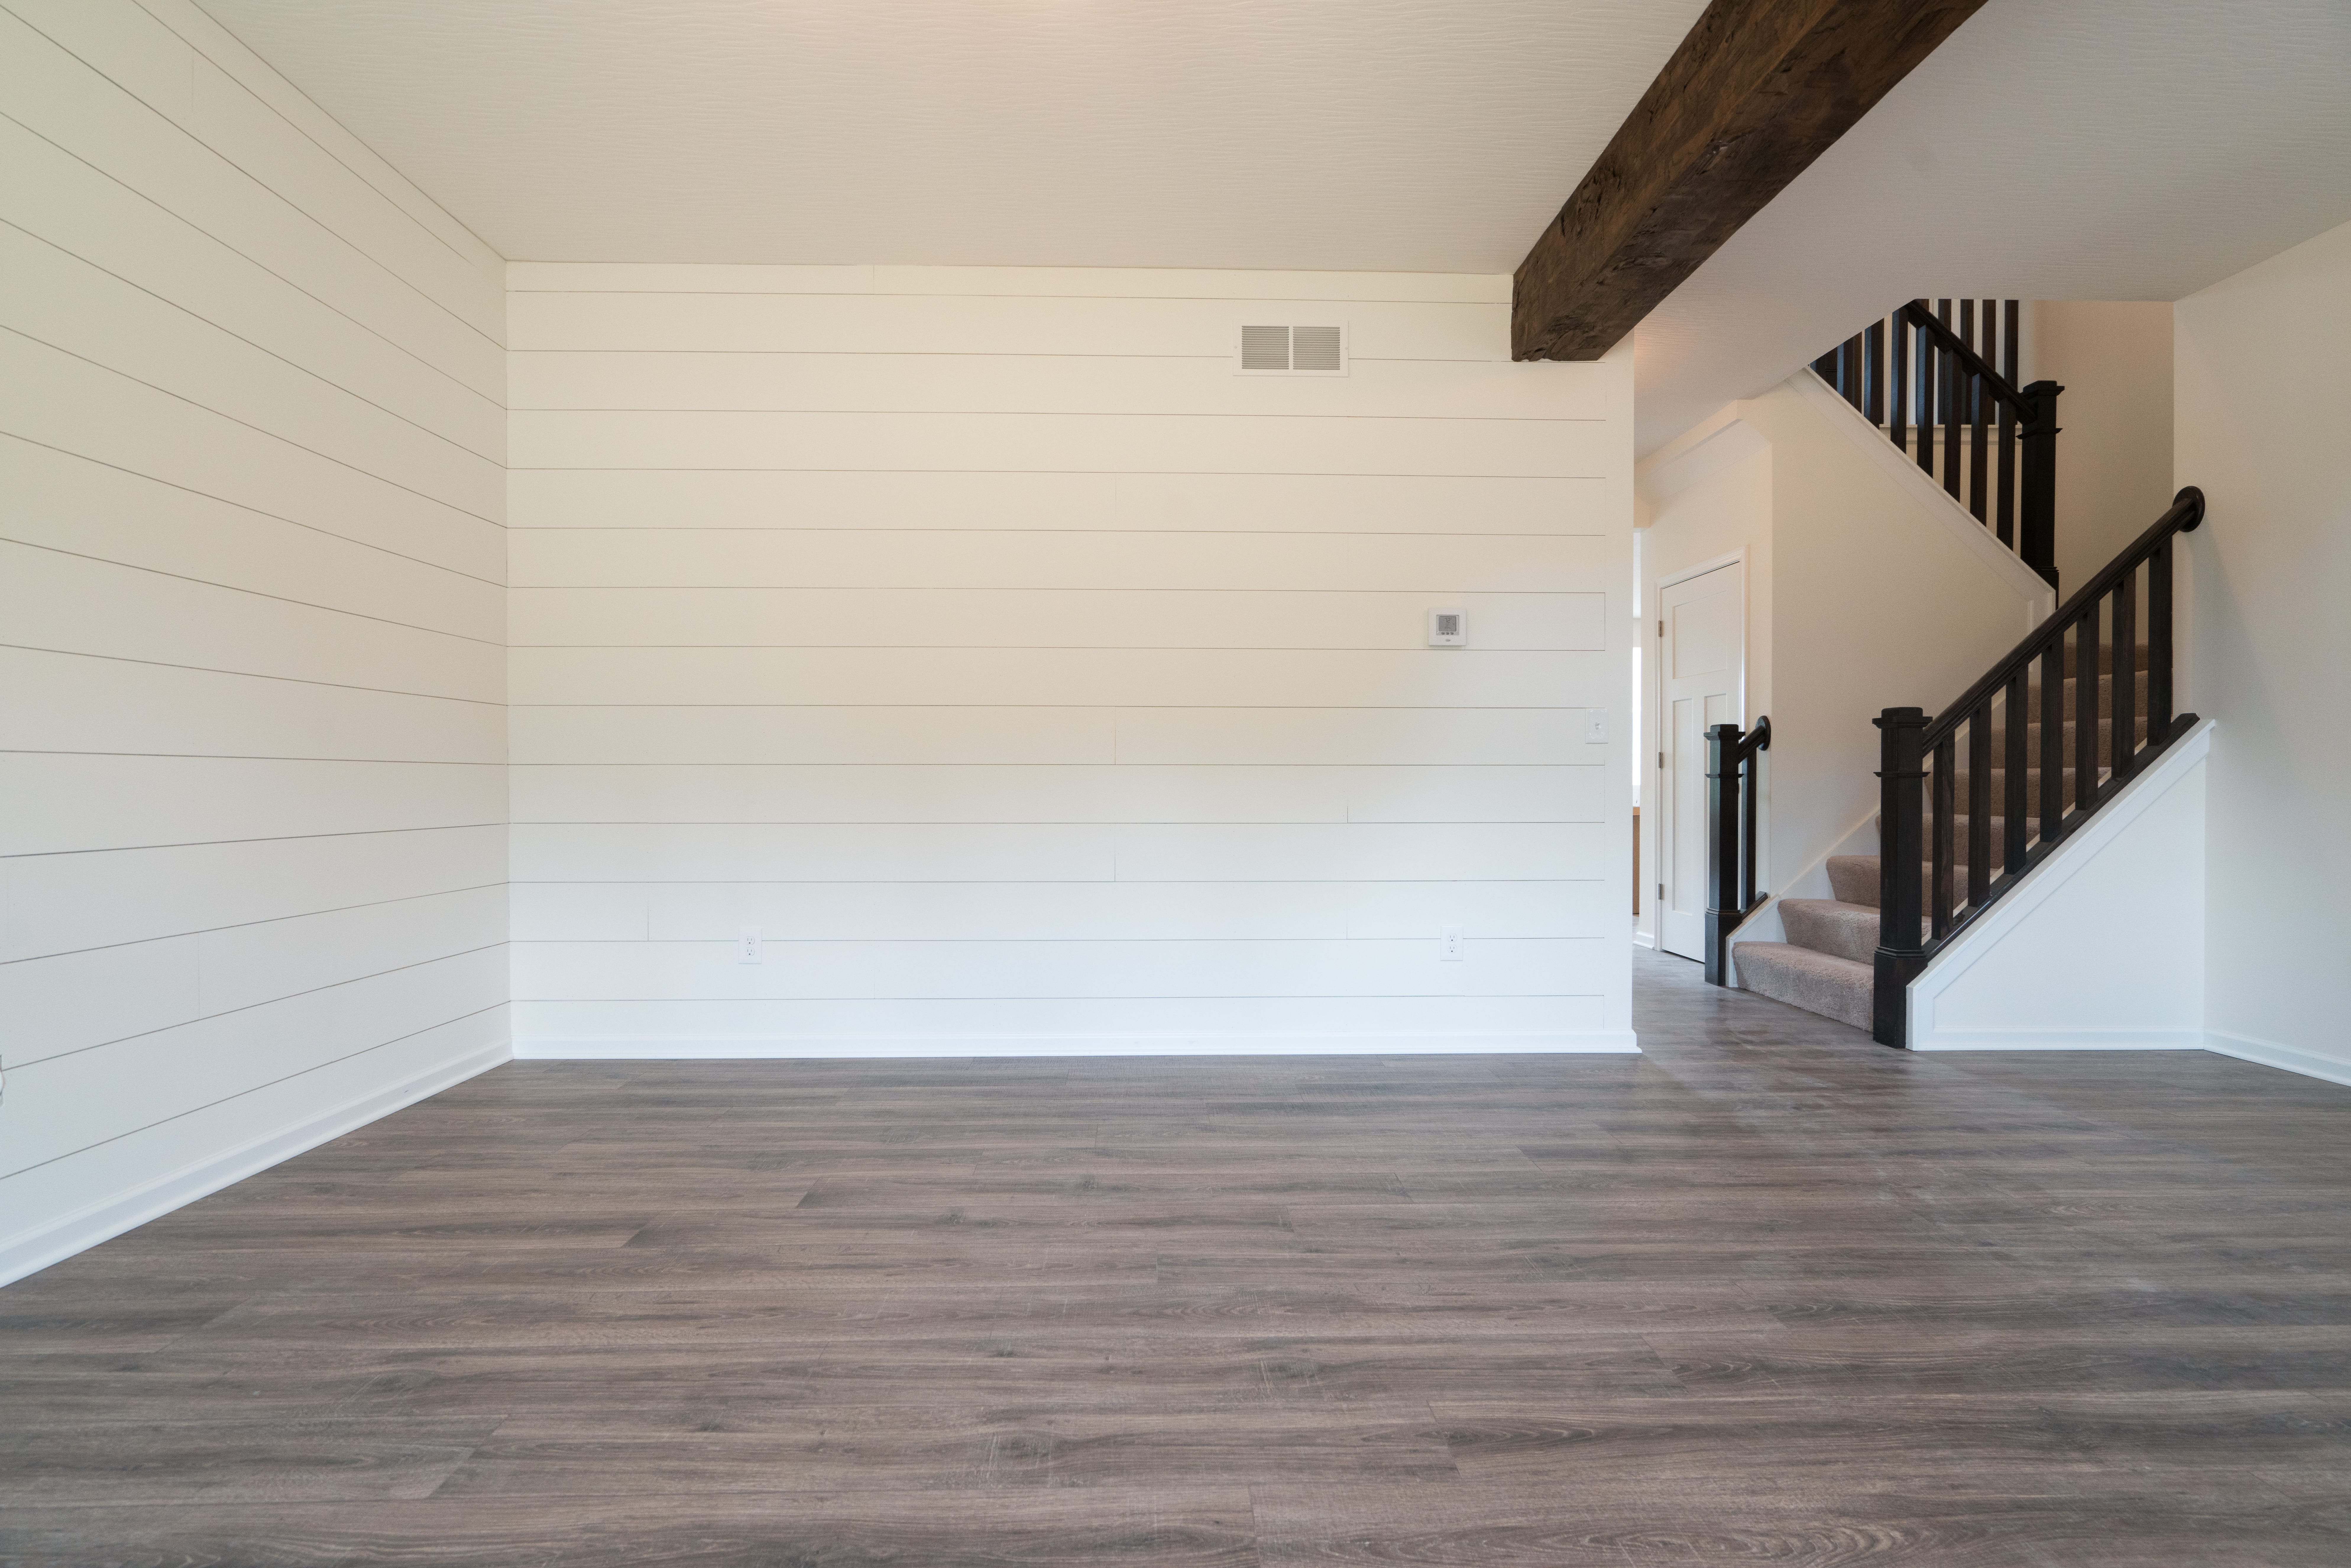
Jon then suggested I use Blender Cycles as it has a PBR shader. I have never used Blender before, so it was a very steep learning curve. I started by finding an image on flickr to use, and found an image suitable for displaying my assets.
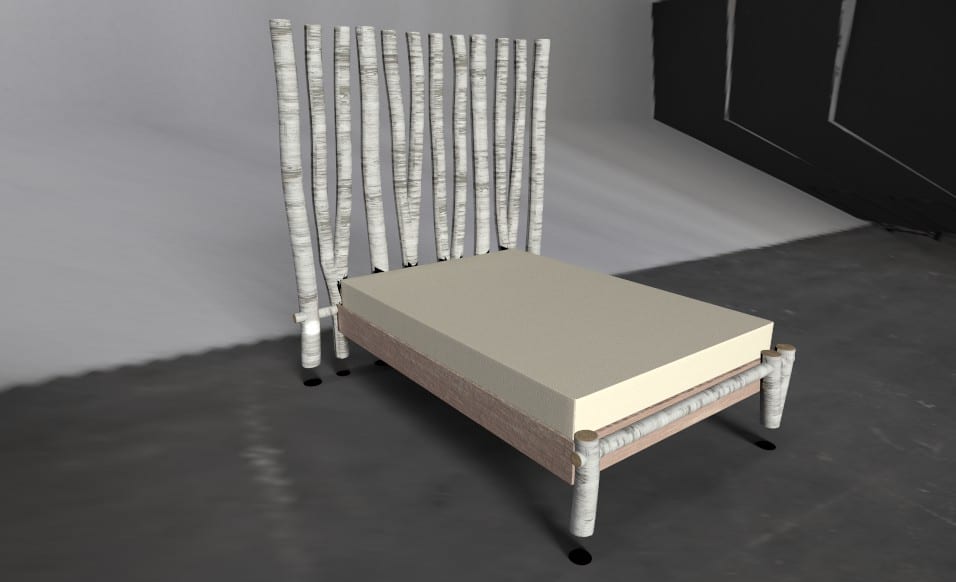
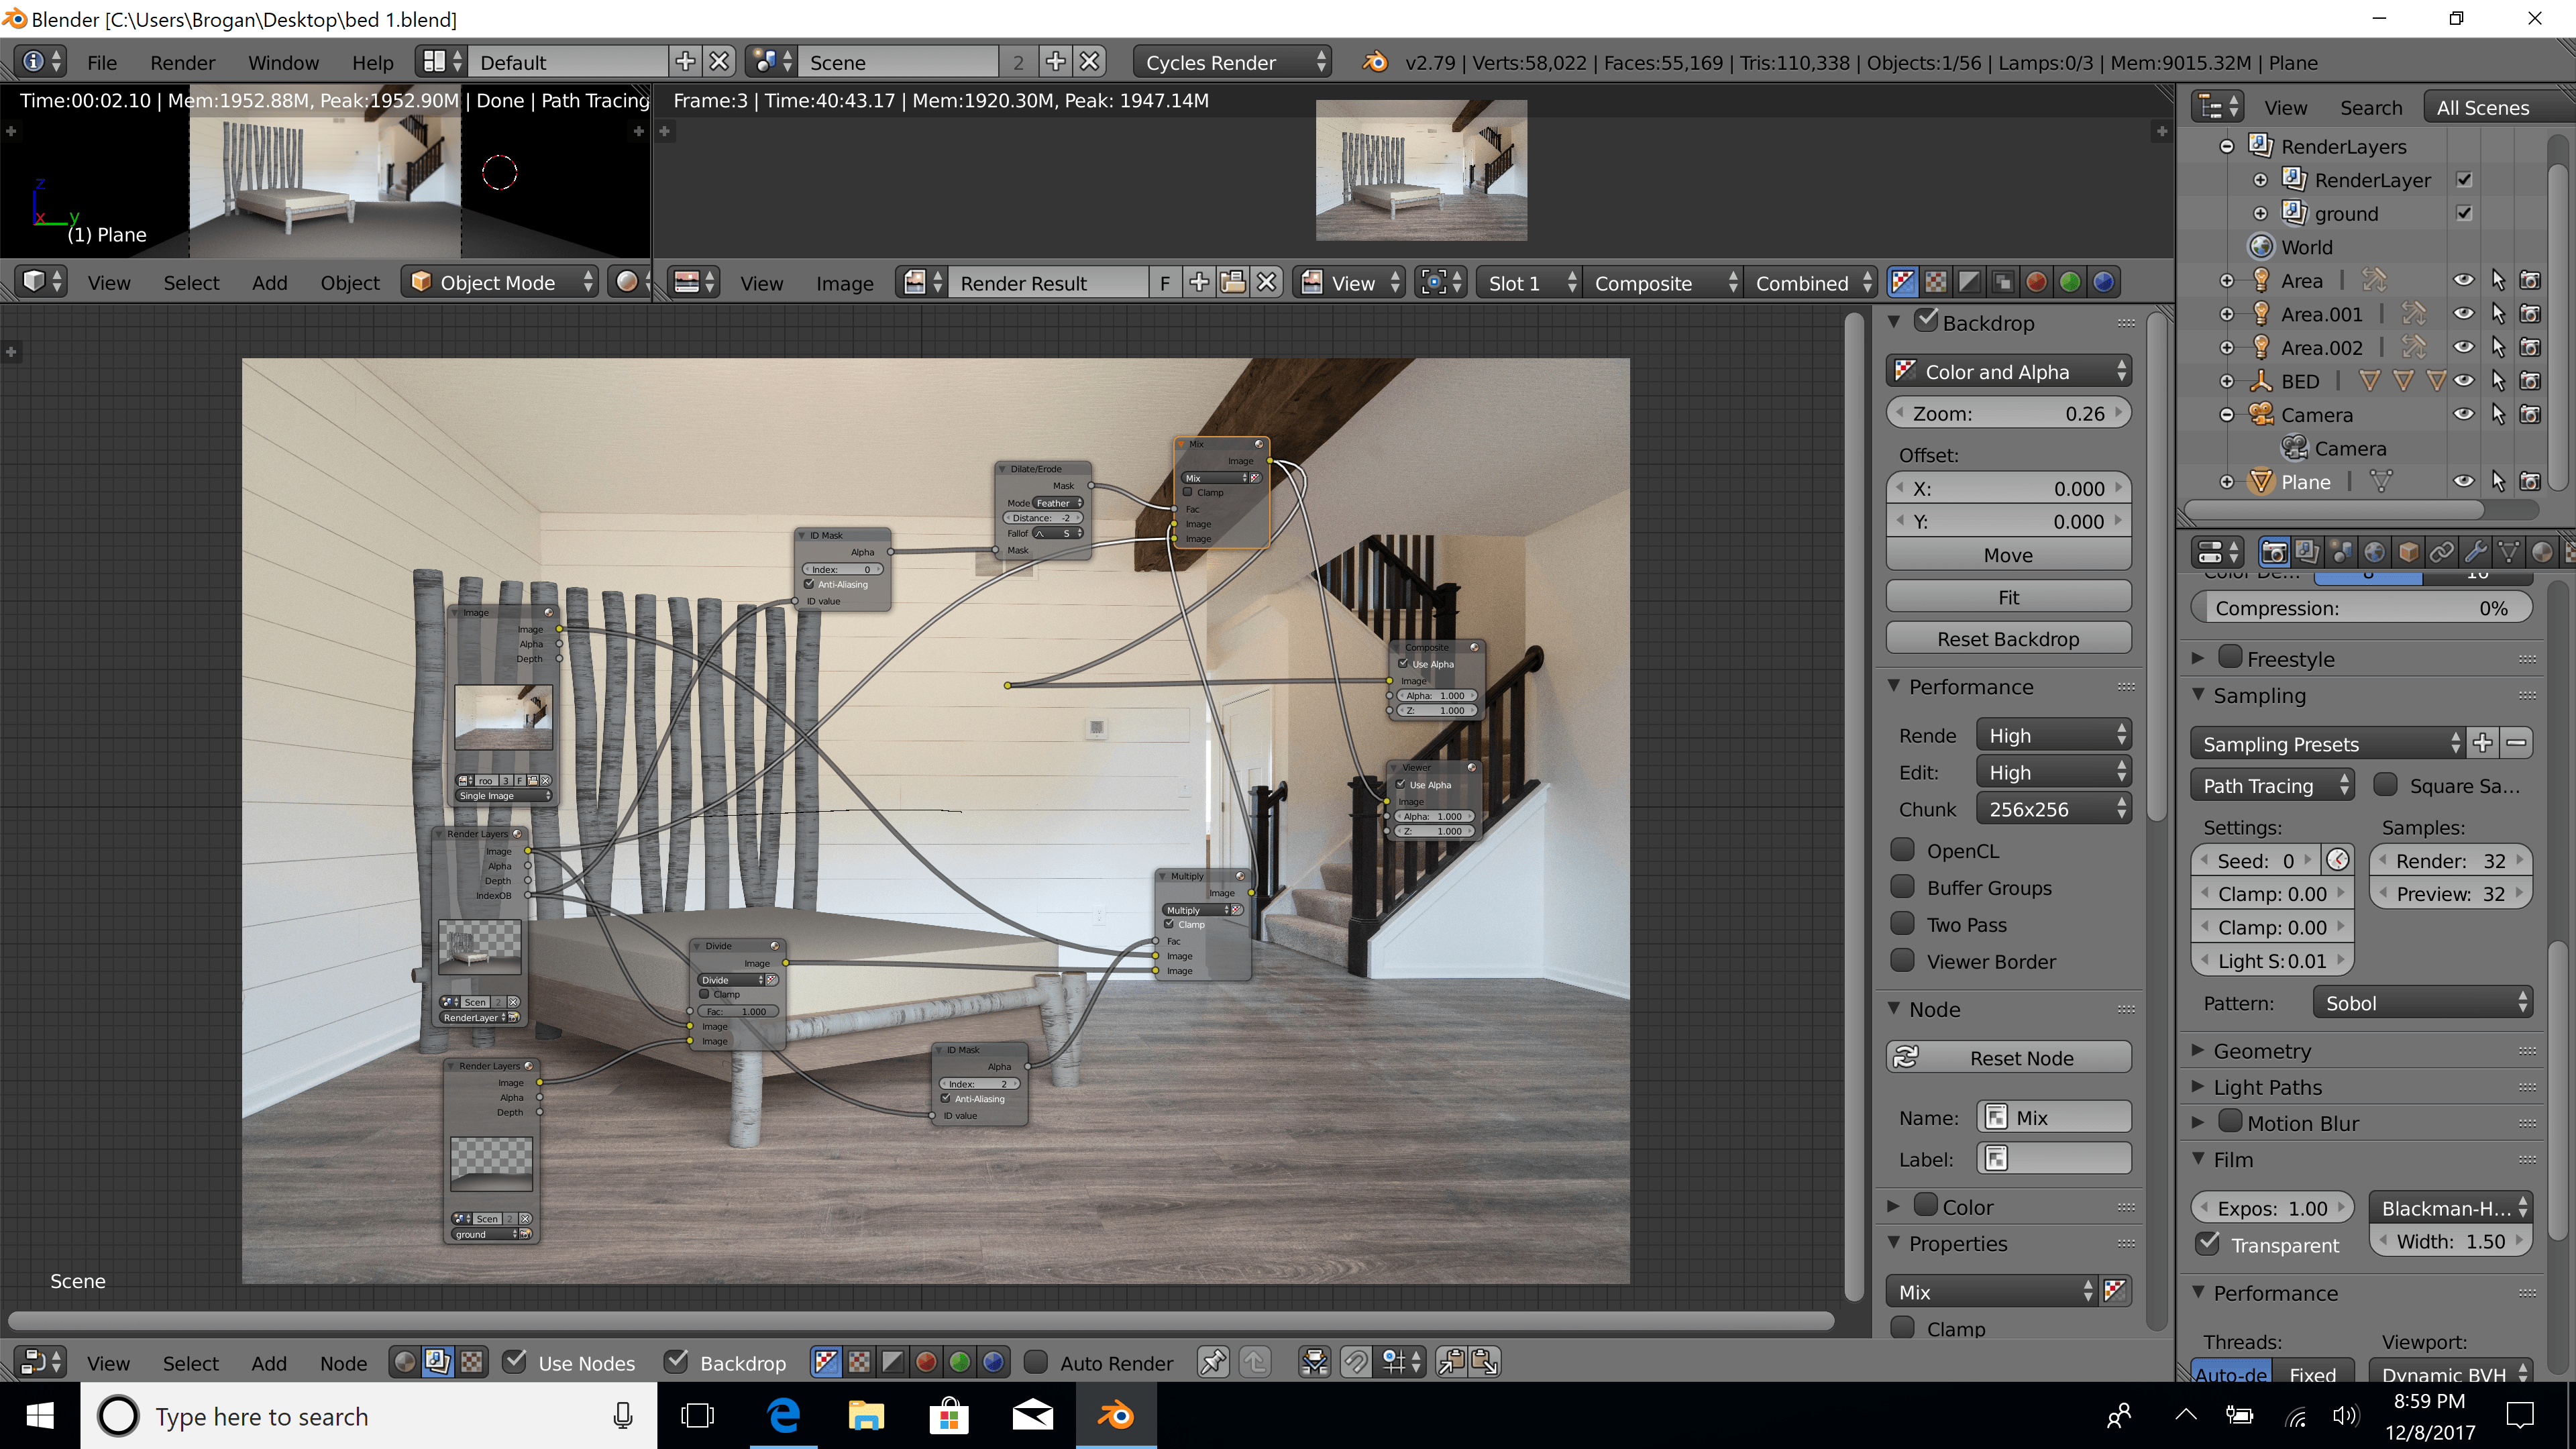
I then tried to follow a tutorial by Blender Guru, on how to add an image background to a sculpture in Blender, and Jon showed me how to add textures to the PBR shader in a workshop. I found this too fast to follow as someone who has never used Blender before, so I followed Jon’s tutorial series, which taught me a lot about how to use Blender, and I got used to the controls. I also learned a lot about using nodes as well as render passes, and my final image started to look a lot better as I tried different lighting.
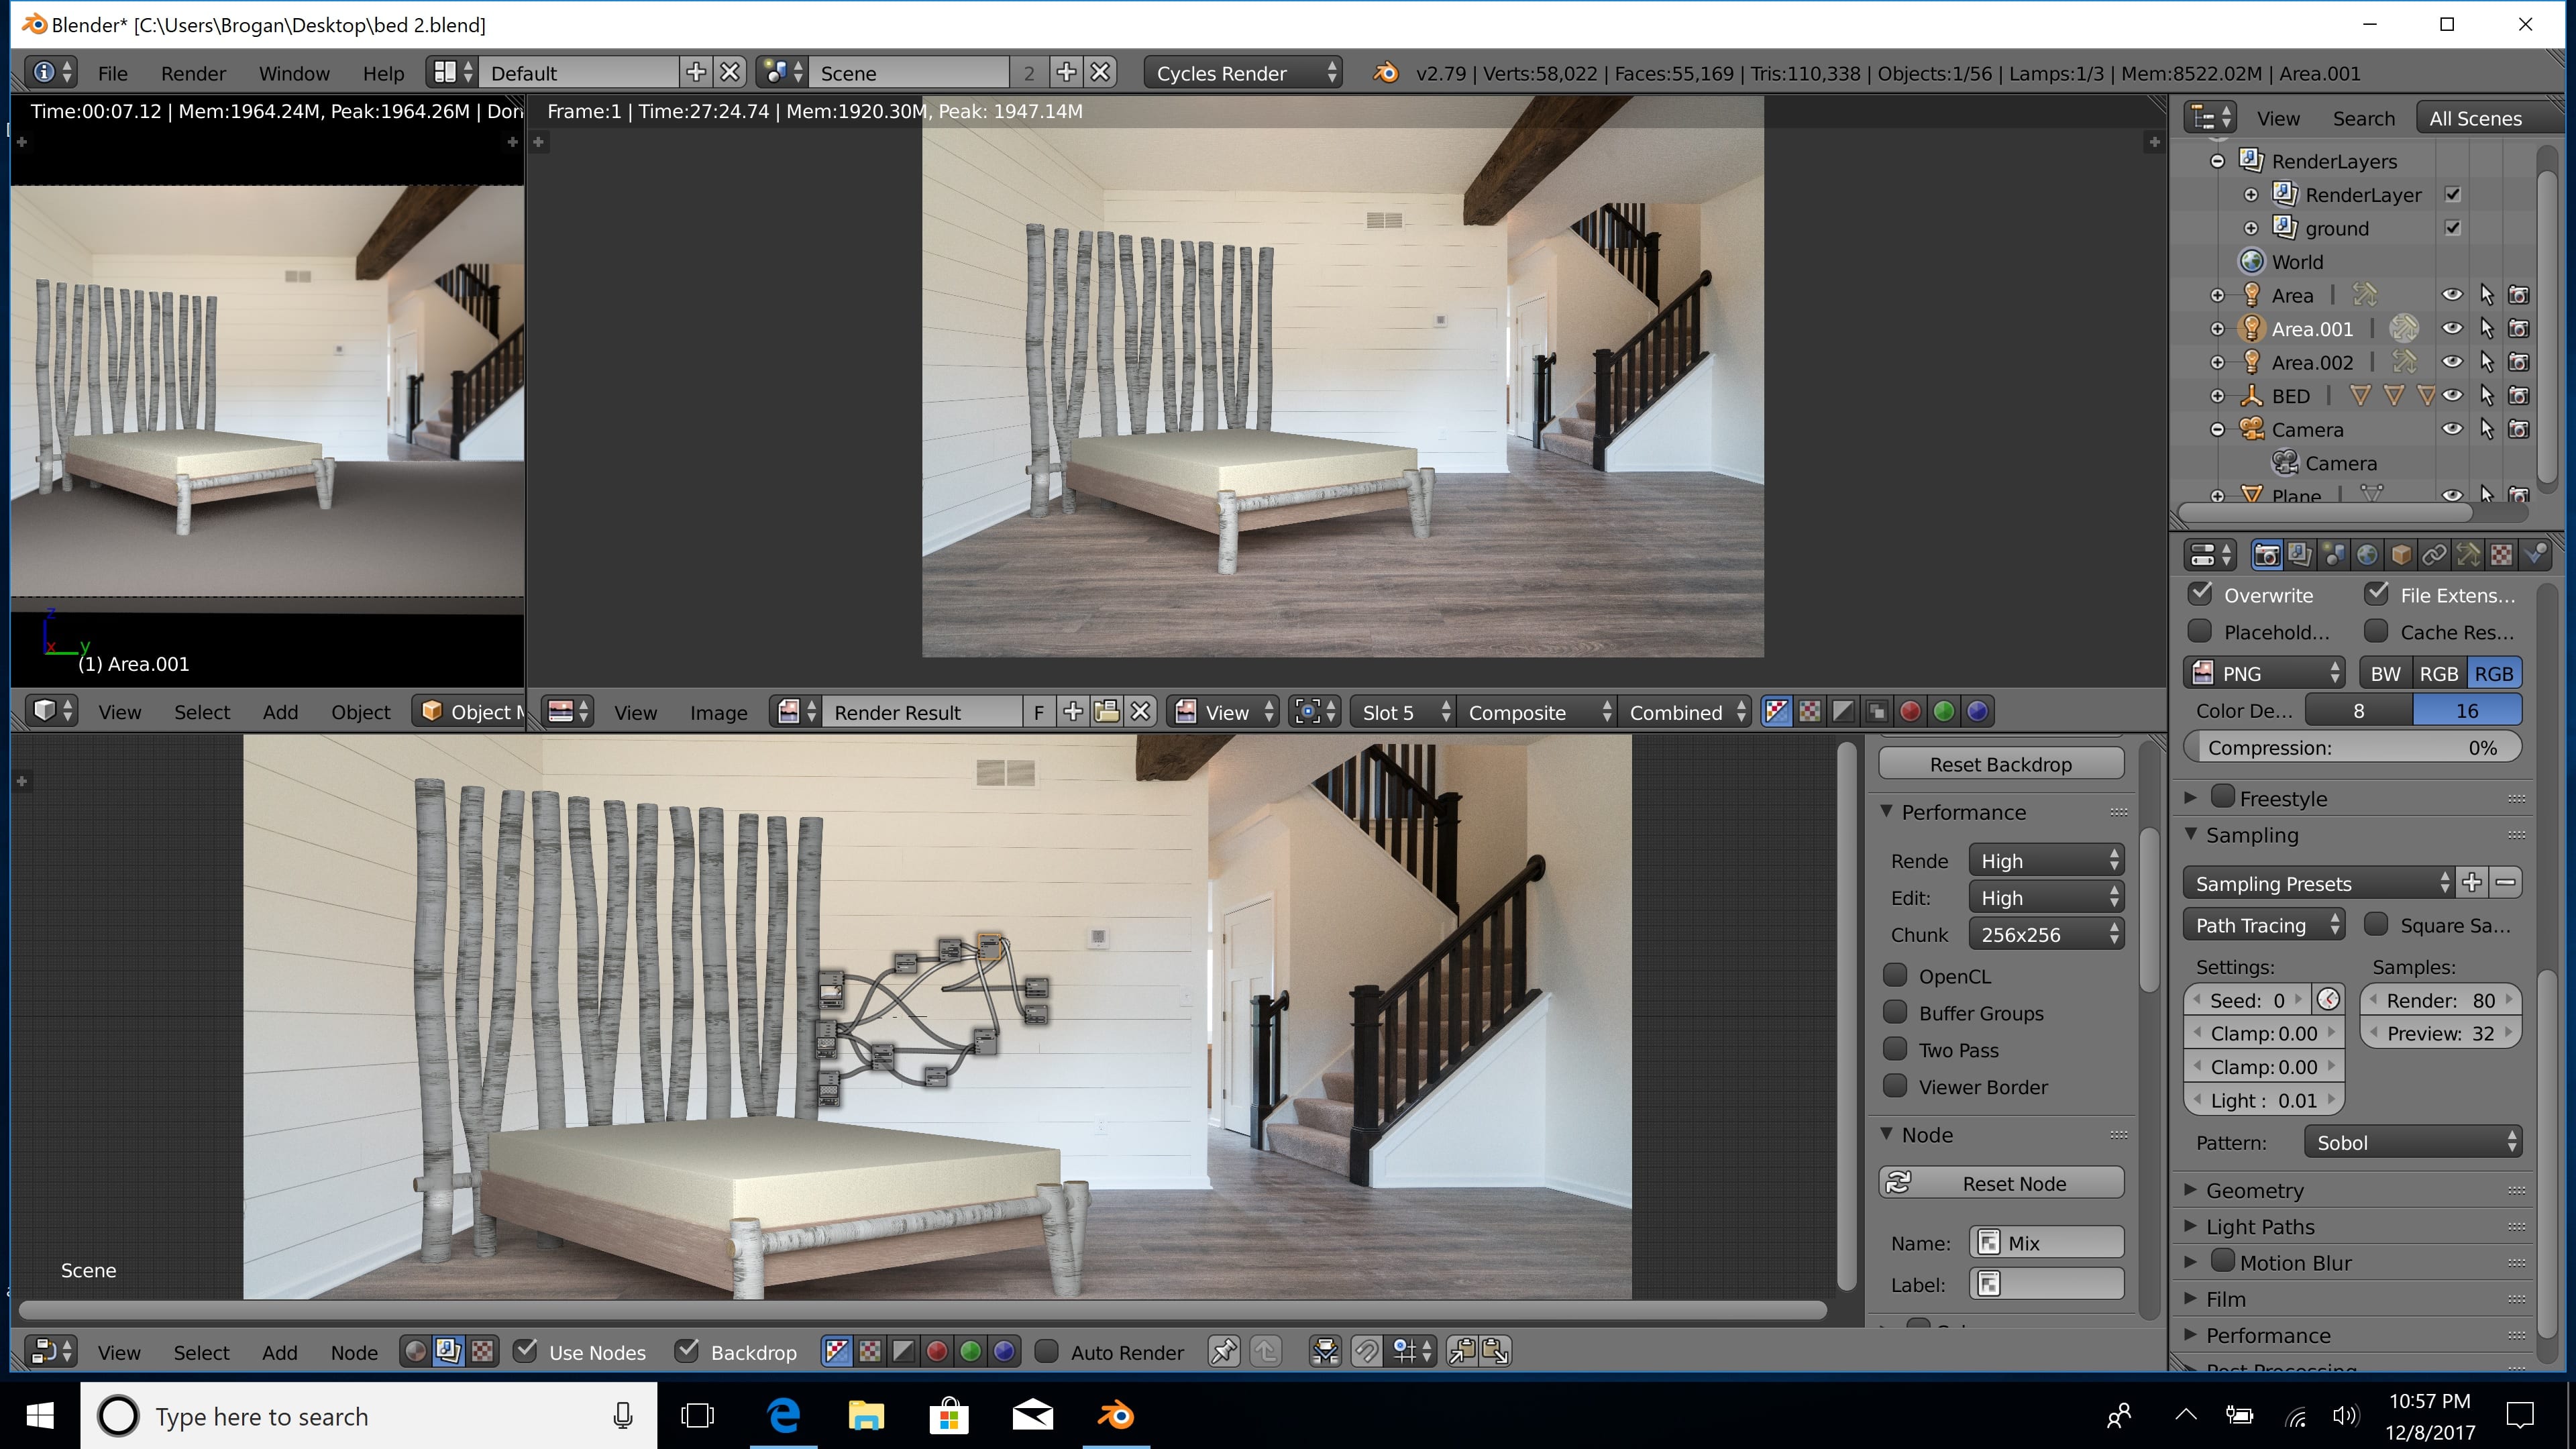
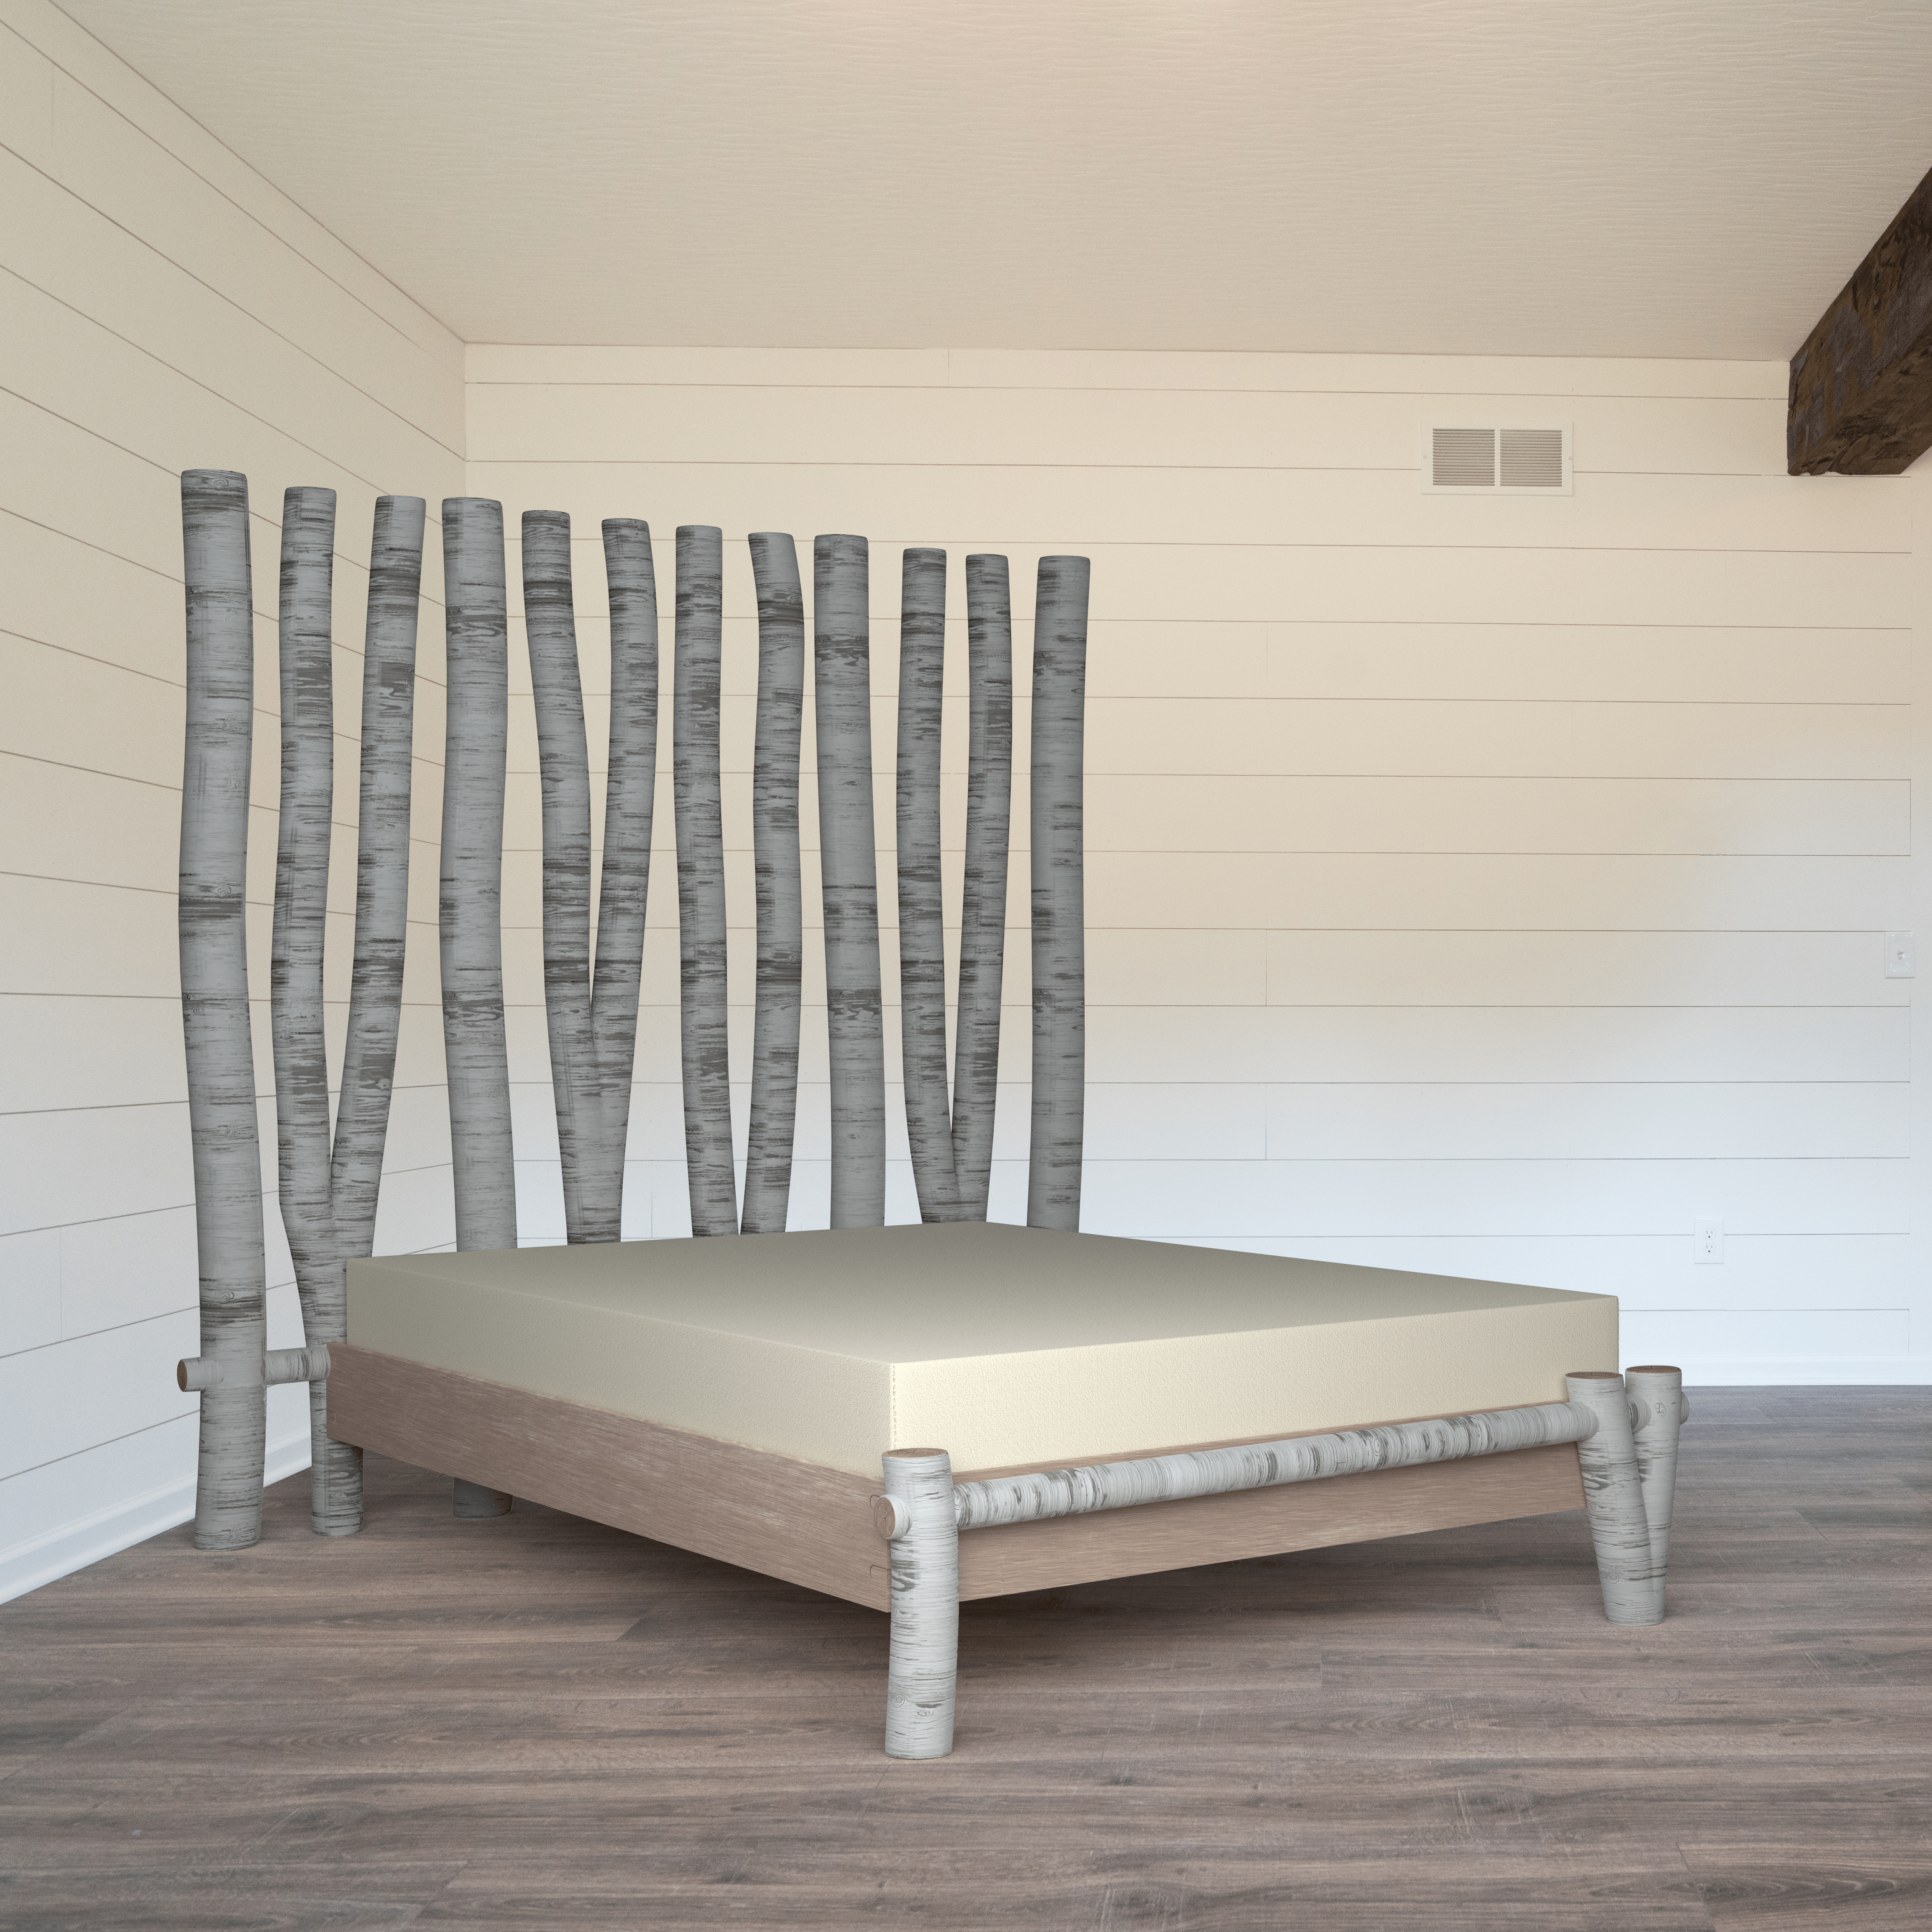
I really like how my final image turned out.

I then took this into Photoshop and edited it to make the image look less like it was downstairs, which I think improved the output.