I really liked the design of my branch bookshelf, but I made many mistakes with it. I have decided to use the un-smoothed base model, and re-make the shelf from that point, learning from all of my previous mistakes.
I recorded this process, the video is poor quality due to around 7 hours of video being compressed.
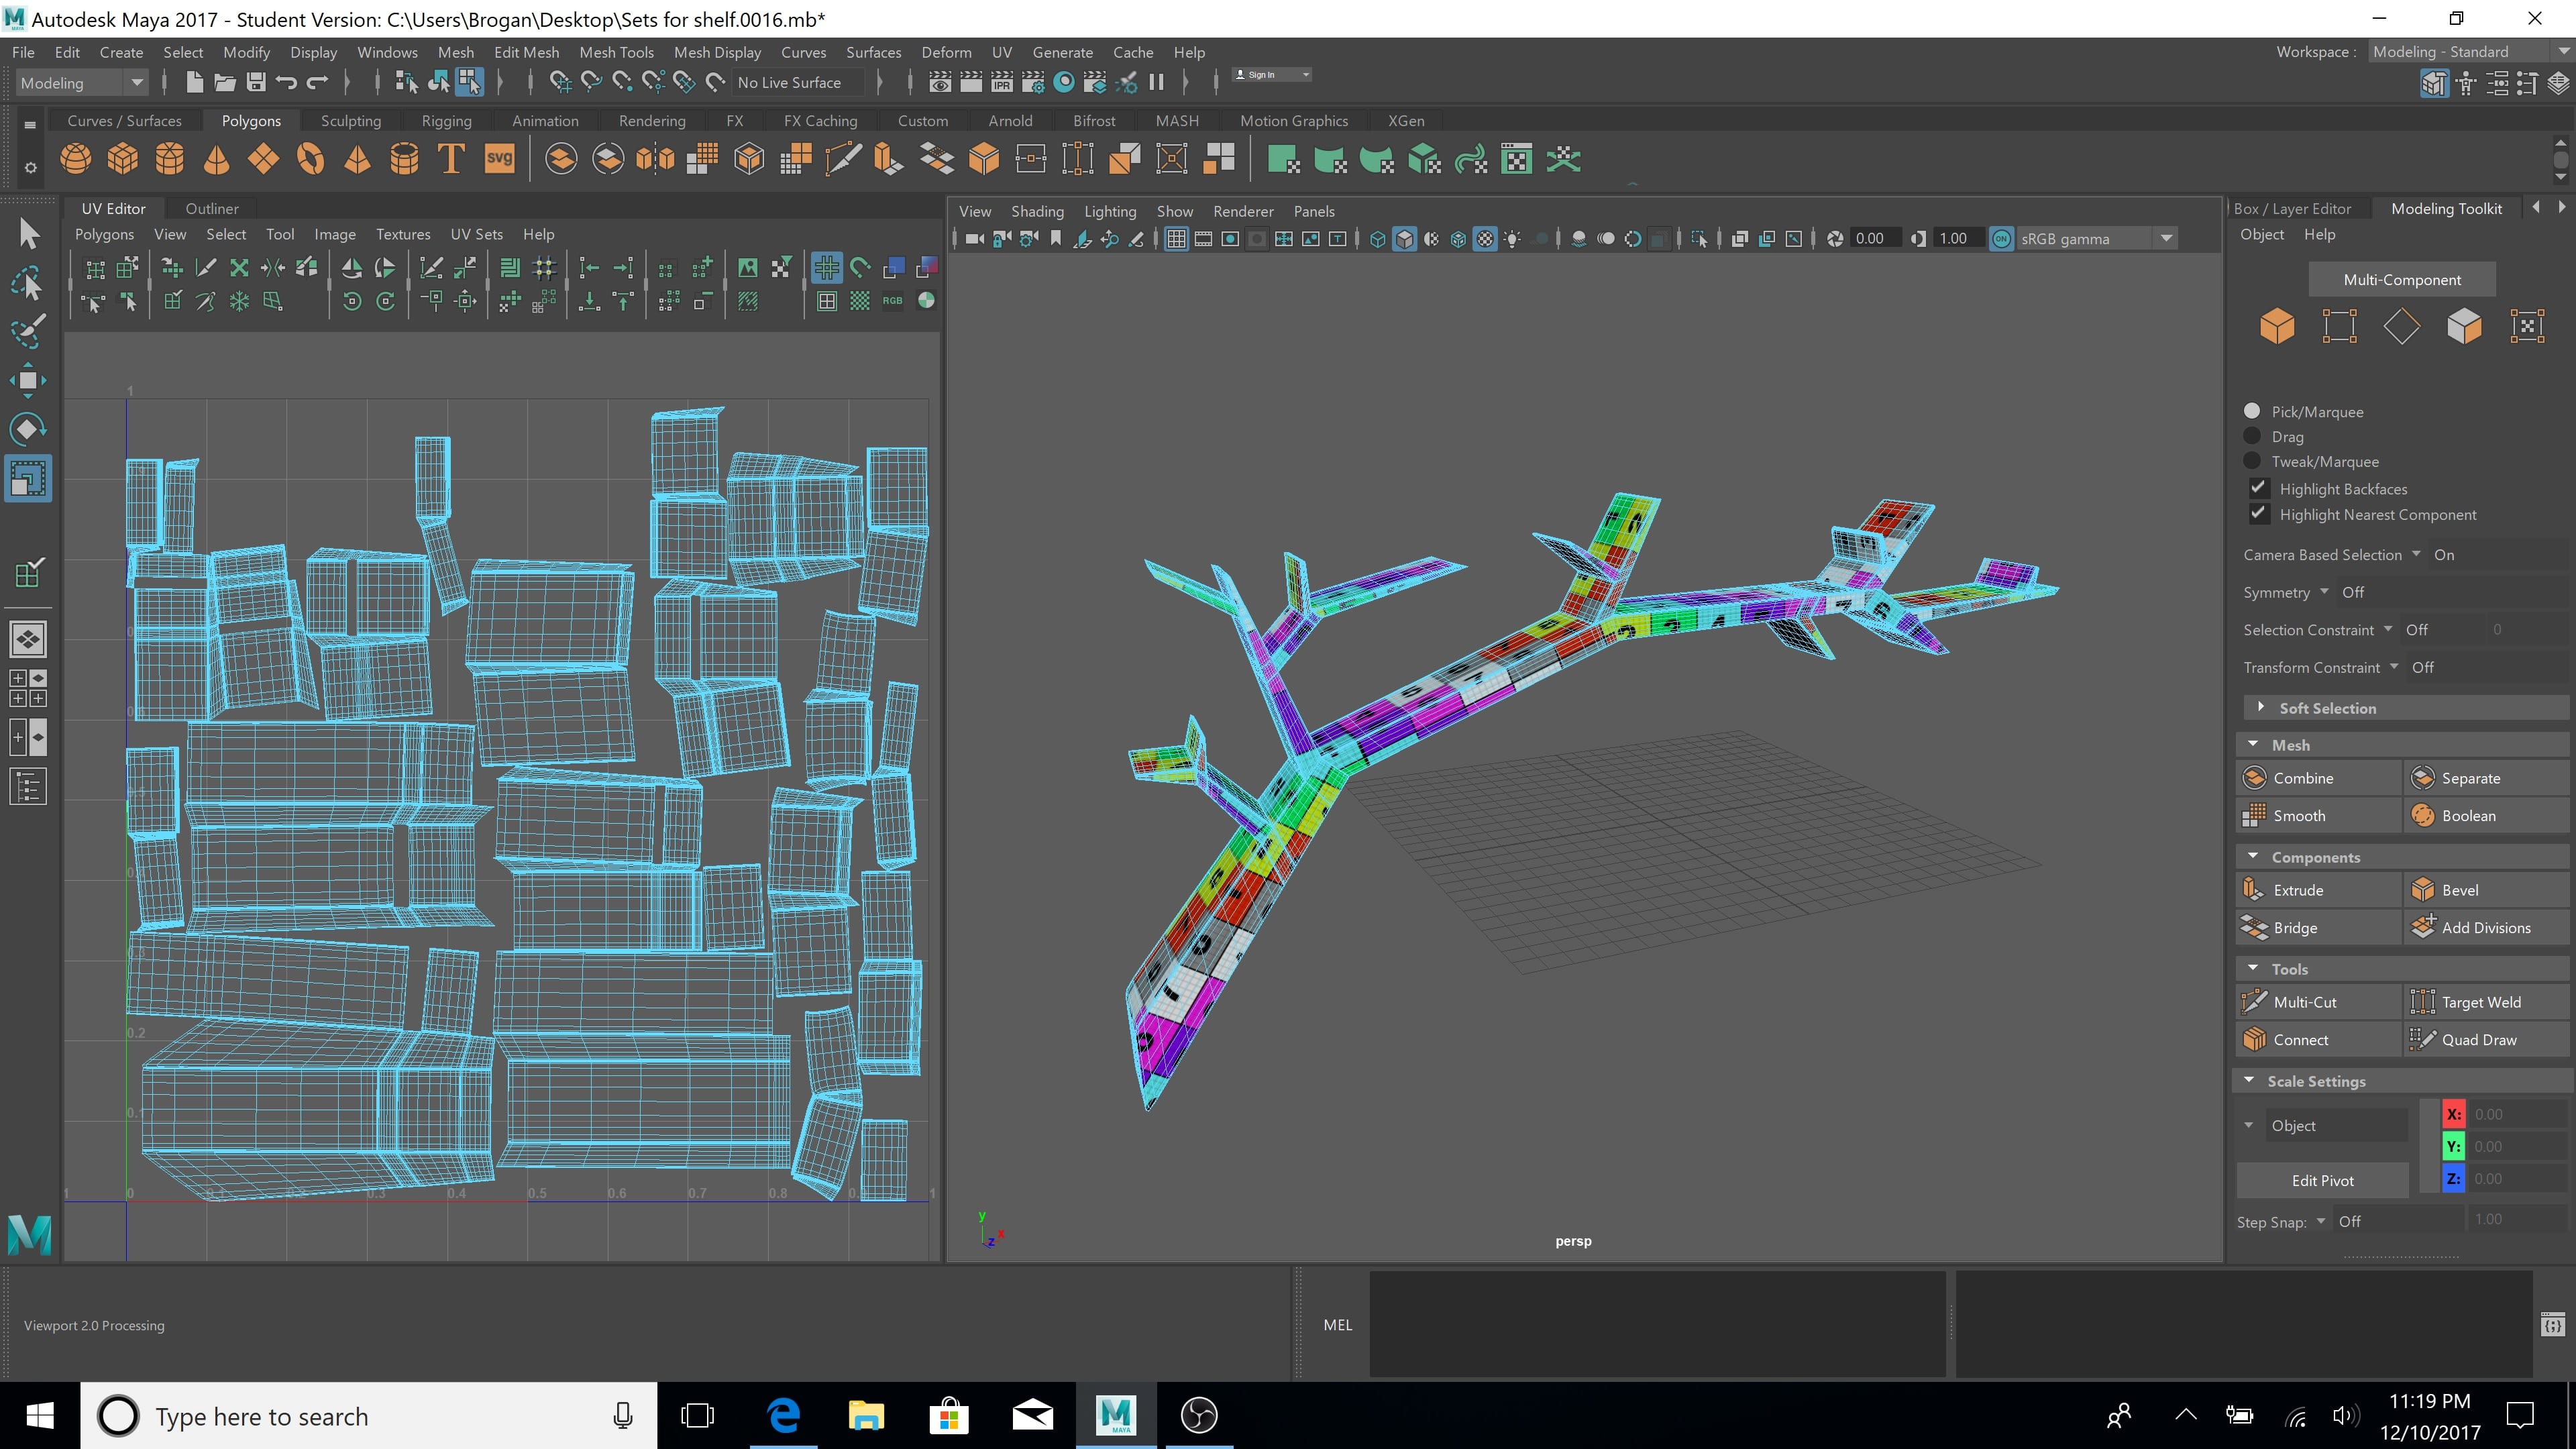
The first stage was to create sets out of my object before smoothing. I learnt this from previous sculptures, it speeds up the selection of sides when manually UV unwrapping, and makes it much easier to get lean UVs without accidentally selecting different faces (as with my first shelf attempt).
I also selected my sets in accordance to my new UV approach. When creating the shelf before, I learned that breaking up the shell in relation to how the wood would be assembled in real life would make the wood texturing much more effective. I split the branch up into segments which wrapped around each arm, and made sure to consider the planks of would which would be used.
The second stage was to smooth the object (after learning that doing this before UV unwrapping after smoothing makes the UVs less warped). I did this, before converting the smoothed mesh to polygons.
The third stage was to manually unwrap the branch, with seams at the back, or at points where two pieces of wood would join, as the textures didn’t need to match exactly here (in fact, it was better that they didn’t). I rotated each UV so that the grain would line up on the UV map horizontally.
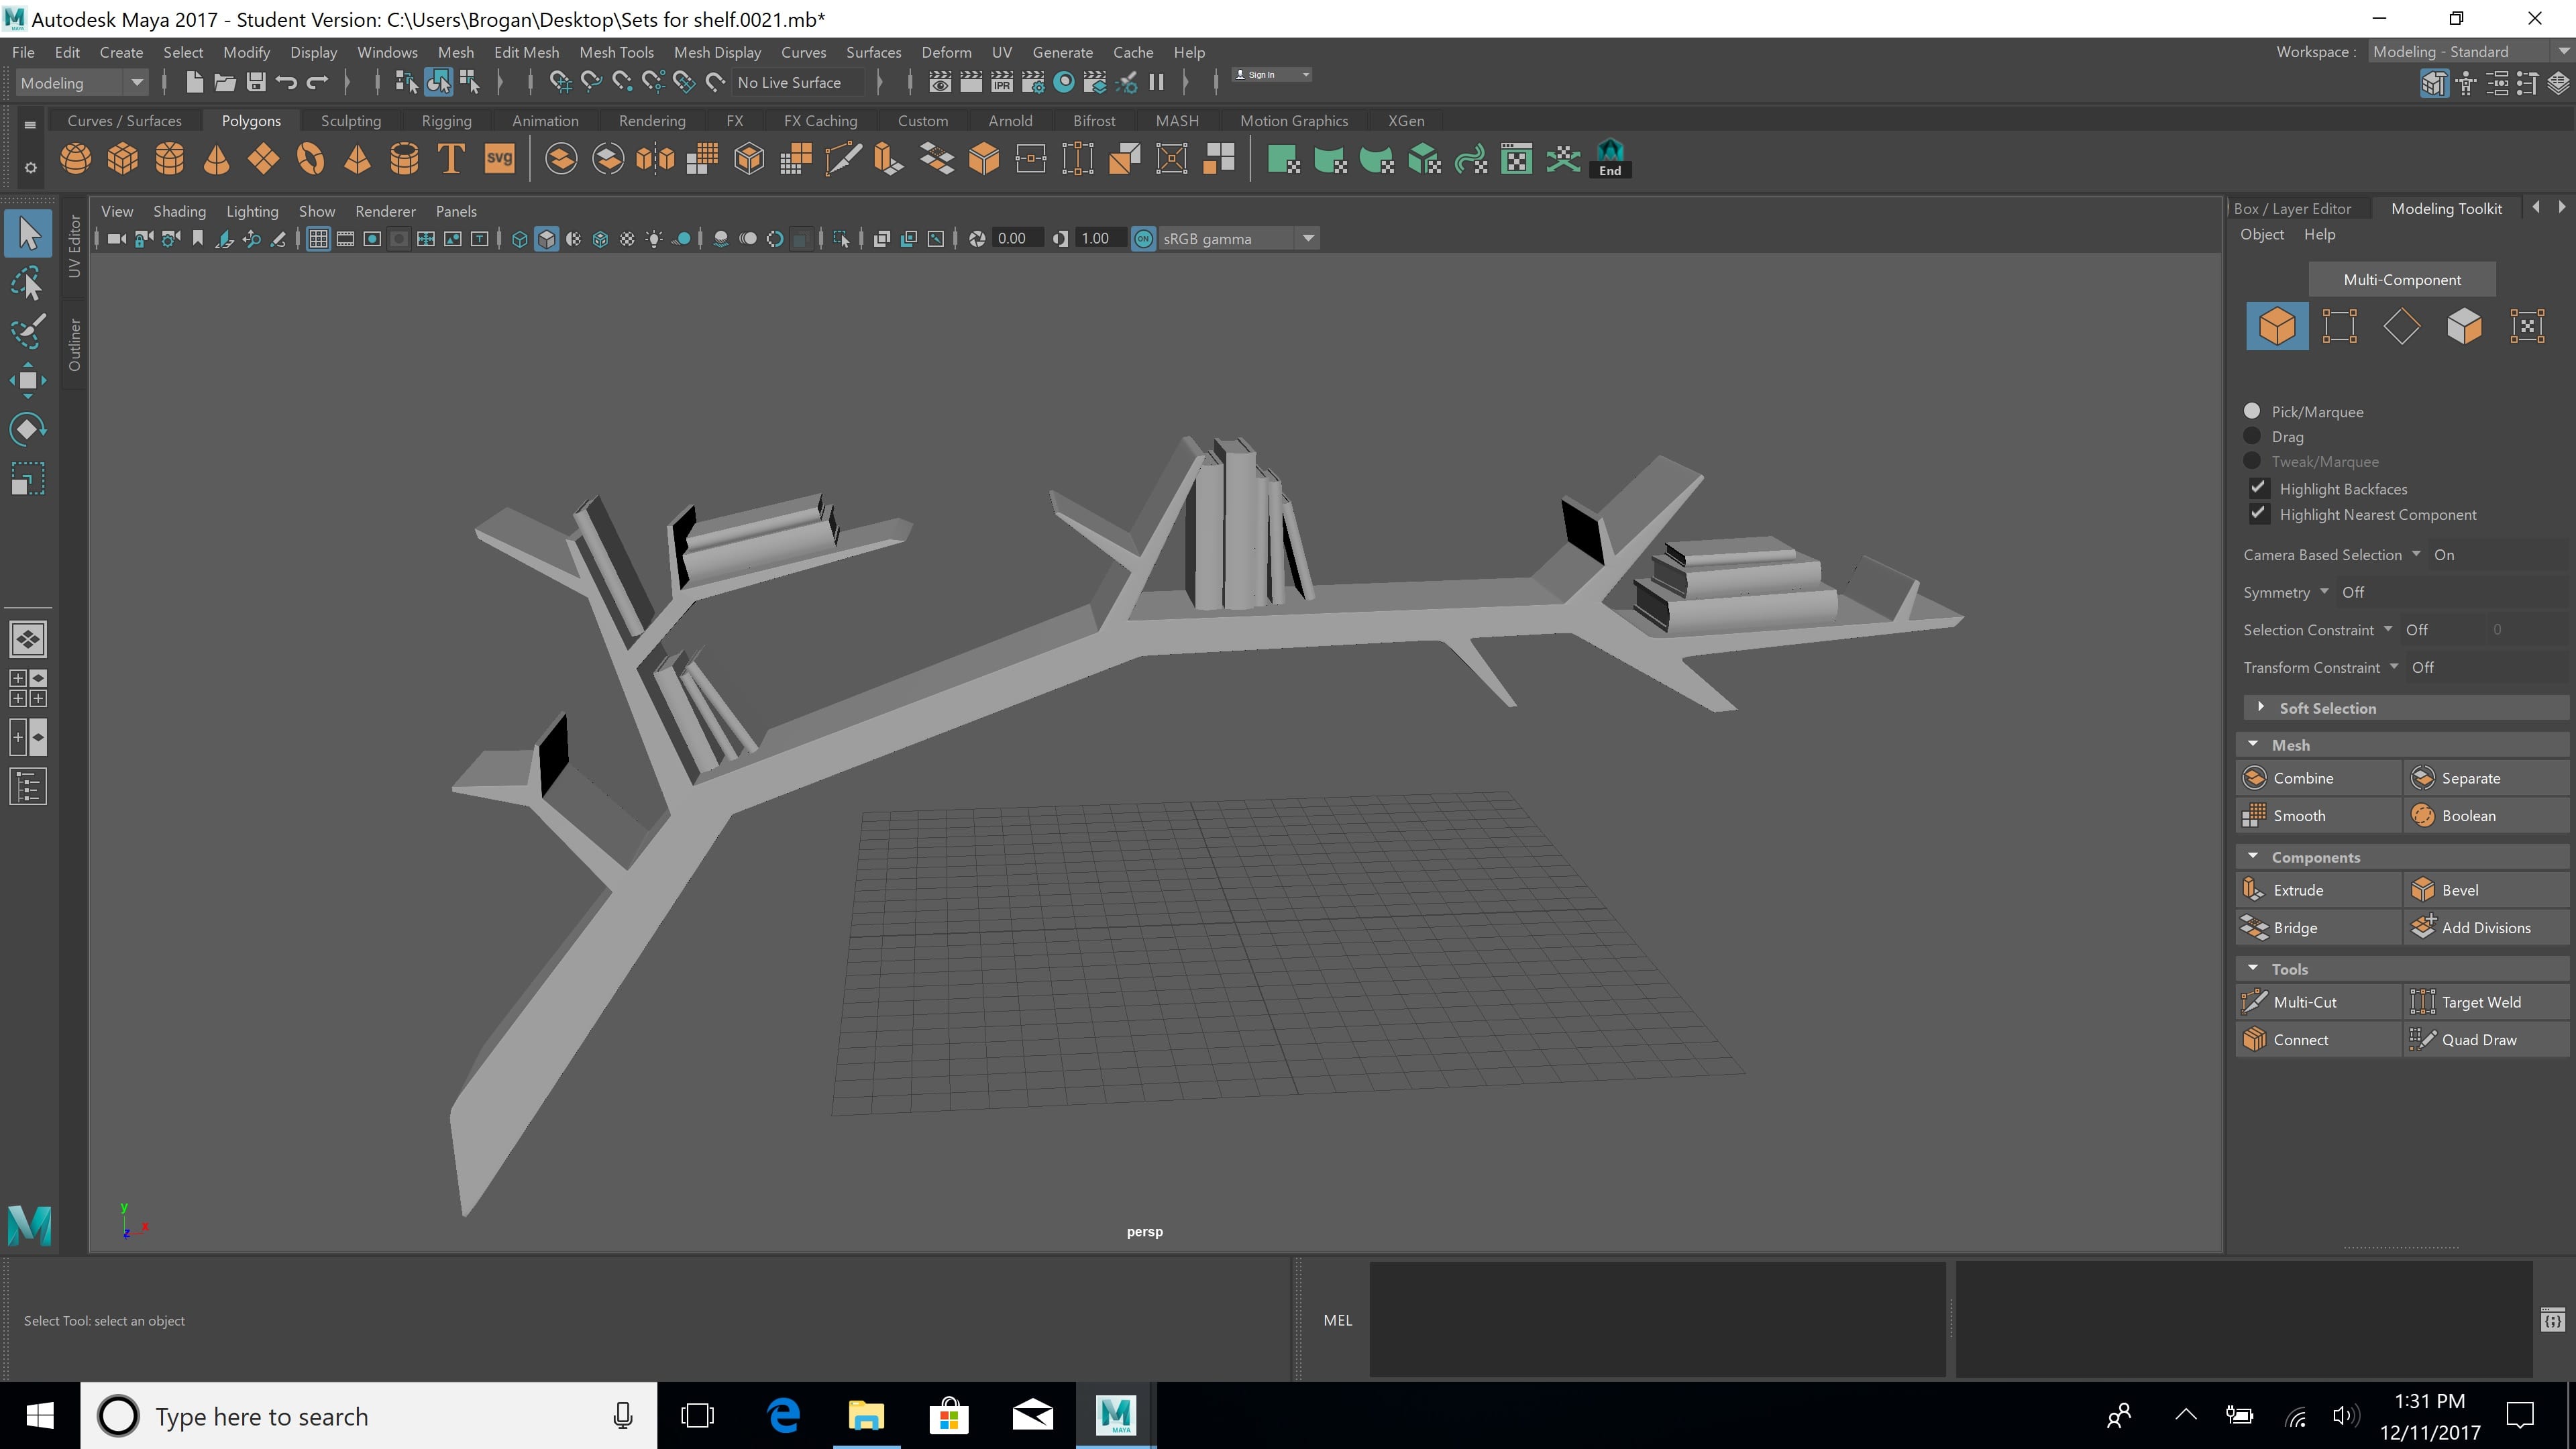
The next section was to start creating the books, which is something I decided to include in this version to make the shelf more of a finished piece. I didn’t create these last time, as it was more of a test piece, but I know that it needed more complexity and textures to it if I am using it as one of my final assets for the project. For this, I made one book, split this into two sets, and then UV unwrapped it manually.
I then duplicated and re-sized the books to lay around the shelf, before splitting them into 5 groups of books, so that I could apply 5 different textures. I made UV maps for each set, with the single colour ID (as I learned from previous experiments) so that I could then edit this in Photoshop.
I exported 3 .obj files. one with the shelf, one with the books, and one with both in preparation for texturing. I also created my colour ID maps in Photoshop in preparation.