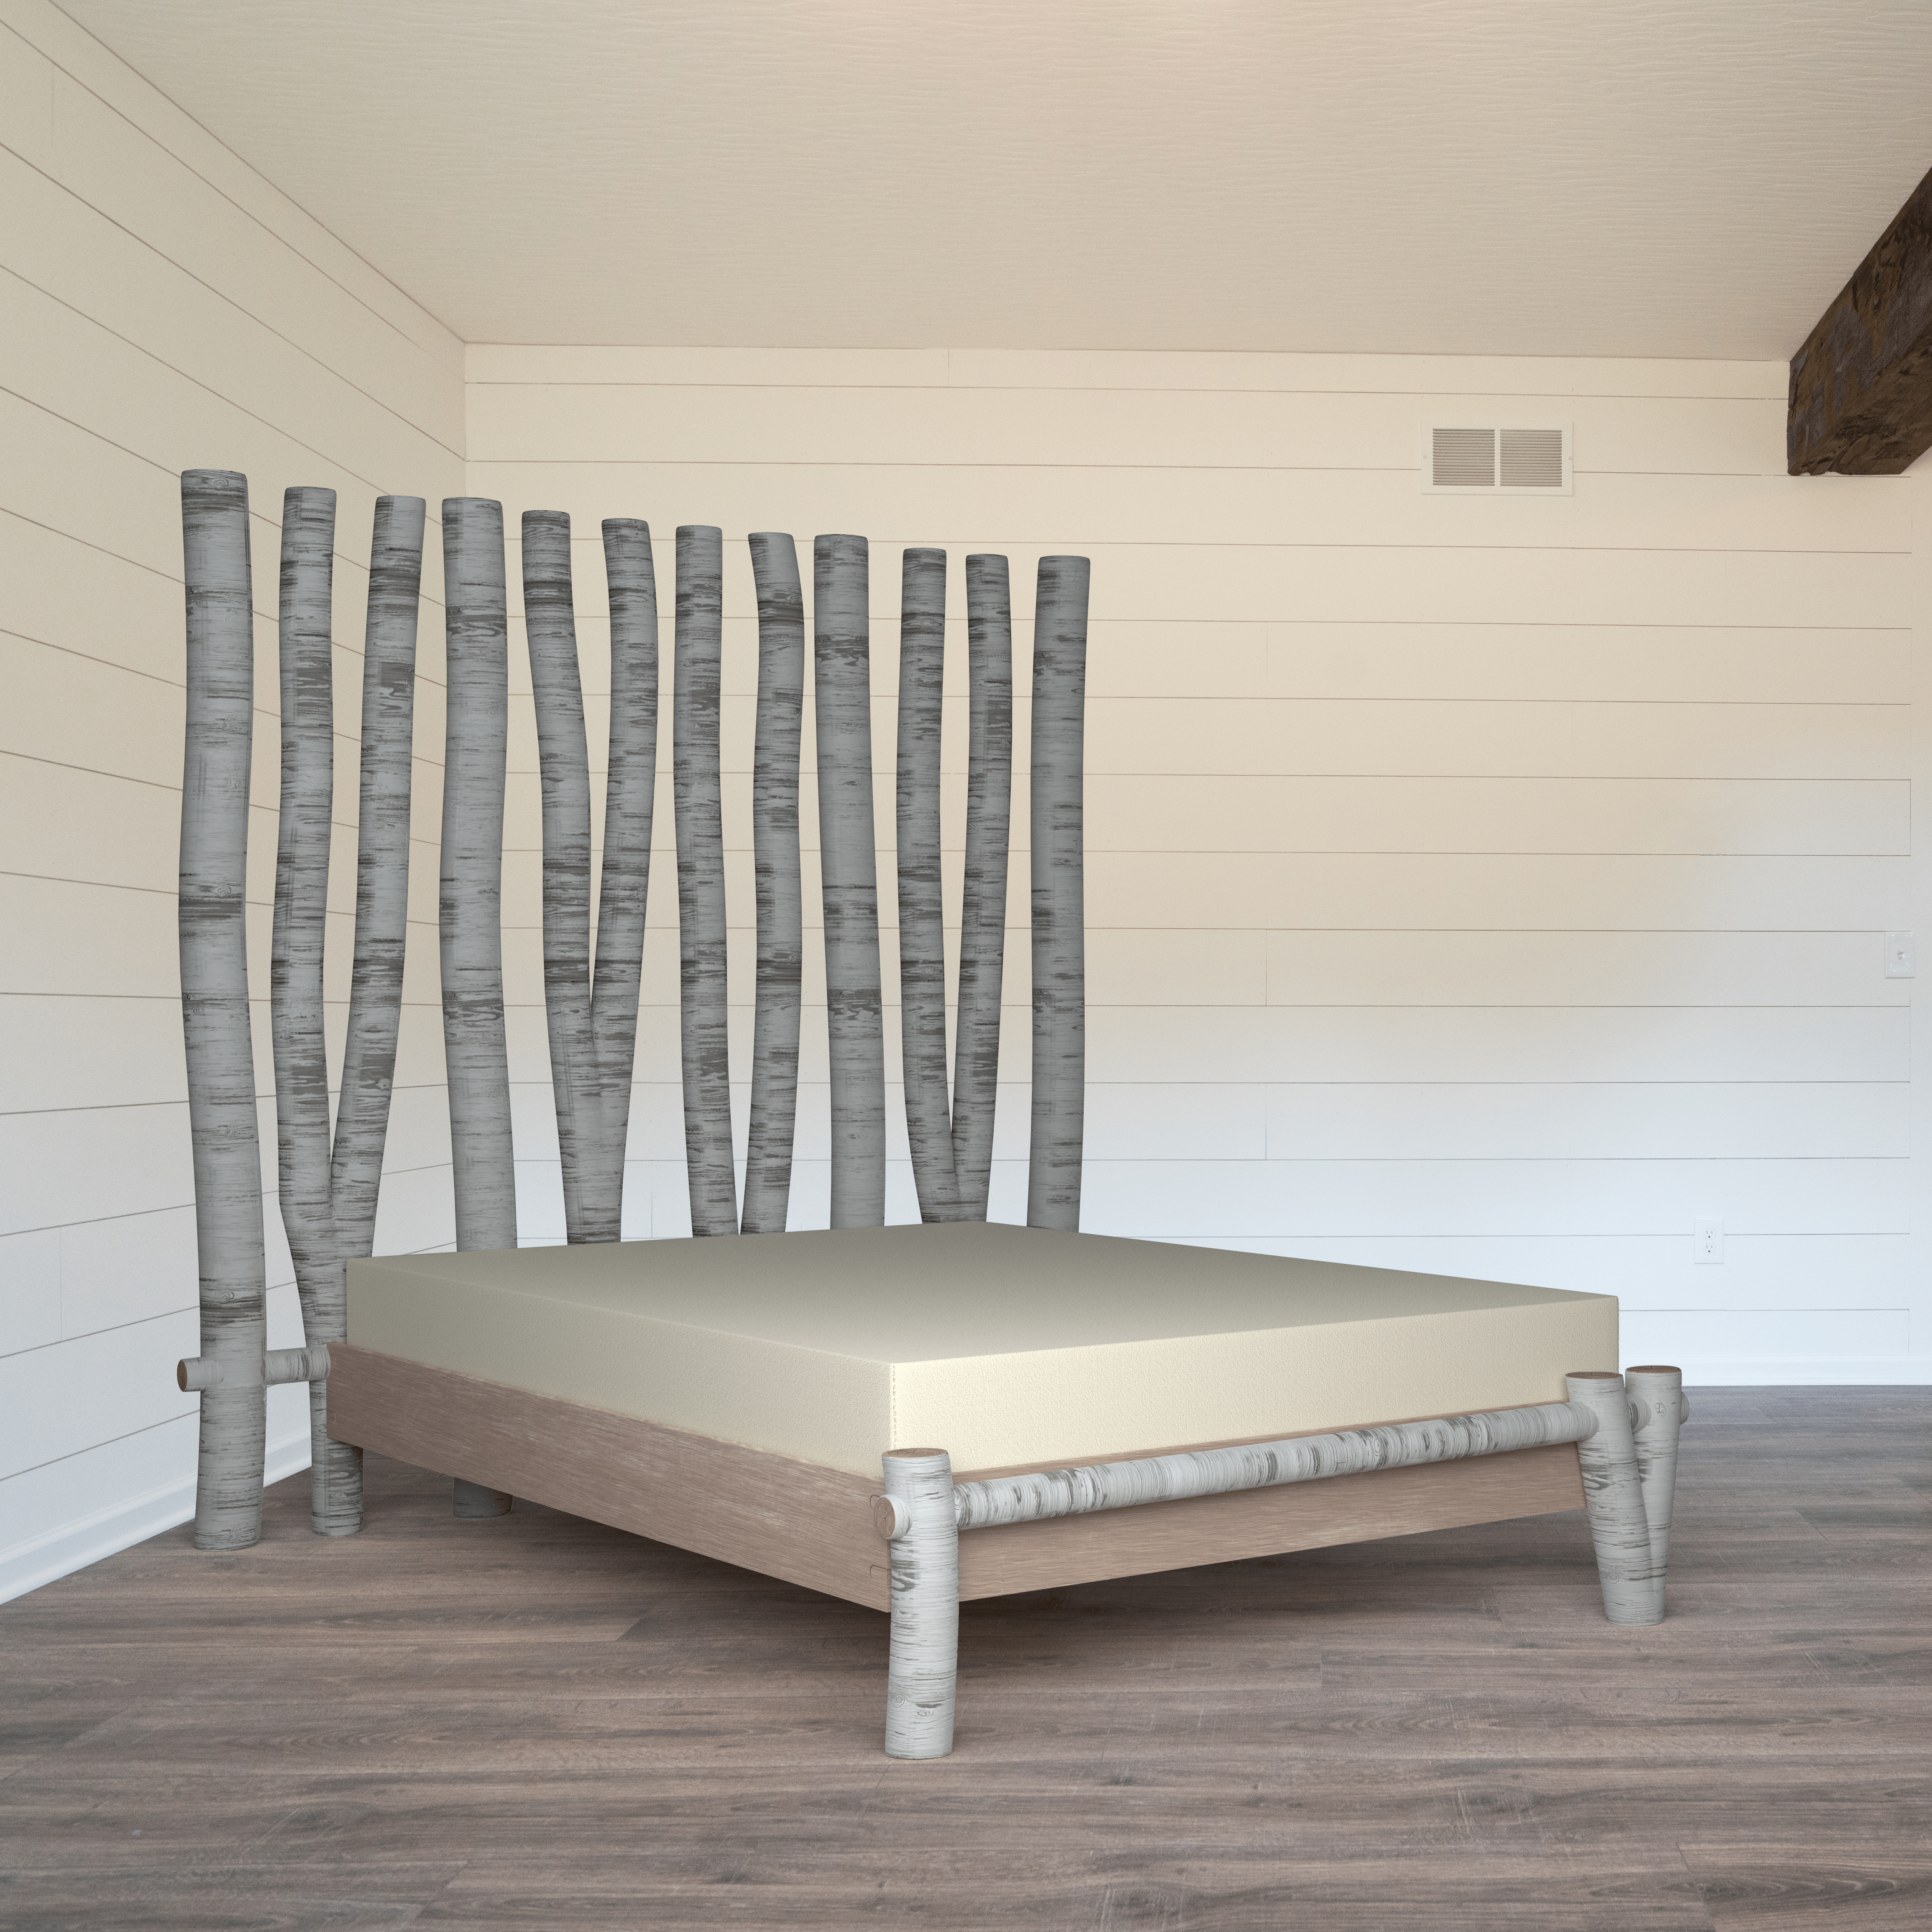
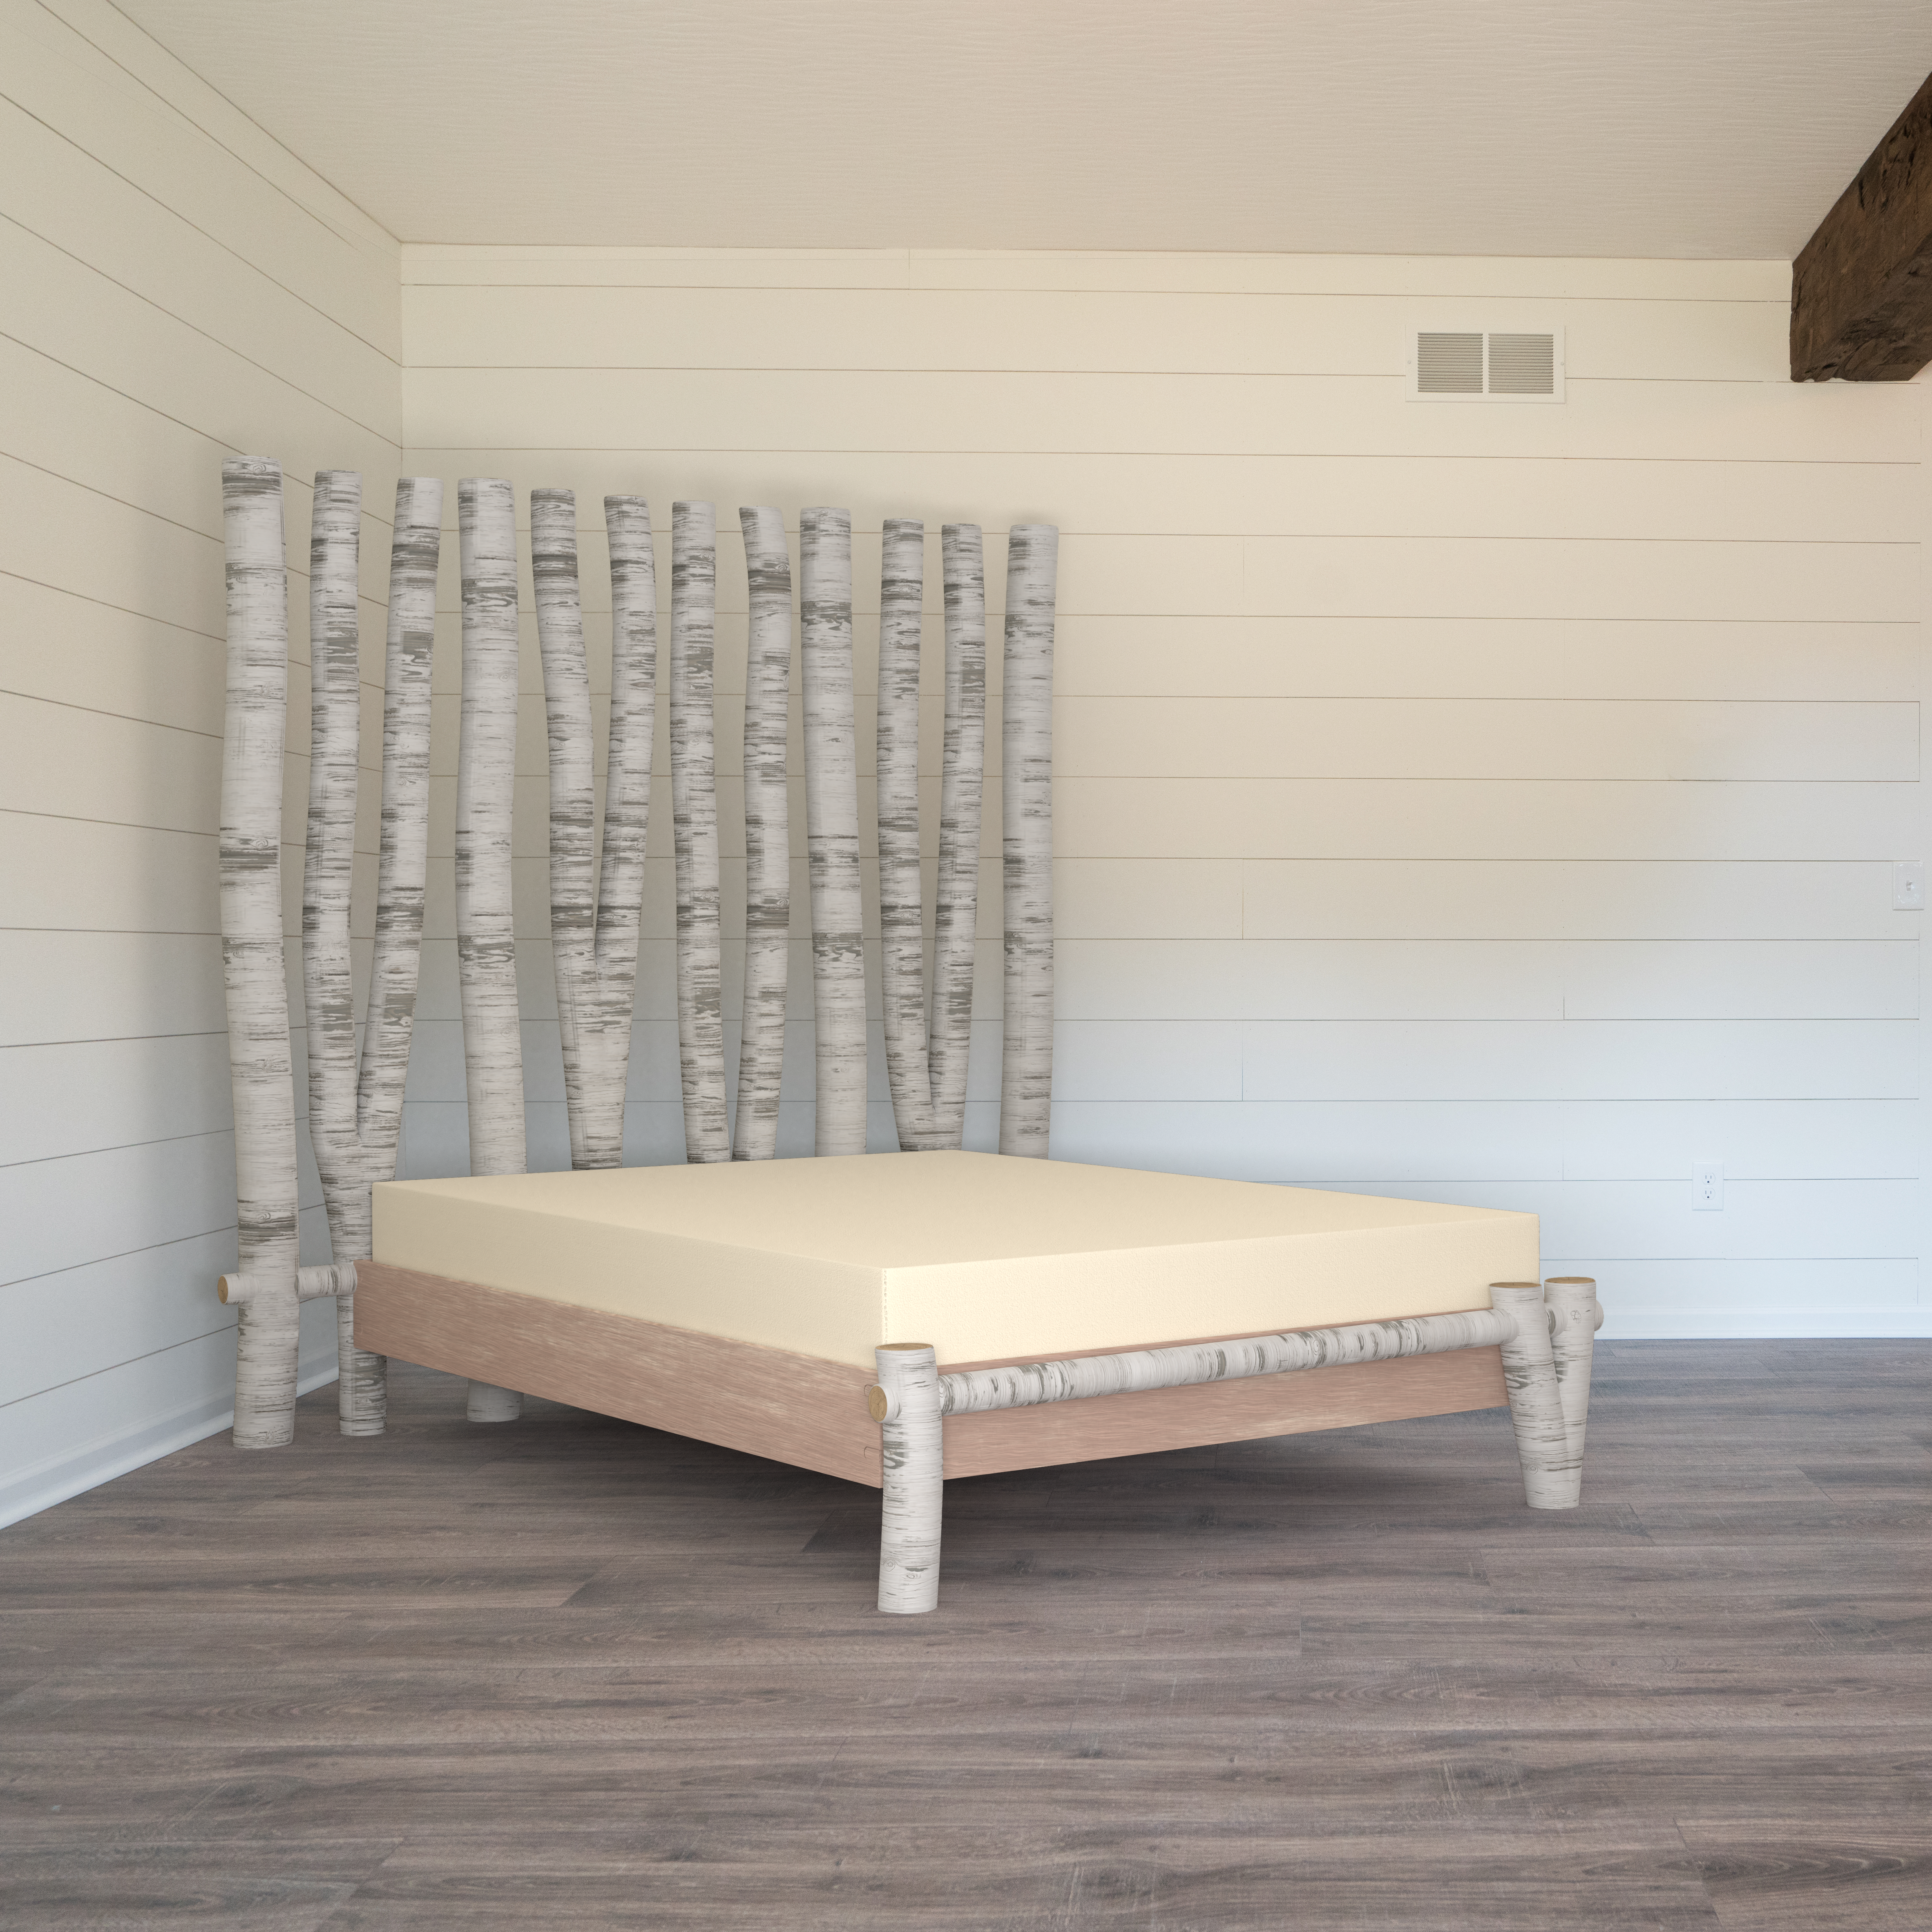
So after asking for feedback on my Artstation profile in the Facebook community and from friends, comments were positive, but most people noticed that the bed has no shadows on the walls. This made the image look less realistic, so I decided to take their comments on board, and re-render the image with the new shadows. I learned from past mistakes, and rendered out a low-res version first to make sure that my planes aligned with the walls and floor of the image.
They did, so I rendered the final image, which I then realised was too dark in comparison to the original image, and that the bed needed to come slightly further away from the left wall.
I rendered for a final time, and took it into Photoshop to clean up the wall of the image and crop, and then updated this image on my Artstation profile. Here is the before and after.
In my original proposal, I mentioned that I would look into the possibility of sharing my assets with the community on Gumroad or a similar platform, but after looking into them, and much consideration, I have decided not to during this project. I have looked extensively at Gumroad and Turbosquid in particular as well as others.
I find Gumroad to be very poorly designed, and difficult to navigate. It is very difficult to find what you are looking for through the site navigation, with the only way to pull up results you are looking for being googling what you’re looking for with ‘Gumroad’ in the search also. I don’t think that the site is very user friendly, and it is a site I don’t really want to link my work with.
I liked Turbosquid much more, and it was much easier to navigate. It seems to be a much more accessible and user friendly site, and the assets available cover a huge variety of areas. I do not want to share my assets yet, as I feel as though I have not had enough time to look around at other sharing sites enough, and I would like more time to work out where I would like to share my creations. Turbosquid is definitely a site I would consider using in the future.
Although I will not be sharing my assets with the community as part of this project, it is something I plan to decide on in the future, and Turbosquid is a definite contender.
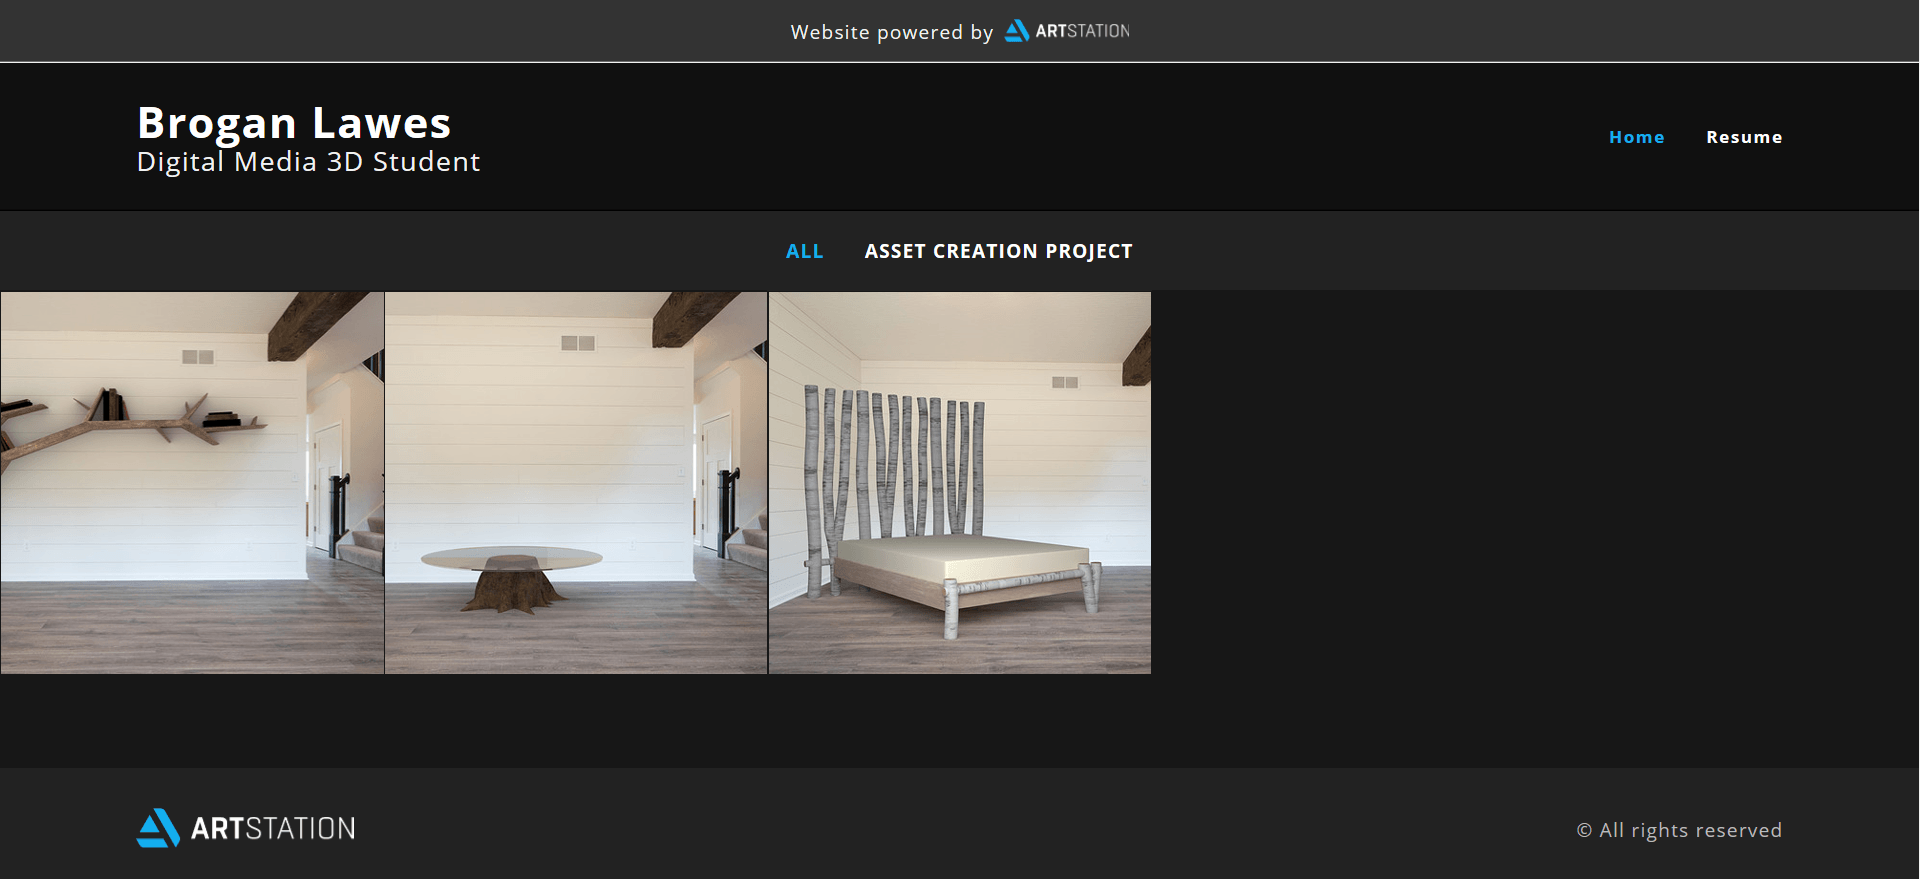
As an Artstation profile is my final output, I have created a full profile with all 3 assets, with both Sketchfab examples and a ray traced version. I have looked at many of the profiles on Artstation, from both professionals and non-professional artists. I have followed artists I like, and liked images and models which fit my interests. I have written my bio, taking inspiration from other artists to create a rounded and brief explanation of my aims and abilities. I uploaded each asset with a description, and software explanation, after hours of looking at other profiles and artworks on the site.
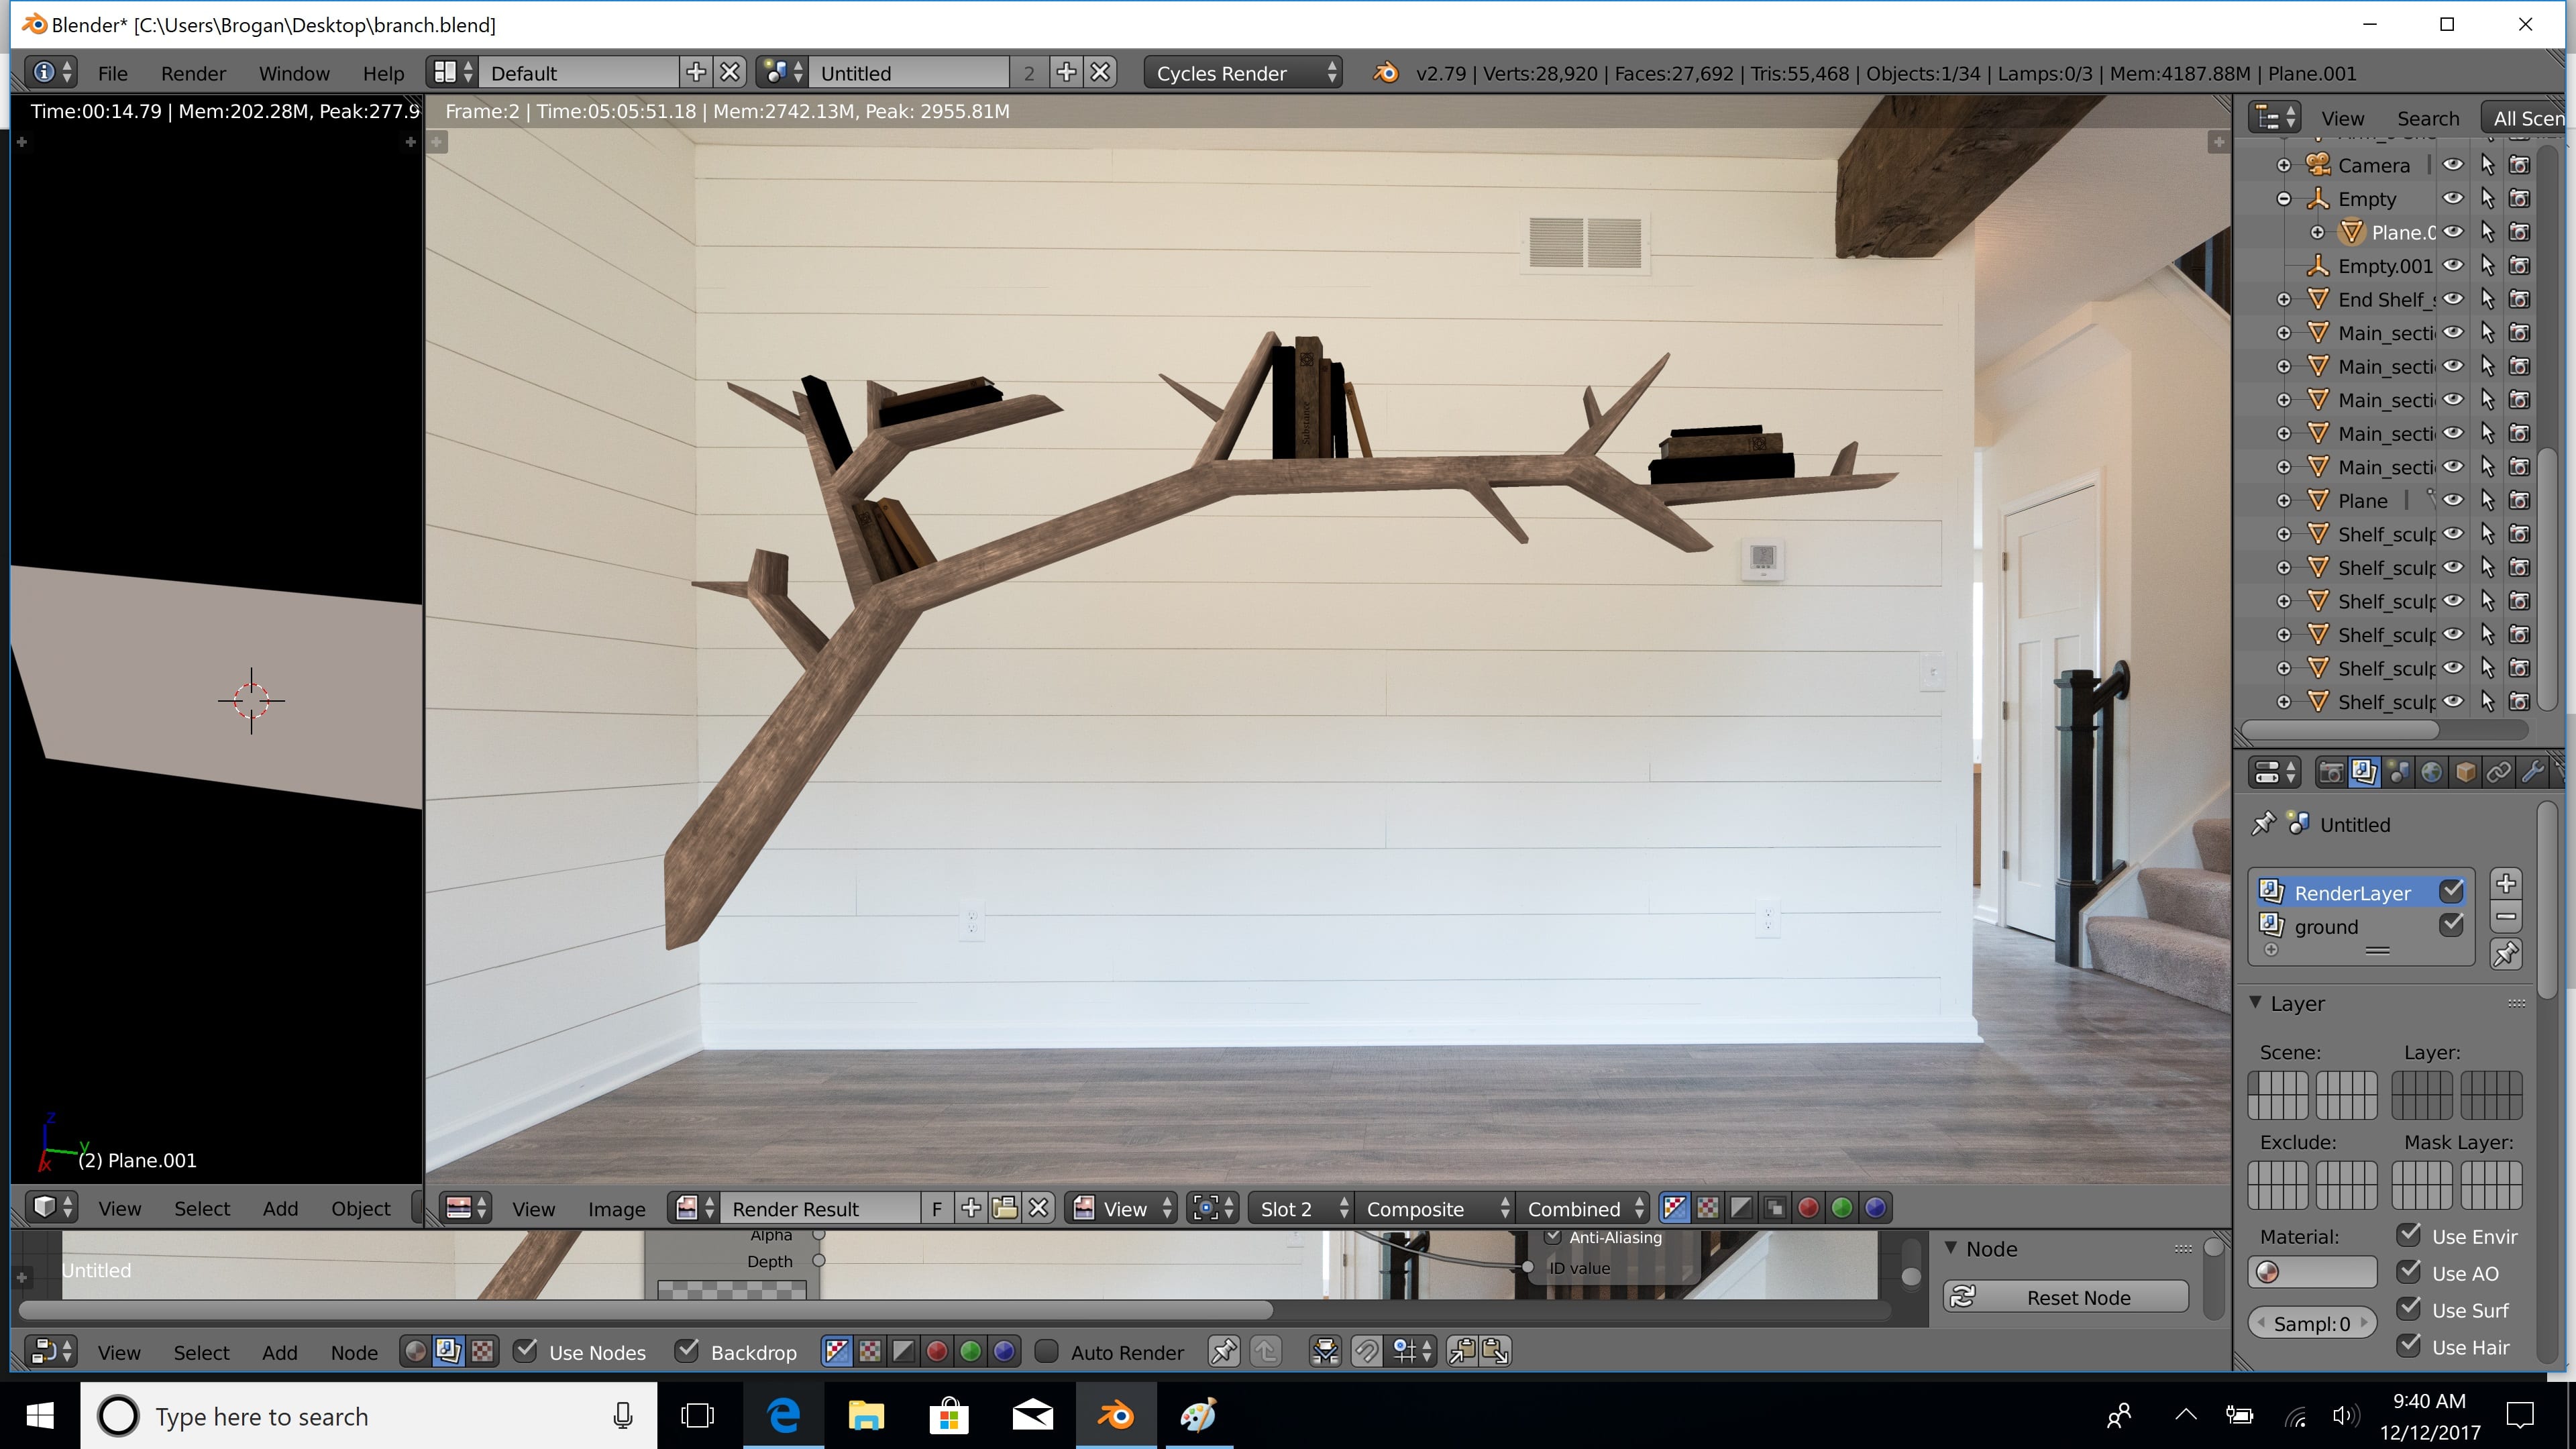
I used my Blender scene setup again for this asset, but this time, I removed the floor plane and added one to the wall behind the shelf. I changed the lighting slightly, and added the world texture as I did for the table as I found that the lighting from the world made the lighting more realistic. I then started to render this with what I thought was the same settings, not realising that I had ‘square sampling’ ticked in the render settings, meaning that the render time was around 12 hours for the 2 passes. once this had completed, I realised that my null object which my shelf was attached to had been on the first layer, but the shelf was actually on both layers, thus meaning my node tree had no effect when it came to adding the shadows in on the final composite.
This was a time costly mistake, but it taught me to check everything carefully before rendering when times are that high.
I re-rendered this after fixing the layers, and also adding a plane to the second wall, as I noticed the shadows were wrong and only on the back wall. I rendered this out, noticing that square sampling was ticked (which I then turned off). This sped up my render times to around 2.5 hours for both passes, which was a huge improvement.
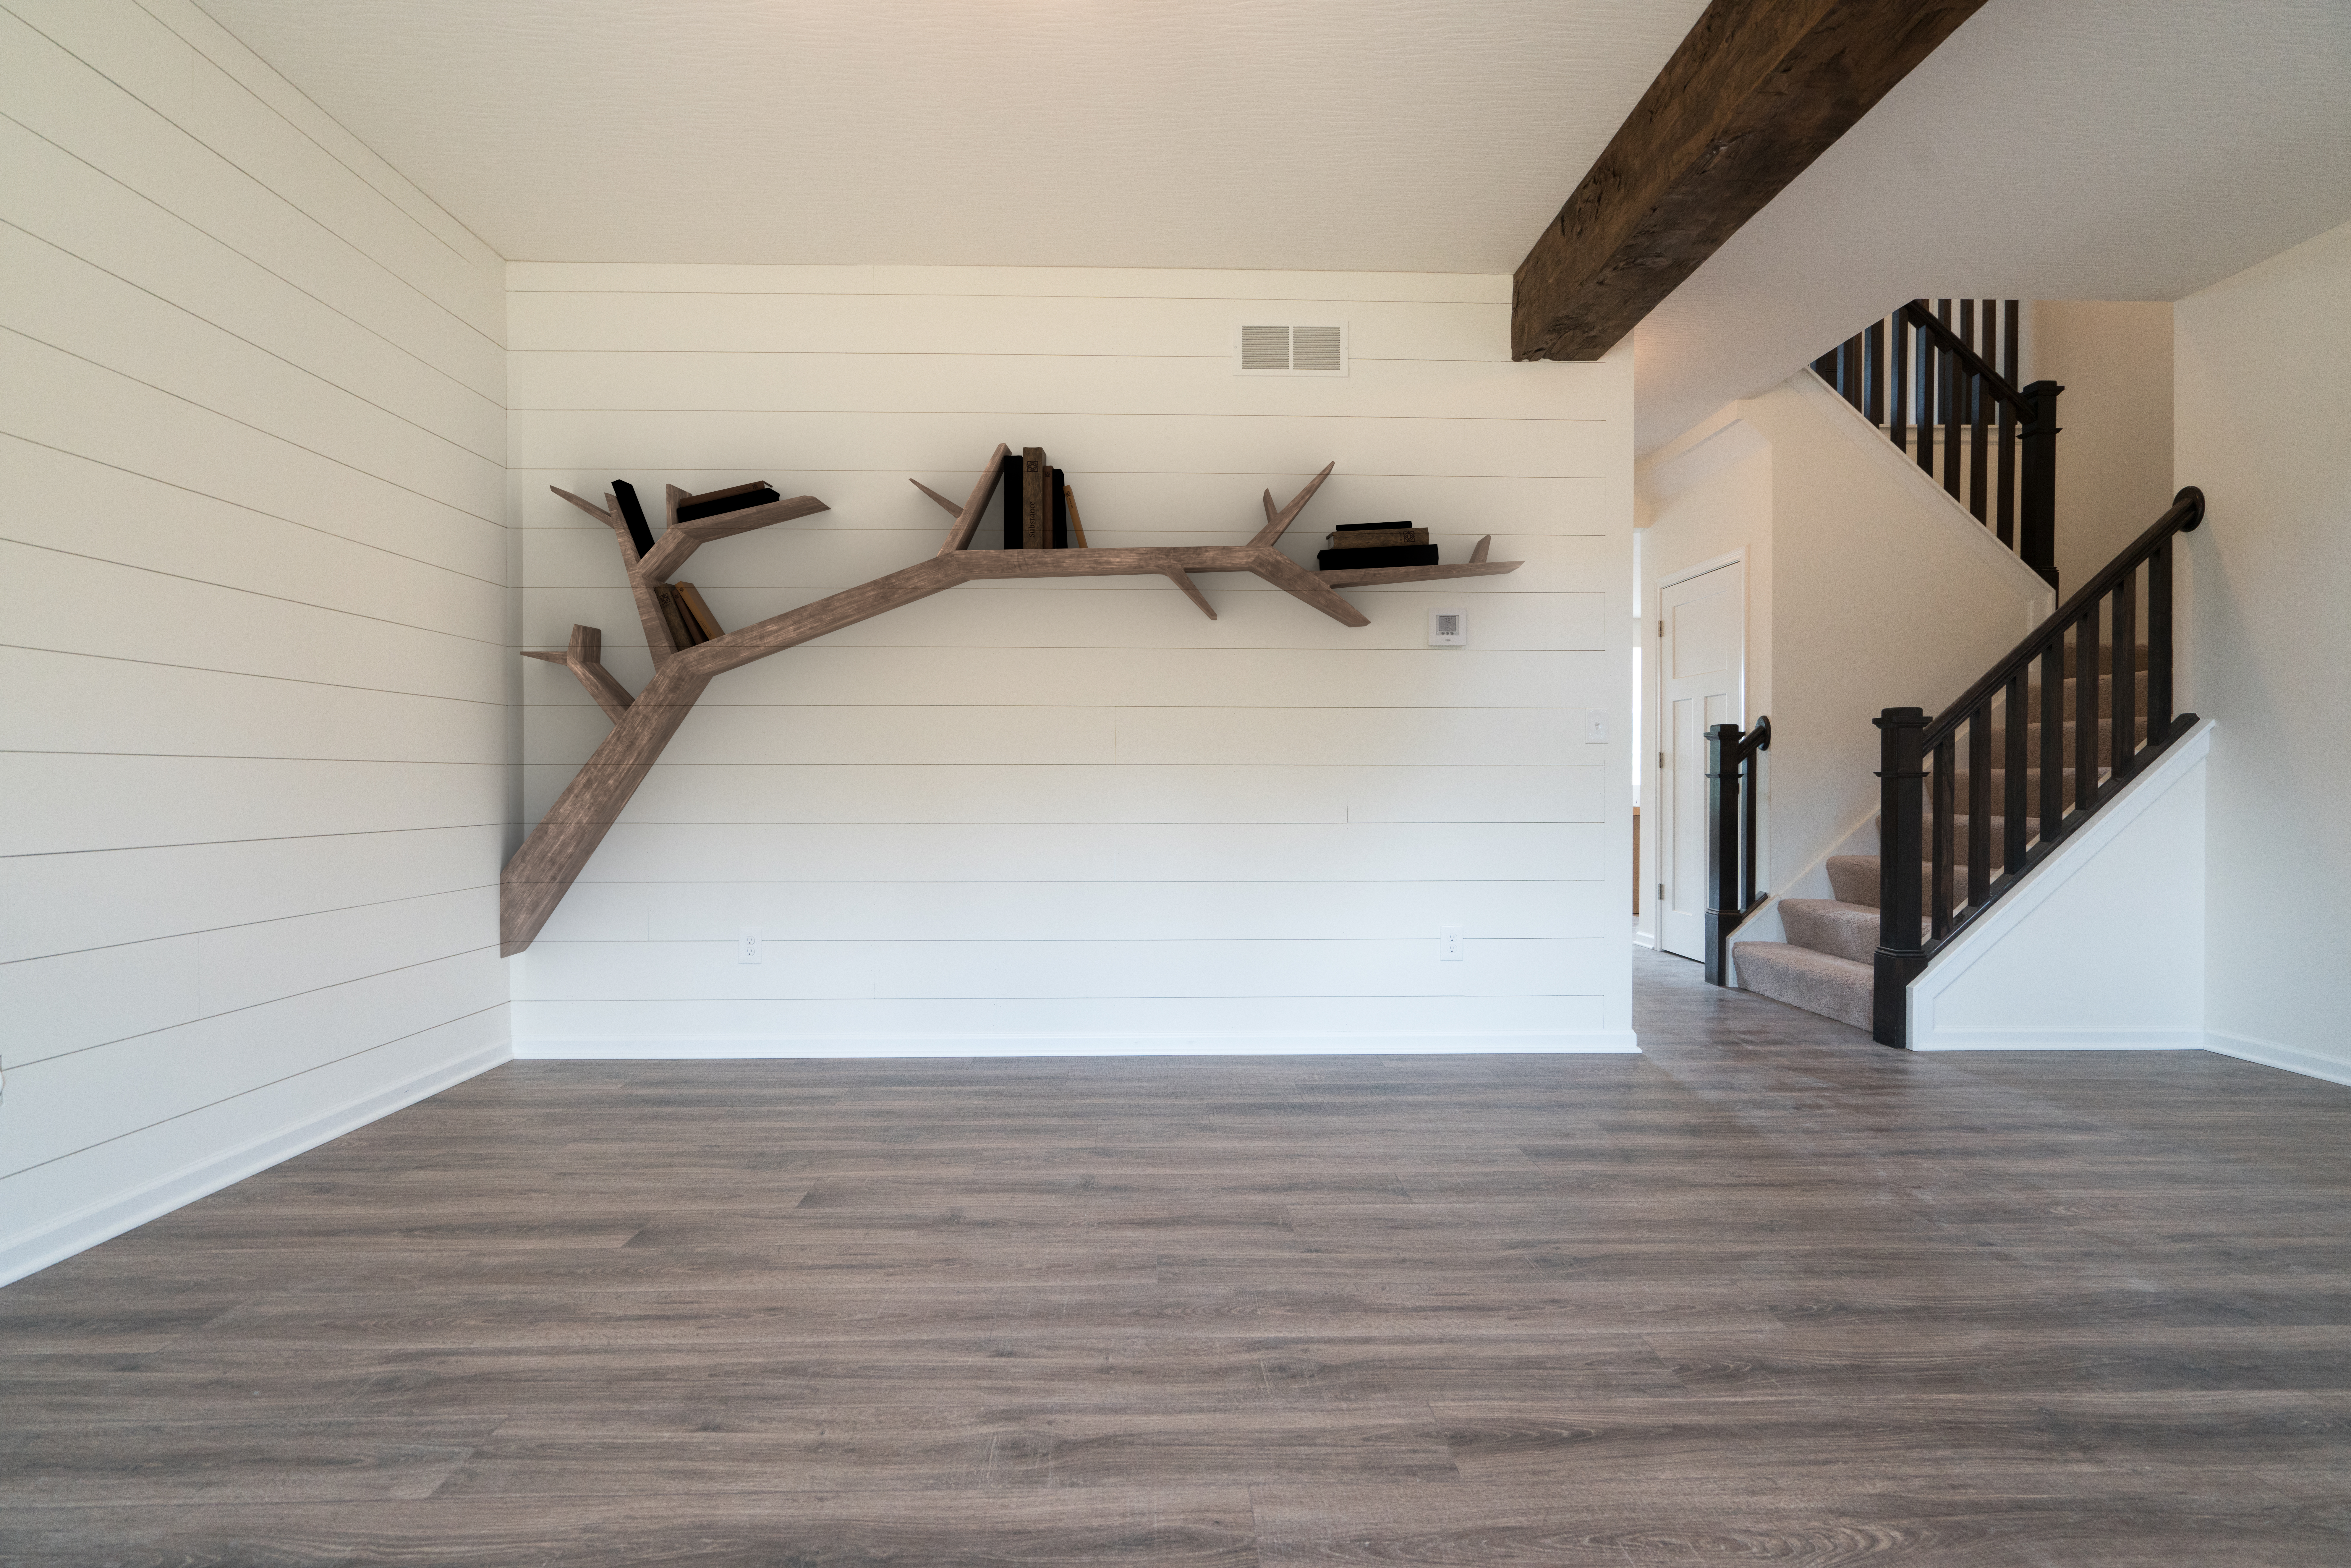
Once this had rendered, I realised that the corner of my two planes was not in the corner of the room exactly. this meant that the shadow is actually not in the corner of the room, which is an issue. I realised this, and changed it. The reason I couldn’t see it before was because it can only be seen when the plane has been removed. My solution to this is to do a very low quality render quickly to check the shadow positions before the high quality render. this may take a few minutes extra, but will save me wasting hours at a time rendering compositions which aren’t correctly lined. Once I had fixed this, my shadows aligned perfectly. I think that this is my favourite asset of the 3, I feel as though it shows how far I have come, and how much I have learned during this project.
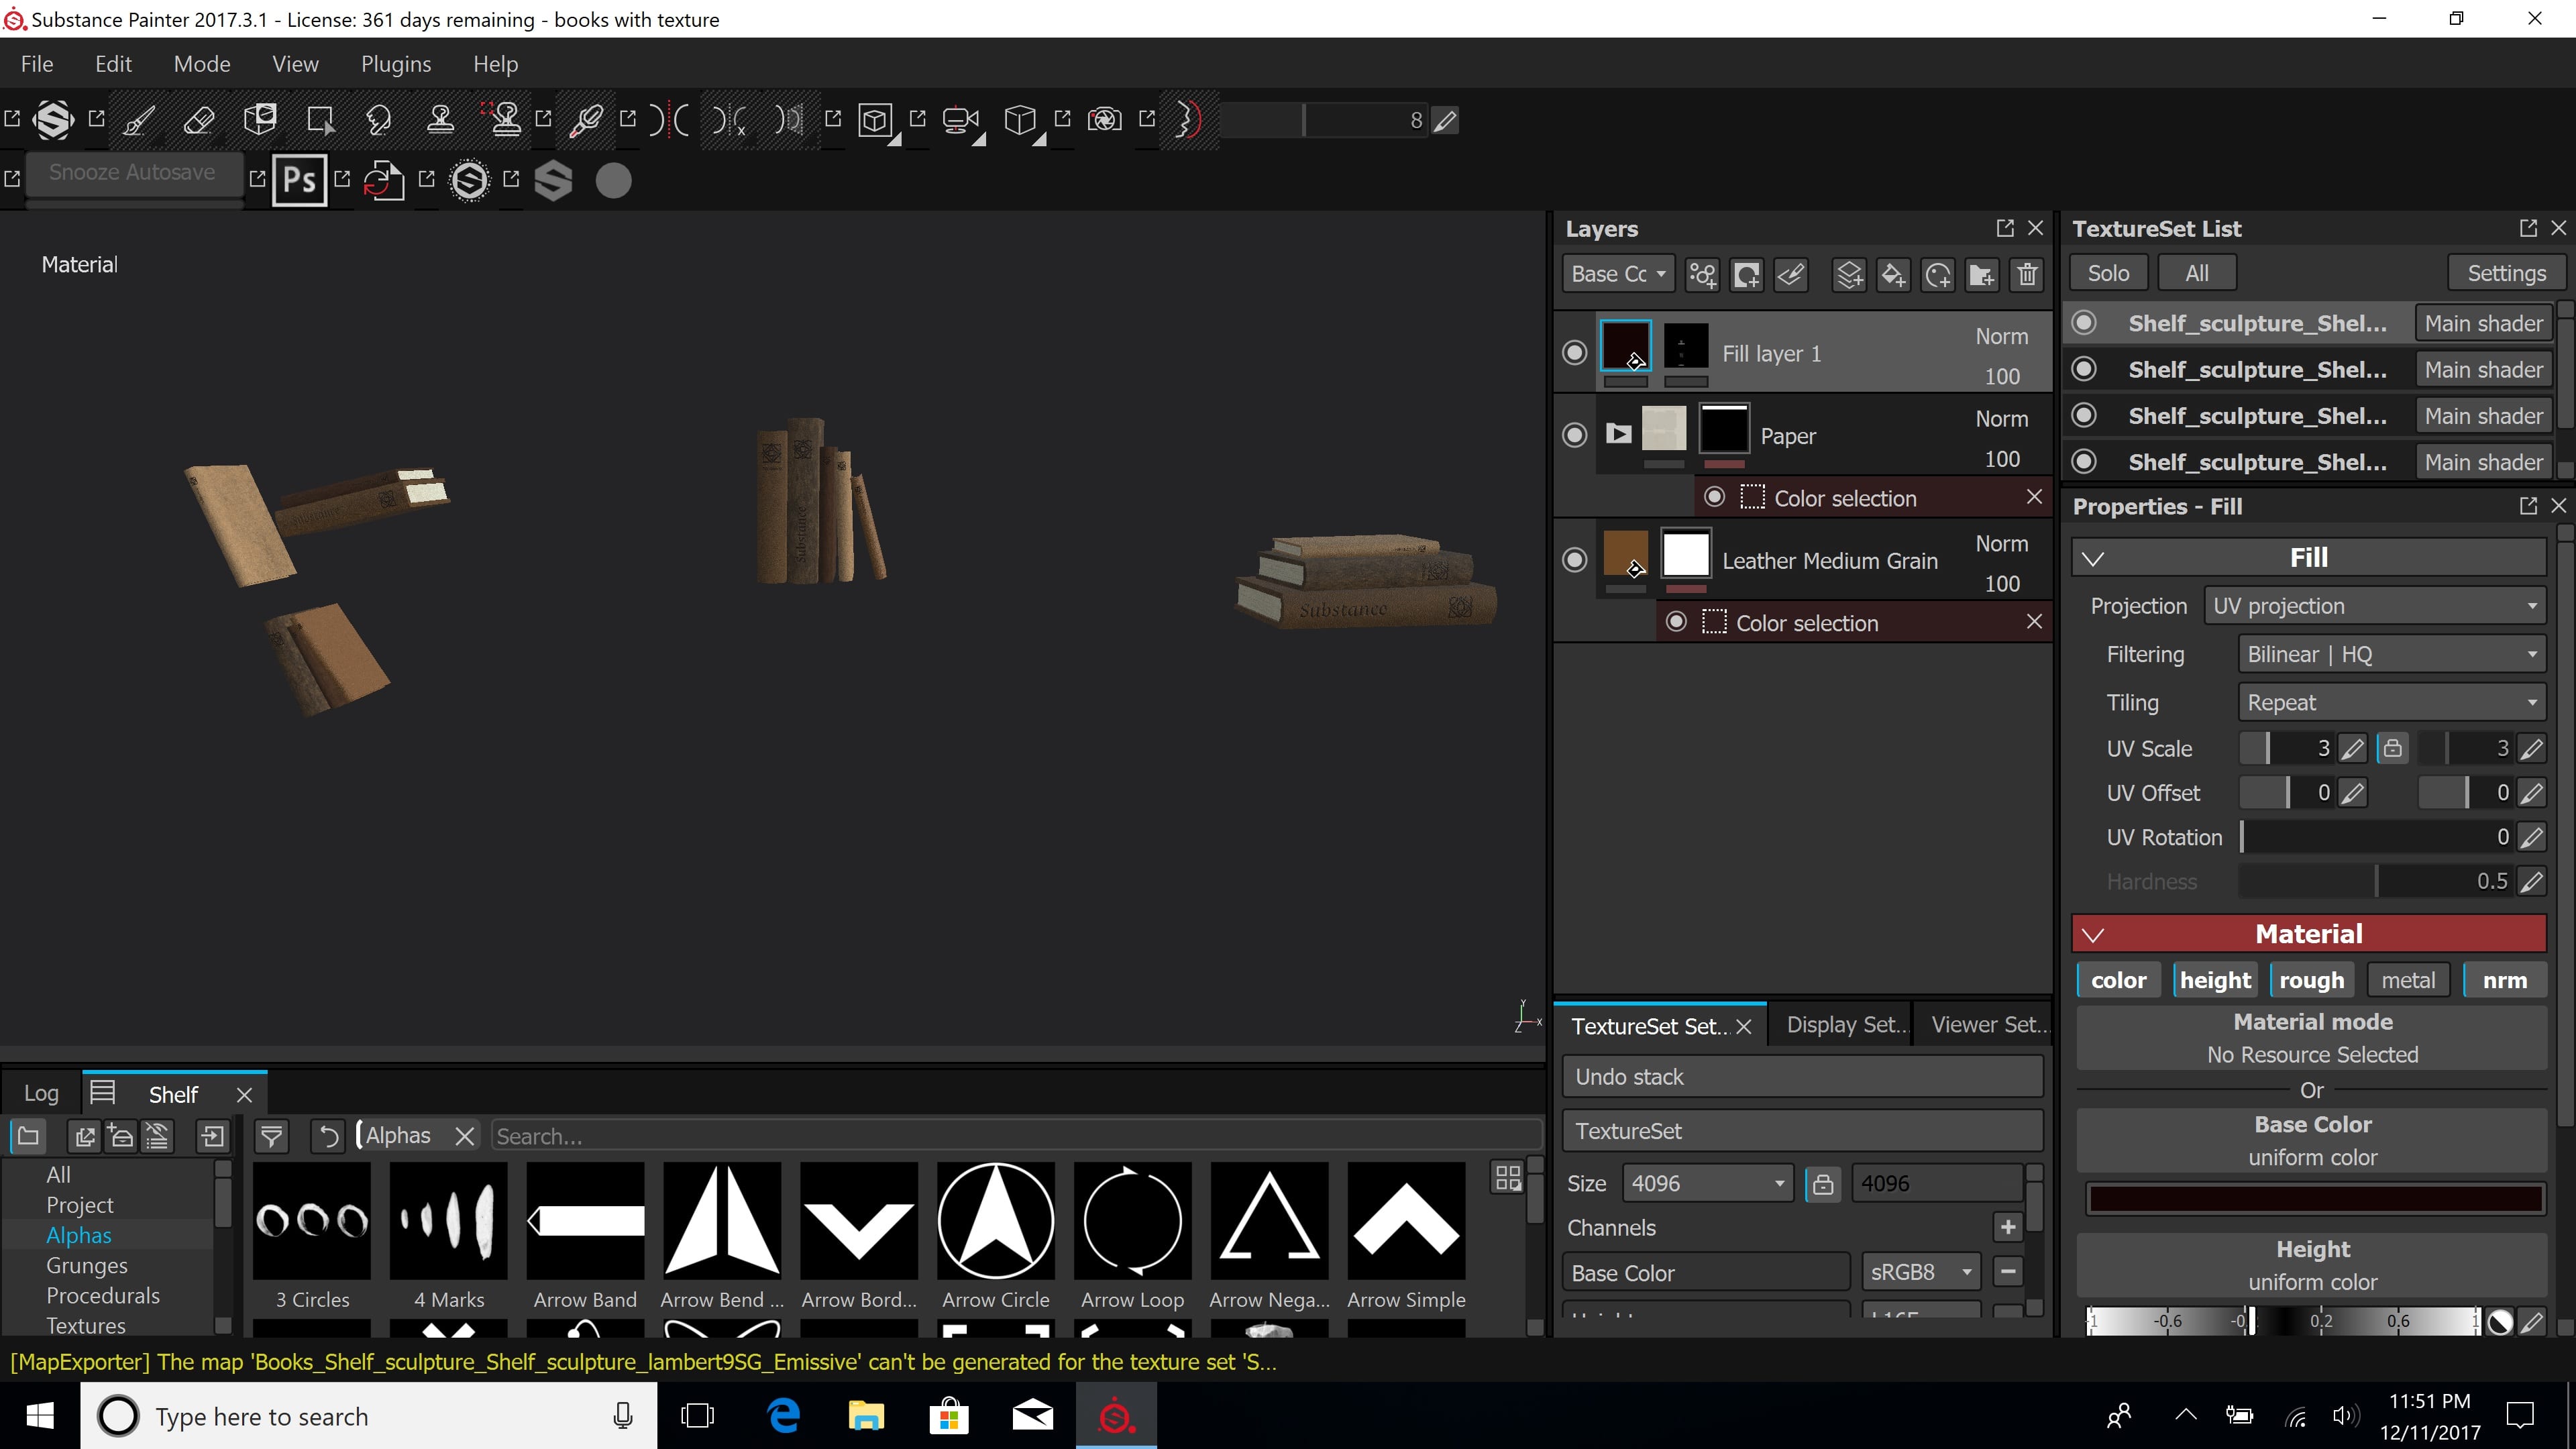
I opened the book .obj in Substance painter, and applied the ID maps. I painted in normal for the details on the edges of the pages, and baked these out as I learned in previous models. I then re-opened the book .obj with the normal maps and colour IDs and textured the books with various leather, as well as paper. I added normal details with title stamped using an alpha, with a dark colour beneath to add the darker indented details.
I then opened the .obj file with the books and the shelf, and textured the shelf. I had saved each of the 5 book textures as smart materials, including the normal details with the spine details. I imported the baked normal maps for the books, along with the Colour IDs, before applying my smart materials and exporting. What I hadn’t noticed, was that the detail on the binding had not transferred over inside the smart material.
Once I had realised my mistake, I figured out a way to import the textures with all details, by exporting the texture maps, then applying them as layers. This fixed the issue, but I learned it is easier to texture a model as a whole and just solo layers to work on them.
I am pleased with my final export, and I think it is of a much higher standard than the first attempt. I have used what I learned from the previous mistakes to make a nicely finished piece.
I really liked the design of my branch bookshelf, but I made many mistakes with it. I have decided to use the un-smoothed base model, and re-make the shelf from that point, learning from all of my previous mistakes.
I recorded this process, the video is poor quality due to around 7 hours of video being compressed.
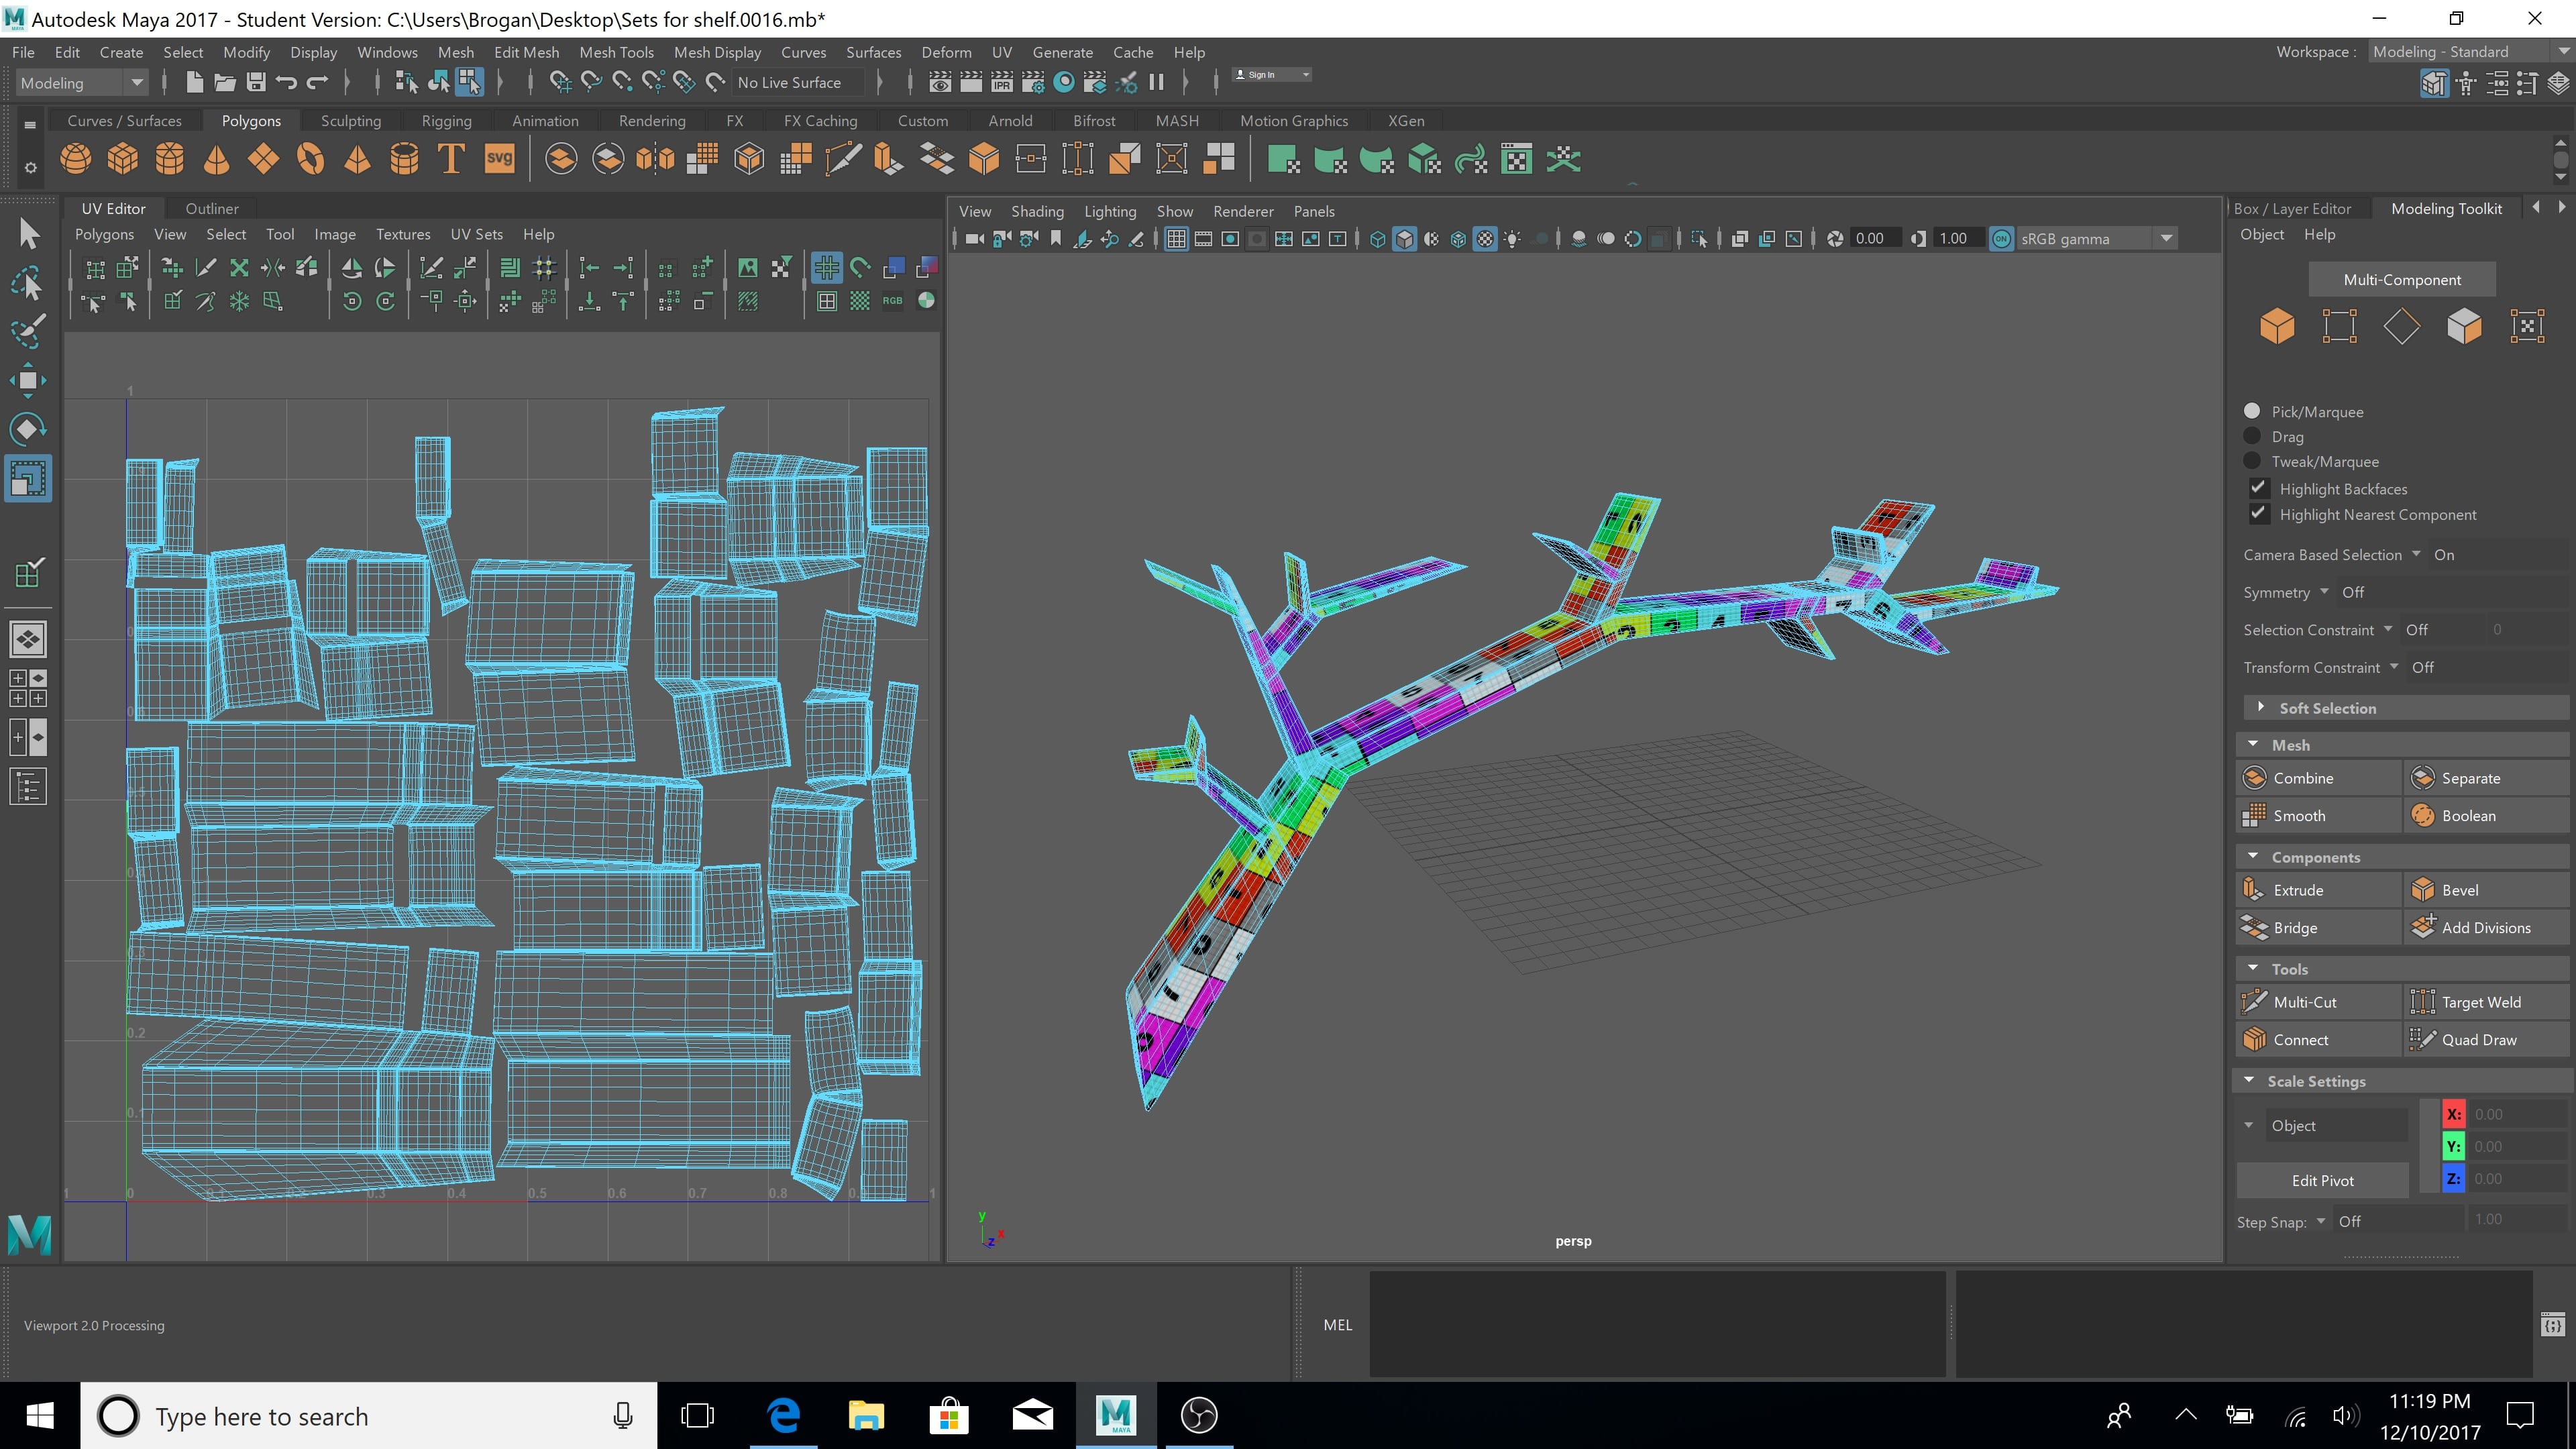
The first stage was to create sets out of my object before smoothing. I learnt this from previous sculptures, it speeds up the selection of sides when manually UV unwrapping, and makes it much easier to get lean UVs without accidentally selecting different faces (as with my first shelf attempt).
I also selected my sets in accordance to my new UV approach. When creating the shelf before, I learned that breaking up the shell in relation to how the wood would be assembled in real life would make the wood texturing much more effective. I split the branch up into segments which wrapped around each arm, and made sure to consider the planks of would which would be used.
The second stage was to smooth the object (after learning that doing this before UV unwrapping after smoothing makes the UVs less warped). I did this, before converting the smoothed mesh to polygons.
The third stage was to manually unwrap the branch, with seams at the back, or at points where two pieces of wood would join, as the textures didn’t need to match exactly here (in fact, it was better that they didn’t). I rotated each UV so that the grain would line up on the UV map horizontally.
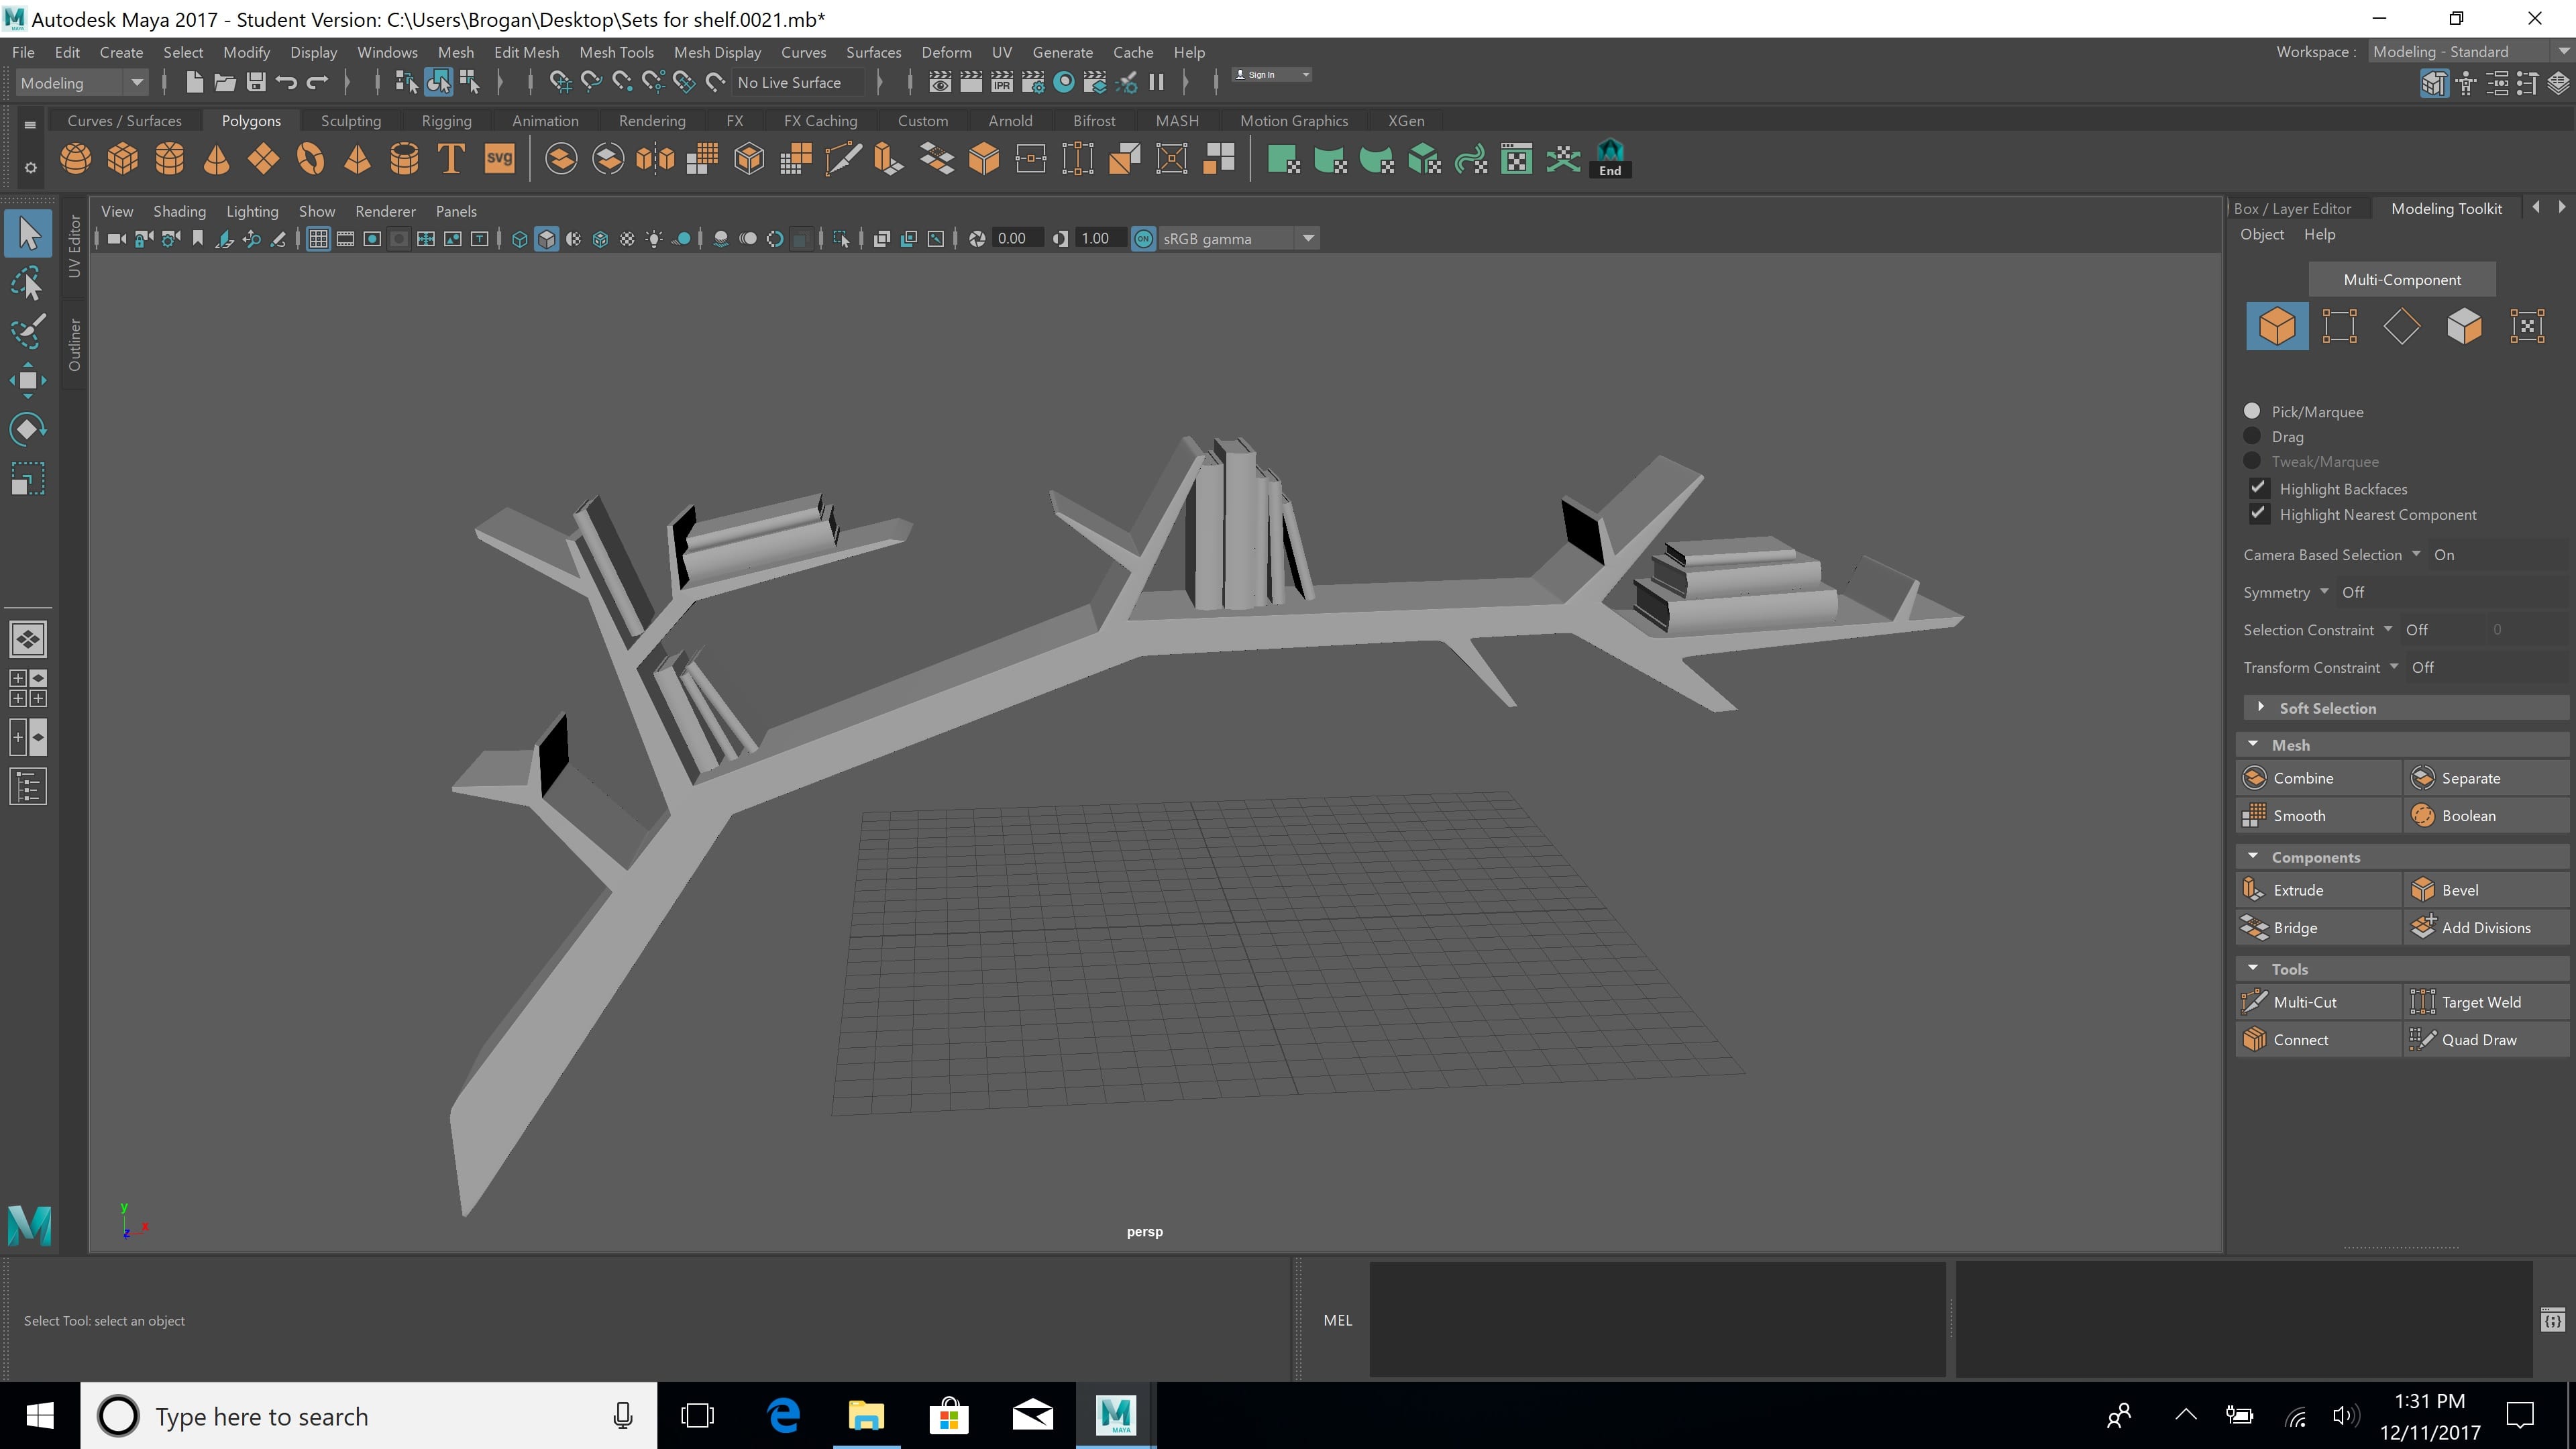
The next section was to start creating the books, which is something I decided to include in this version to make the shelf more of a finished piece. I didn’t create these last time, as it was more of a test piece, but I know that it needed more complexity and textures to it if I am using it as one of my final assets for the project. For this, I made one book, split this into two sets, and then UV unwrapped it manually.
I then duplicated and re-sized the books to lay around the shelf, before splitting them into 5 groups of books, so that I could apply 5 different textures. I made UV maps for each set, with the single colour ID (as I learned from previous experiments) so that I could then edit this in Photoshop.
I exported 3 .obj files. one with the shelf, one with the books, and one with both in preparation for texturing. I also created my colour ID maps in Photoshop in preparation.