The tree stump coffee table seemed like a good asset to start to apply all of my new knowledge to, and to explore the use of new materials.
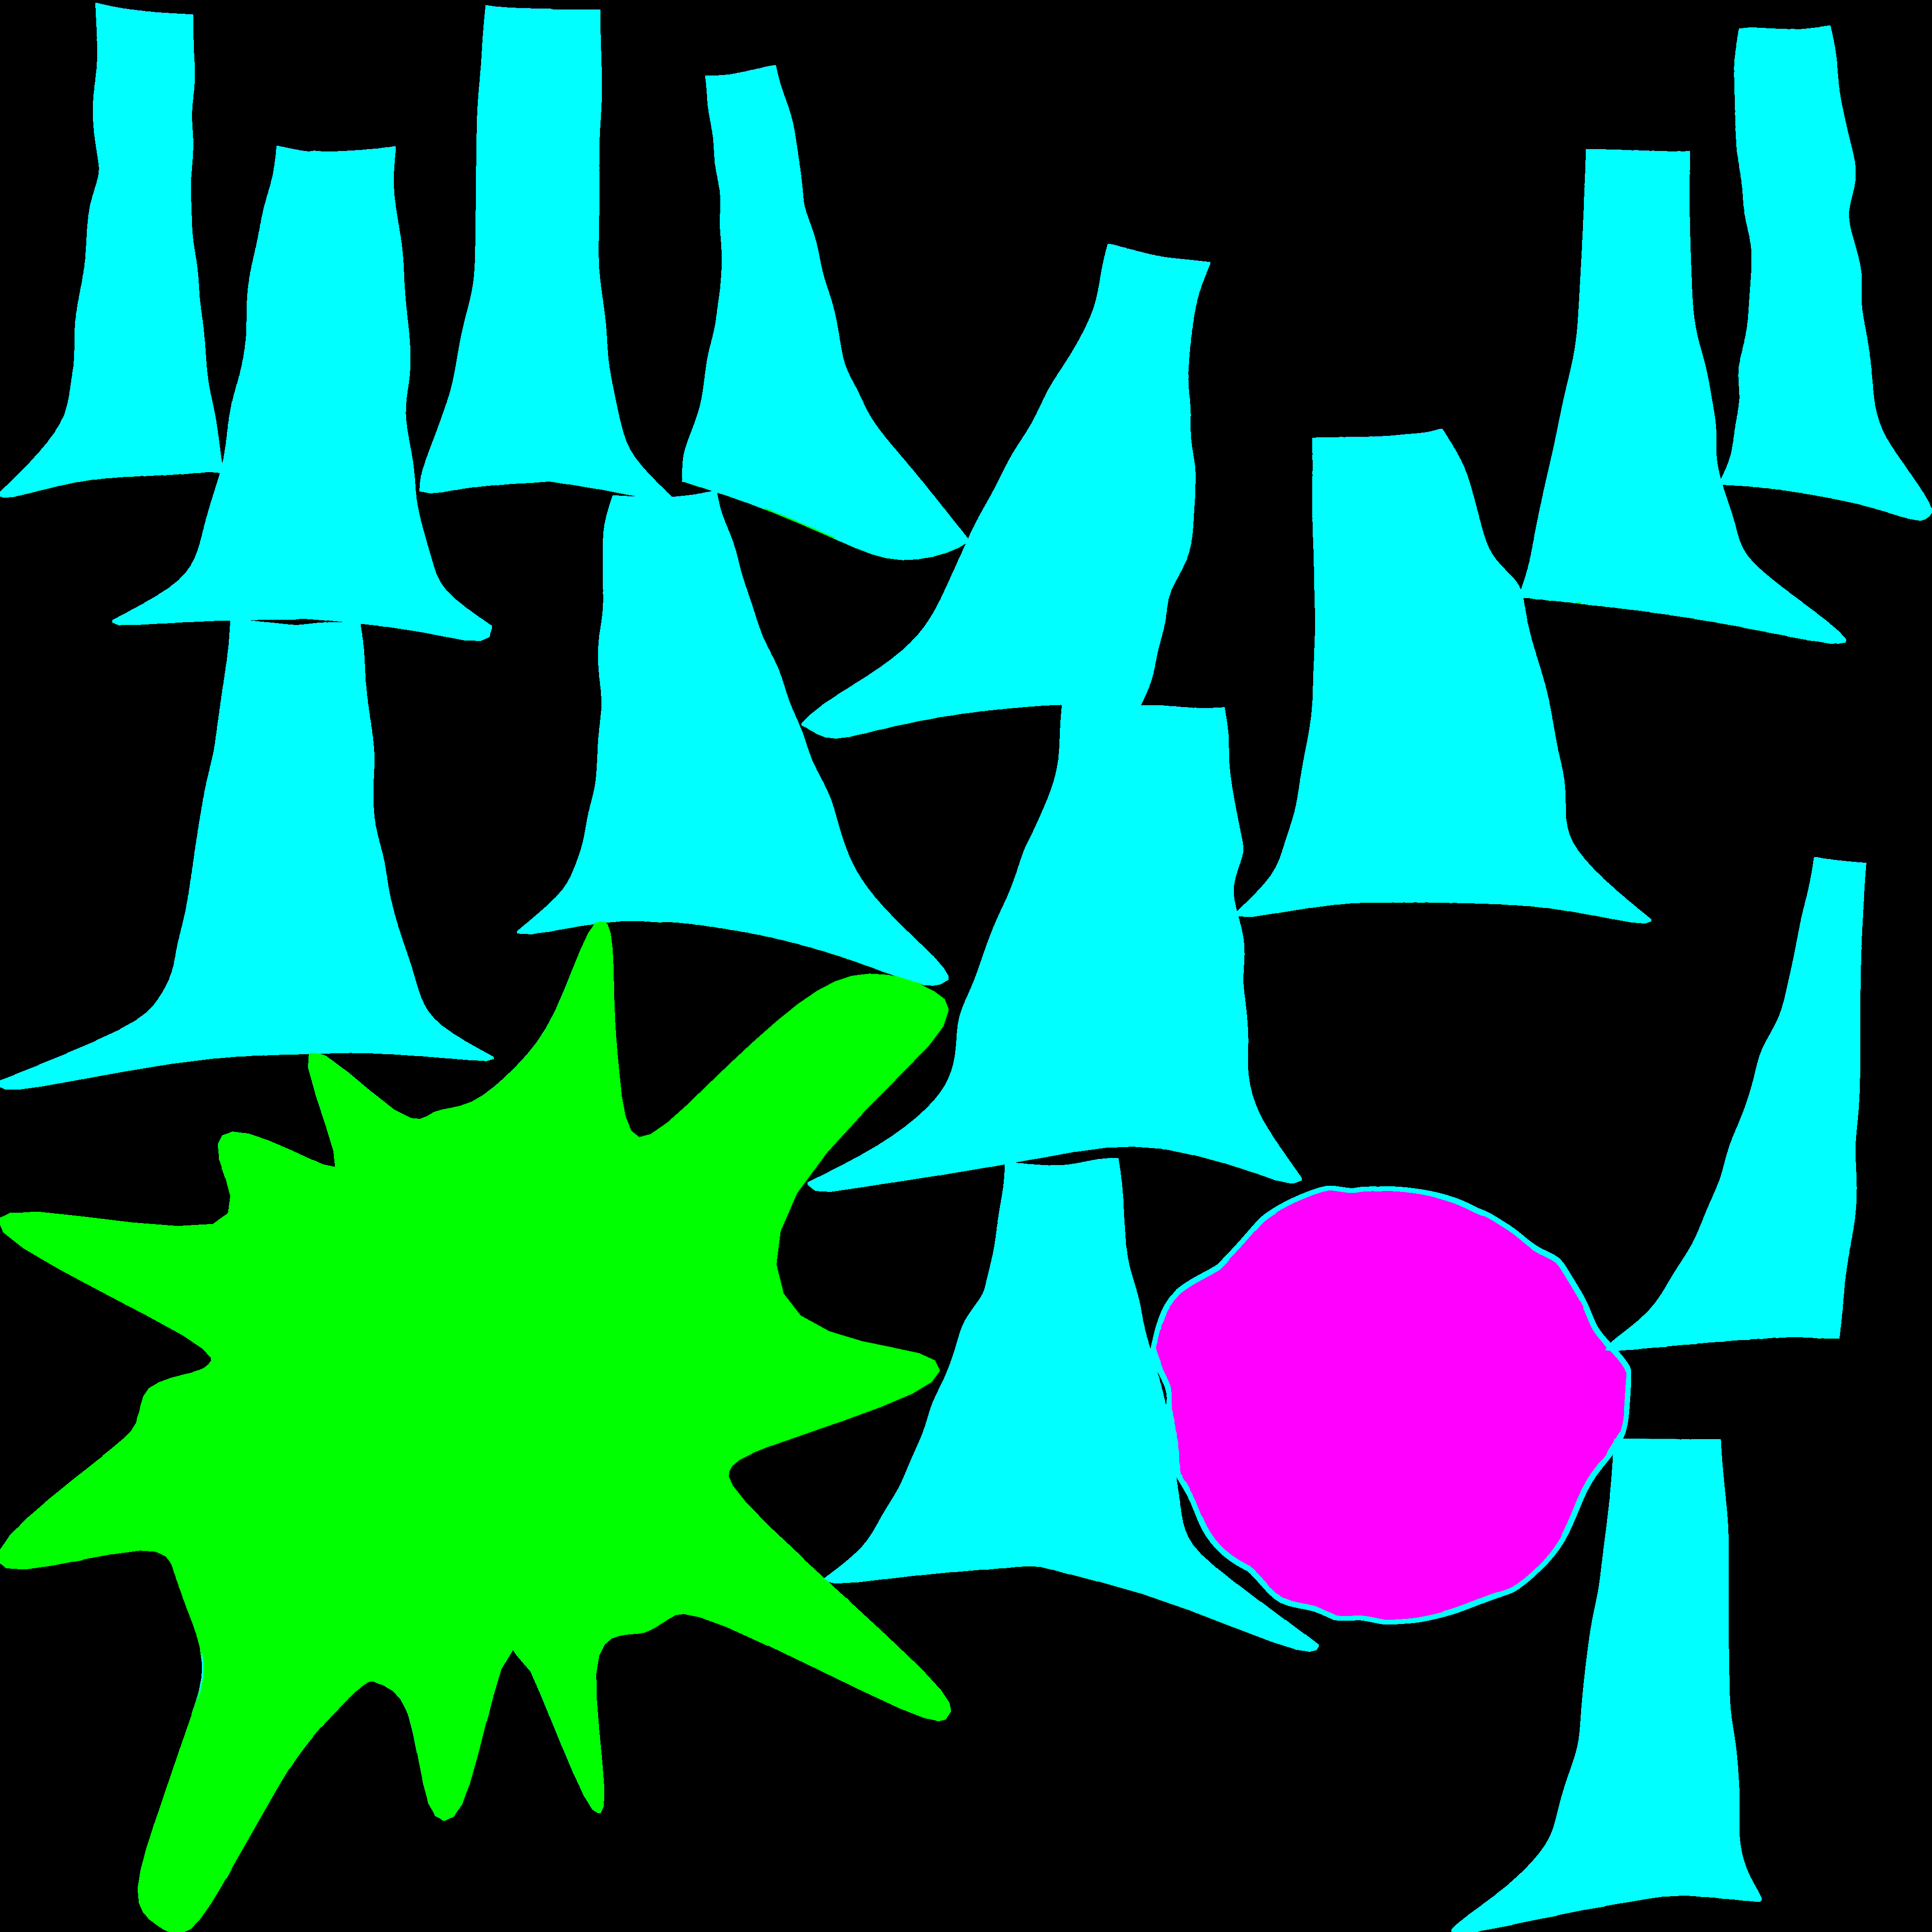
I looked into smoothing before and after UV unwrapping, and found out that it seems to work better after smoothing… this then means more selection of faces, which will make things more complicated. I decided to learn how to create selection sets, and then test if these sets still work once the object is smoothed… and they do! I created my object, created selection sets for various faces and sections of the trunk, then smoothed, before using the sets to unwrap my UV. This meant less selections, and that my selections were a lot cleaner. I did not have any issues as I did with the shelf. I also created the glass top, which worked well, and I kept this as a separate object with a separate UV so that I can use the stump separately in another asset if I wish. I also applied everything else I had learned such as correcting texel density, to prepare my model for texturing. I made sure that all of my UV faces were facing the correct way up too, as I learned with the shelf.
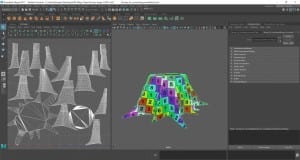
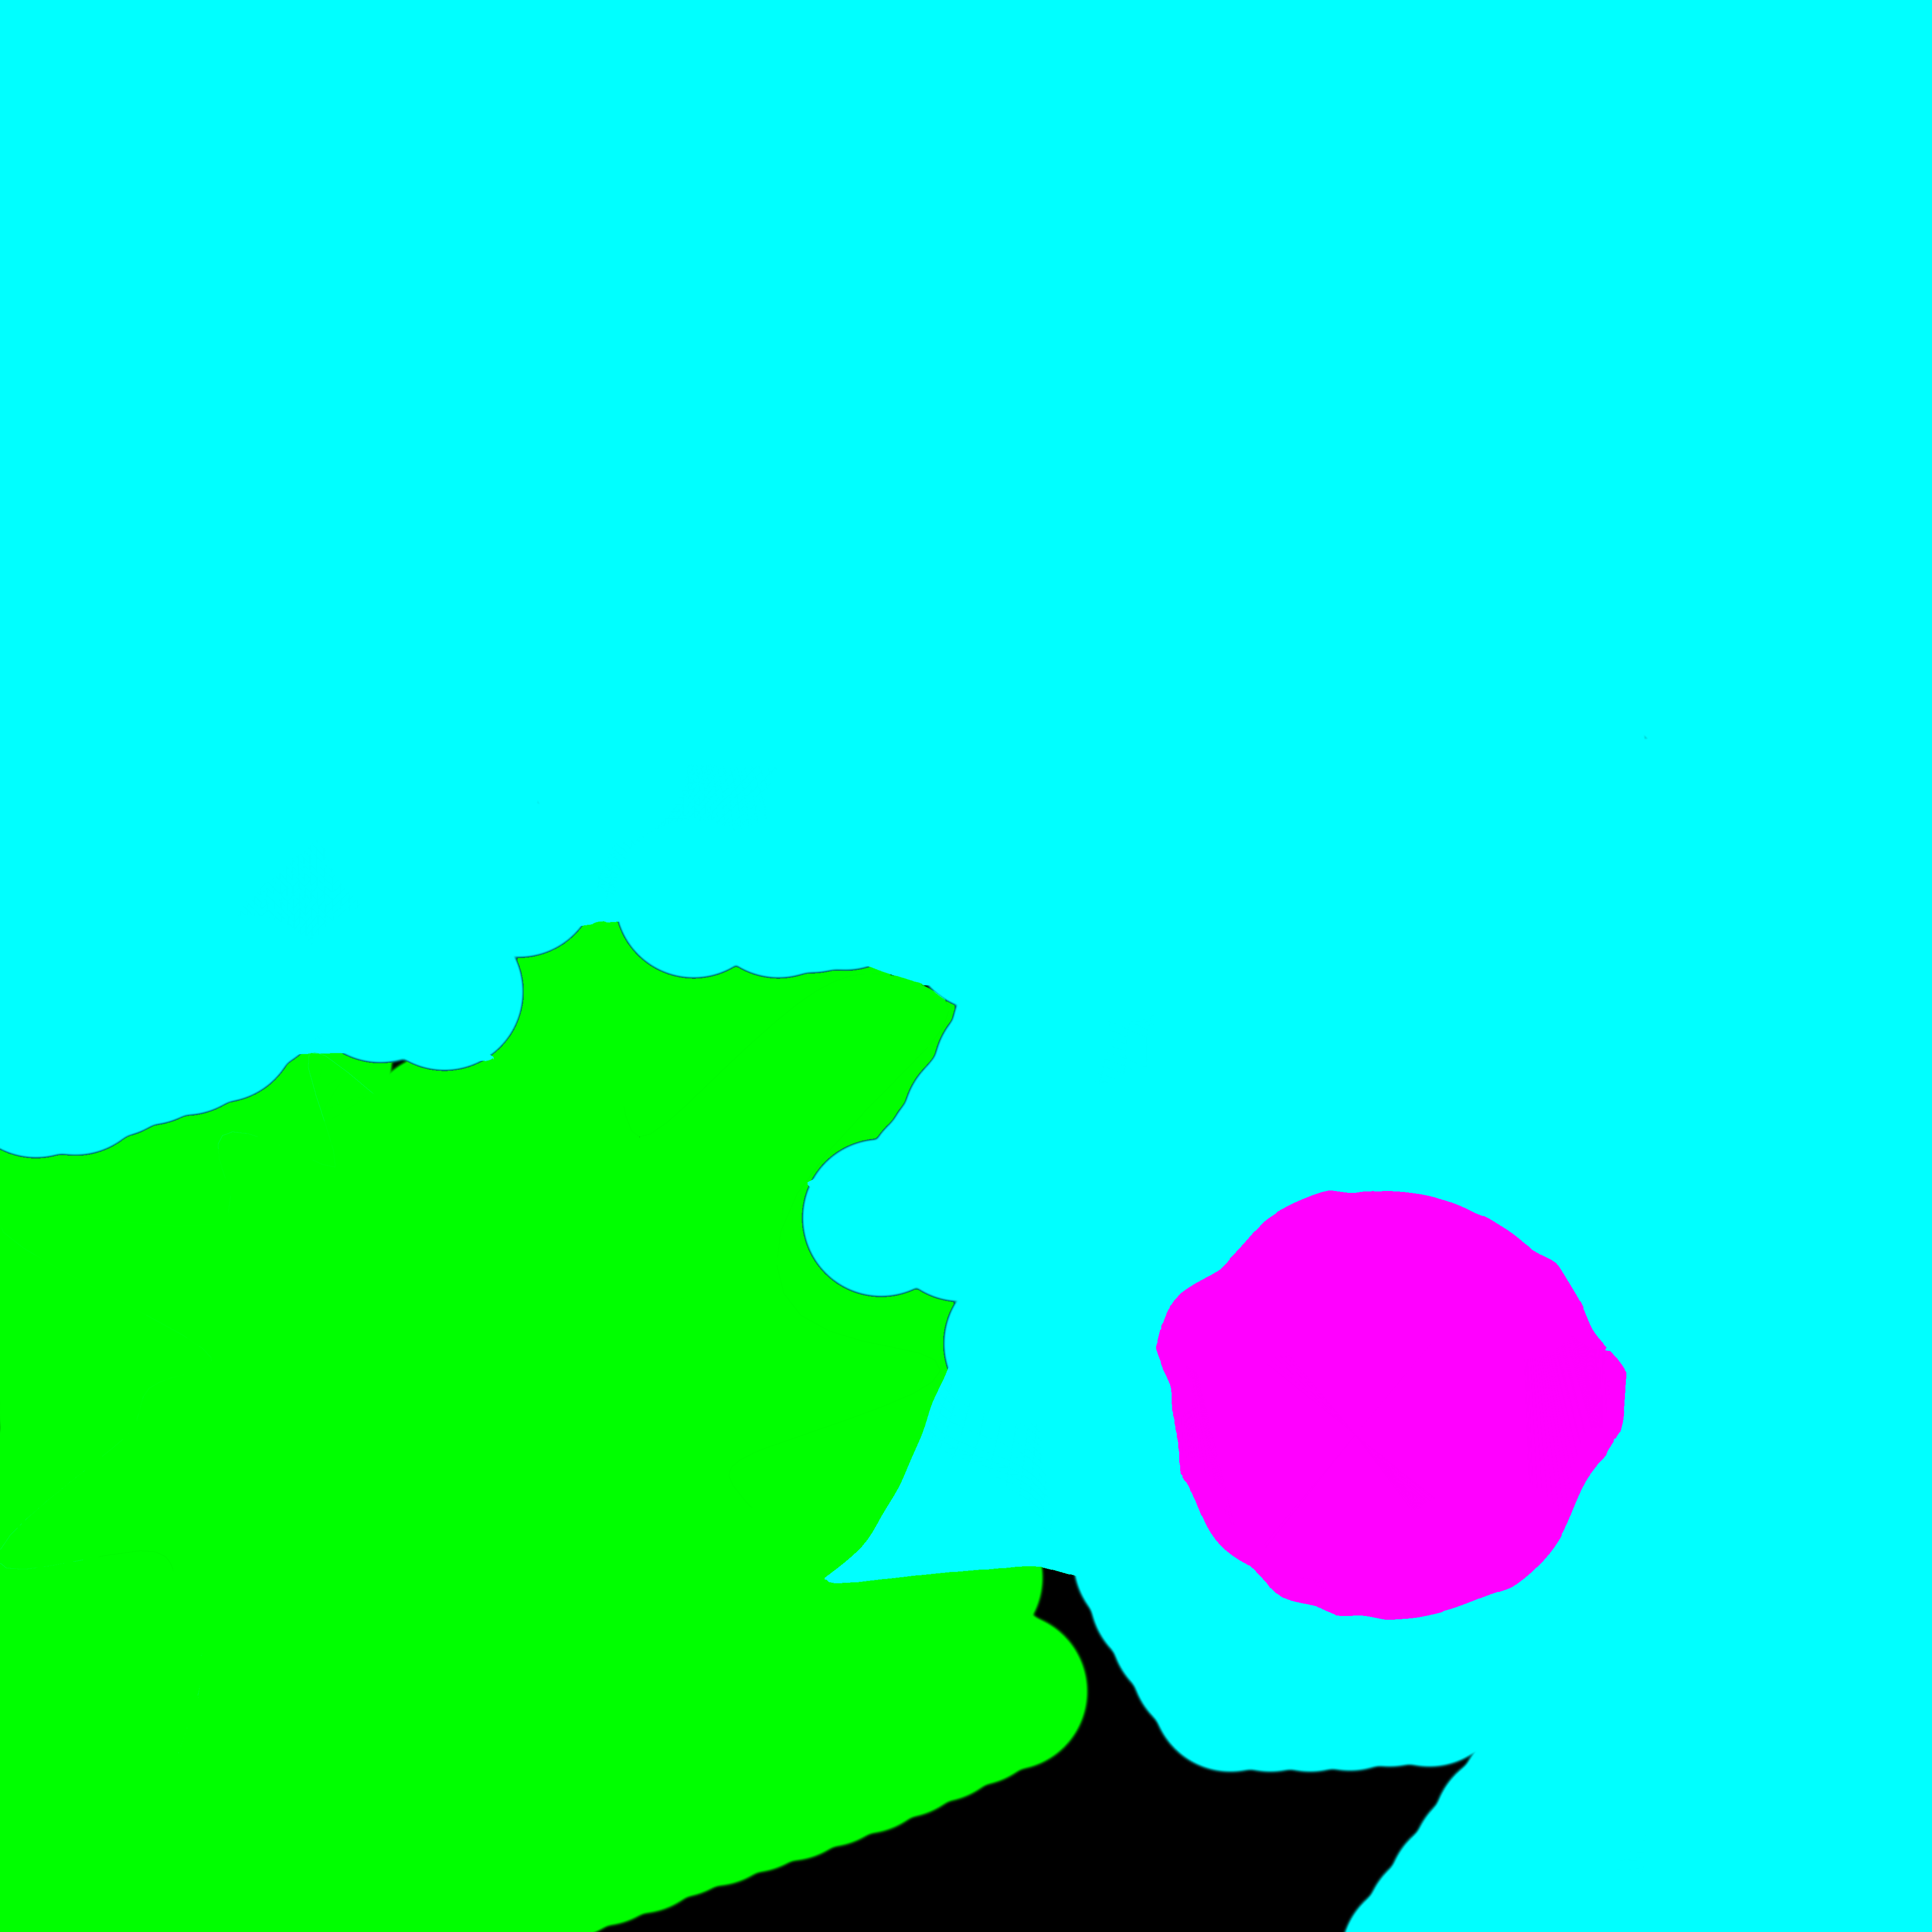
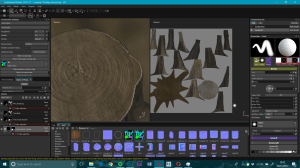
I also applied a colour ID to the top, bottom, and side of the stump, but when using this in substance, I noticed small issues with it, so I took it into photoshop and fixed it. It still had a few issues, so I experimented with painting in blocks of colour, which fixed my issues.


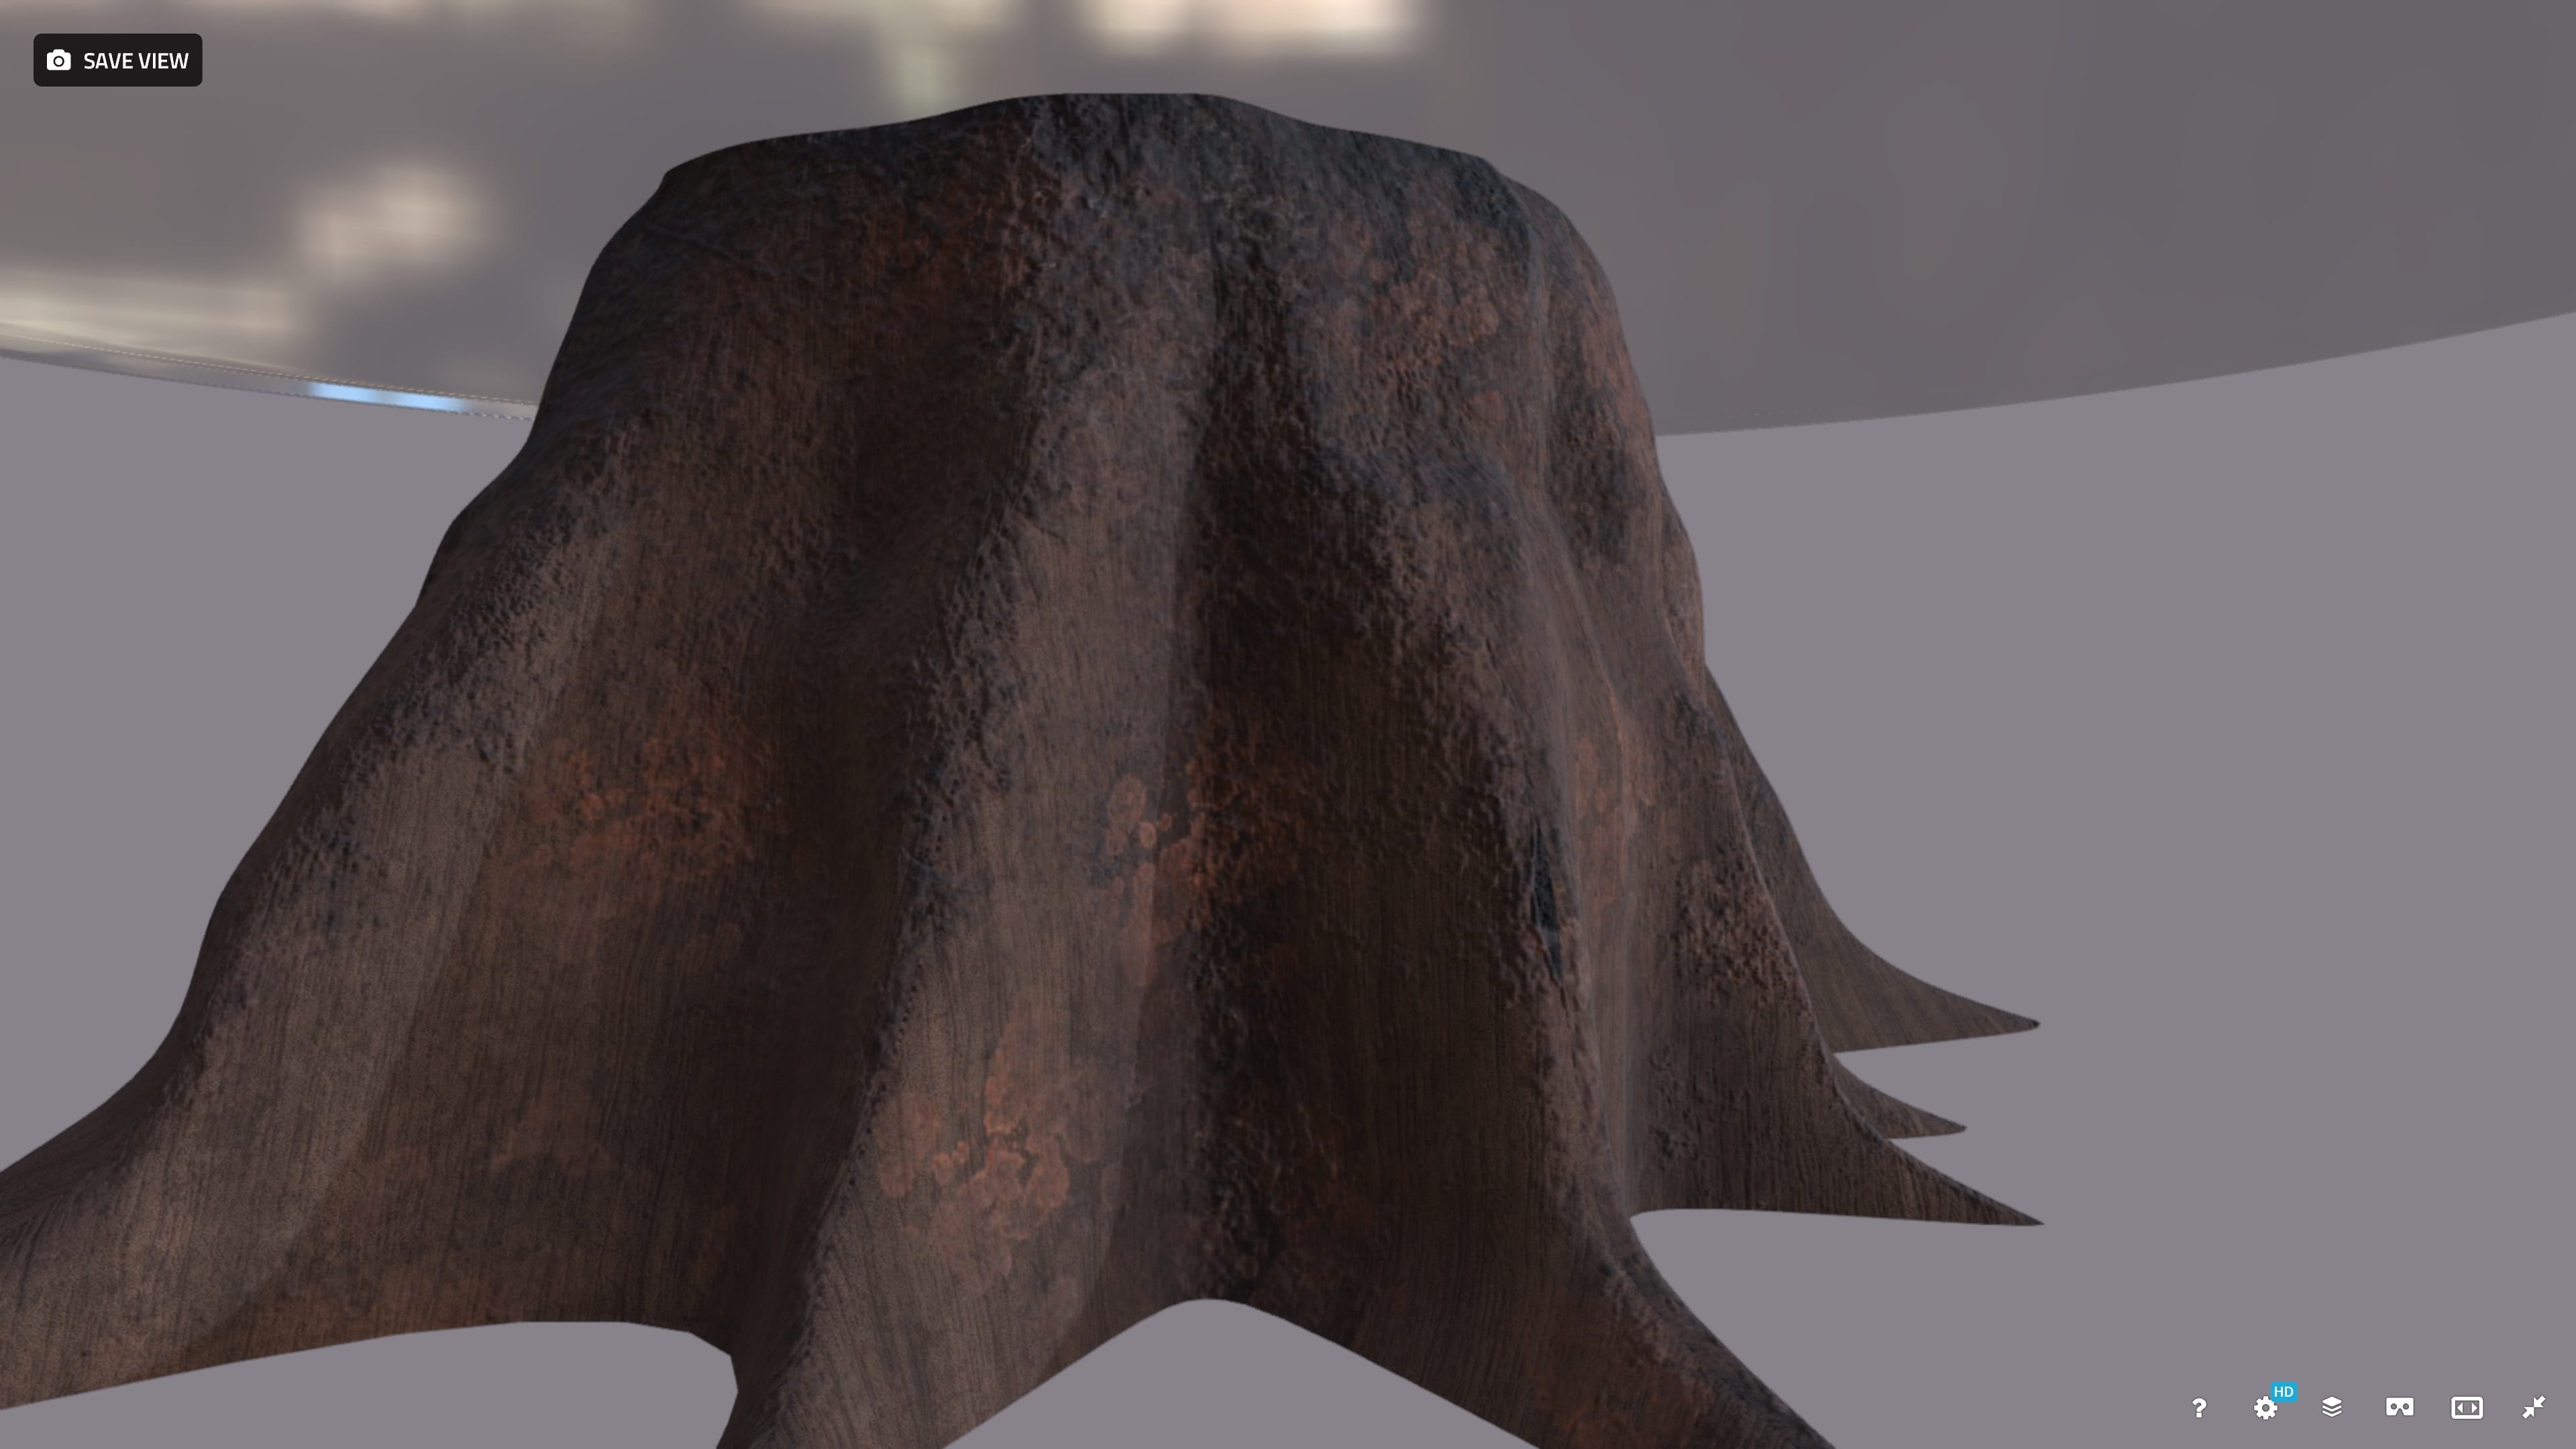
Next, my stump went into Substance Painter. I textured it using materials from substance share, and got it to an appearance I liked, with the tree rings viewable through the glass, which was the effect I was aiming for. I learnt how to apply colour ID selections to smart masks too, which helped me hugely.
I tried exporting my asset to Sketchfab, and it crashed every time. I tried many things, including different exports (which came out black), exporting using various different machines, everything crashed the programme or exported with no textures as soon as I went up to 4K. Jon and I then tested this out, and we realised that one of my main textures was slowing everything down to a great extent. Even just clicking on the texture caused the entire programme to slow down, even though it had been running fine before that.
As substance share isn’t regulated, there is no knowing how well a texture has been created or optimised, other than checking the comments and the rating of the substance. This is something I need to be careful of, and aware of in the future. Some materials are really great, and are valuable when creating the look I am aiming for, but these can come at a cost. I need to start to use textures provided as layers, to build up the look I am aiming for, with materials which may not have been initially designed to do this.
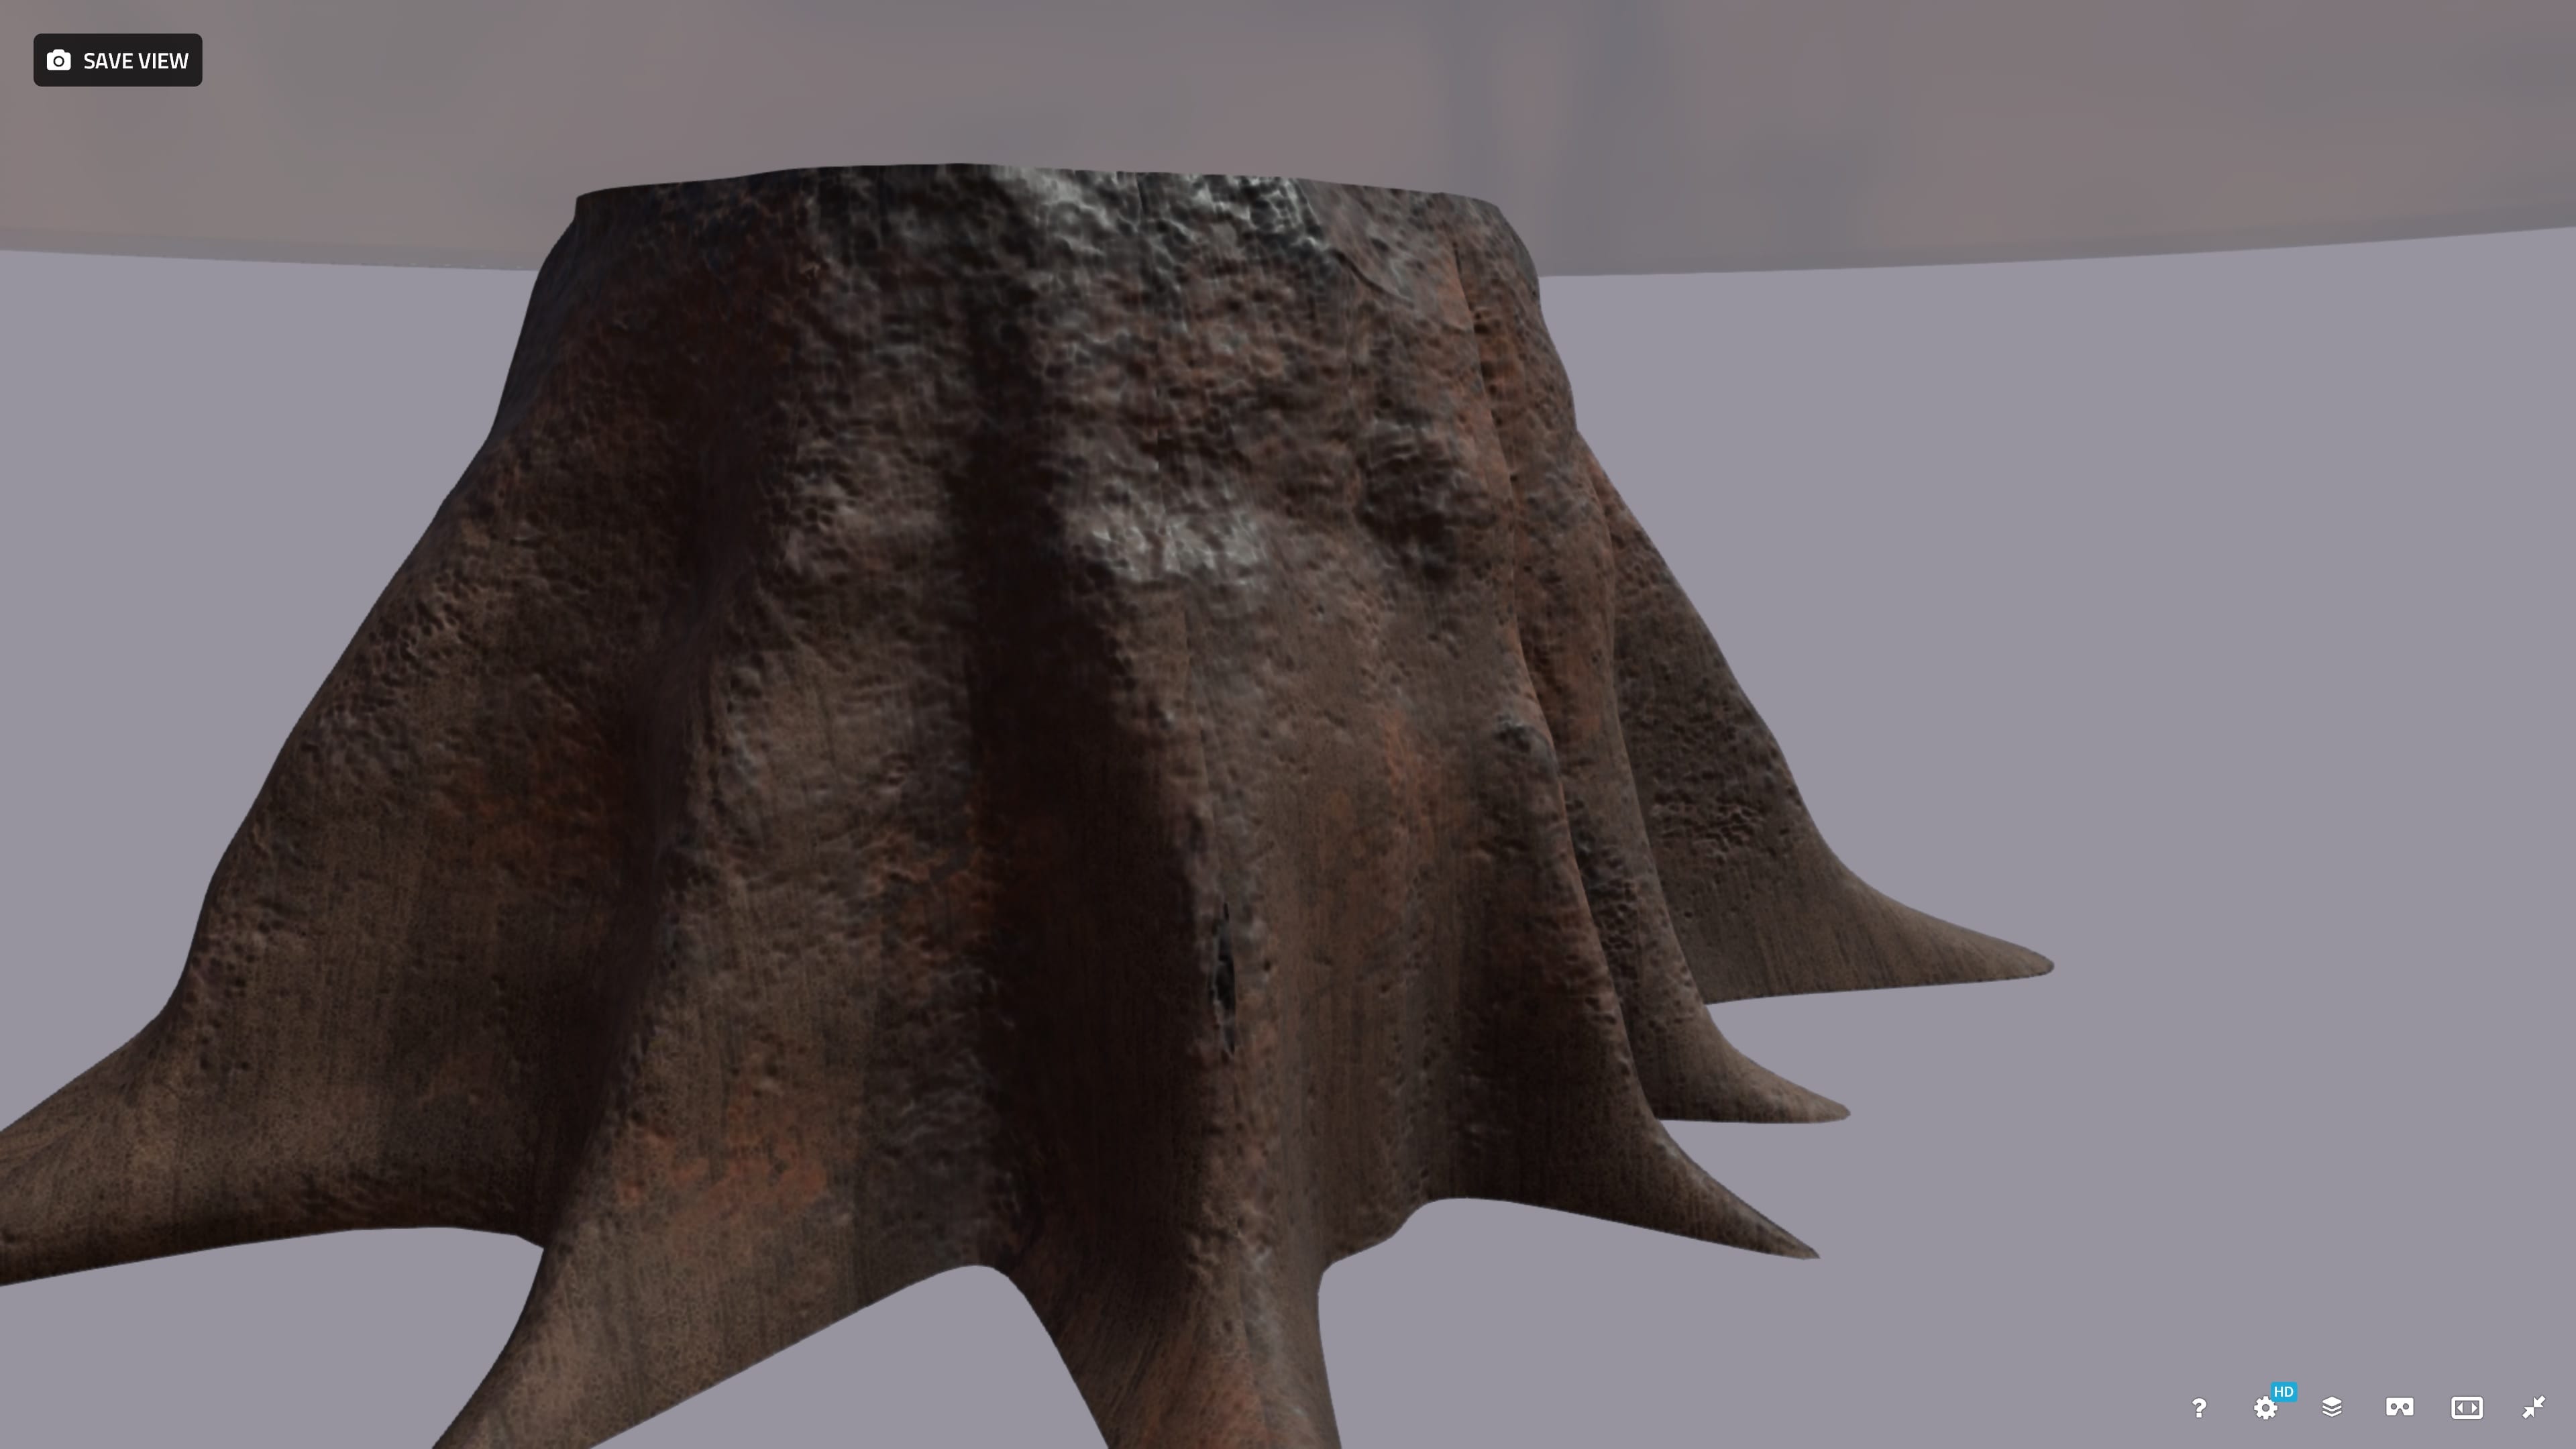
Below is my final asset, I am pleased with how this came out overall, even though I couldn’t use the texture I had planned to use, and I learned a lot in the process.