My first experiment will involve working out the software I will use, and which workflow will work best for me.
I already know that I would like to learn Maya for modelling, as many employers prefer for artists to have knowledge within Maya. Substance Painter is something I would like to learn for similar reasons. PBR is quickly becoming the way for games, and is a software I feel I need to learn. Where I go from here, is what I need to explore. I will trial ways into the gaming side of things first, exploring which game engines I will use to test my assets in.
Aims of this experiment:
- To create a simple but low poly object in Maya, and paint it in Substance as a base for my trials
- To learn how to export my textures from substance, to be used for my asset within Unity
- To learn how to export my textures from substance, to be used for my asset within Unreal
- To compare the workflow of Substance to Unreal, and Substance to Unity, and use this comparison to choose which game engine I will use for this project.
I found a very useful video for the workflow here. I followed the tutorial, which taught me how to create a high and low poly mesh. It also taught me how to use brushes in Maya to sculpt.
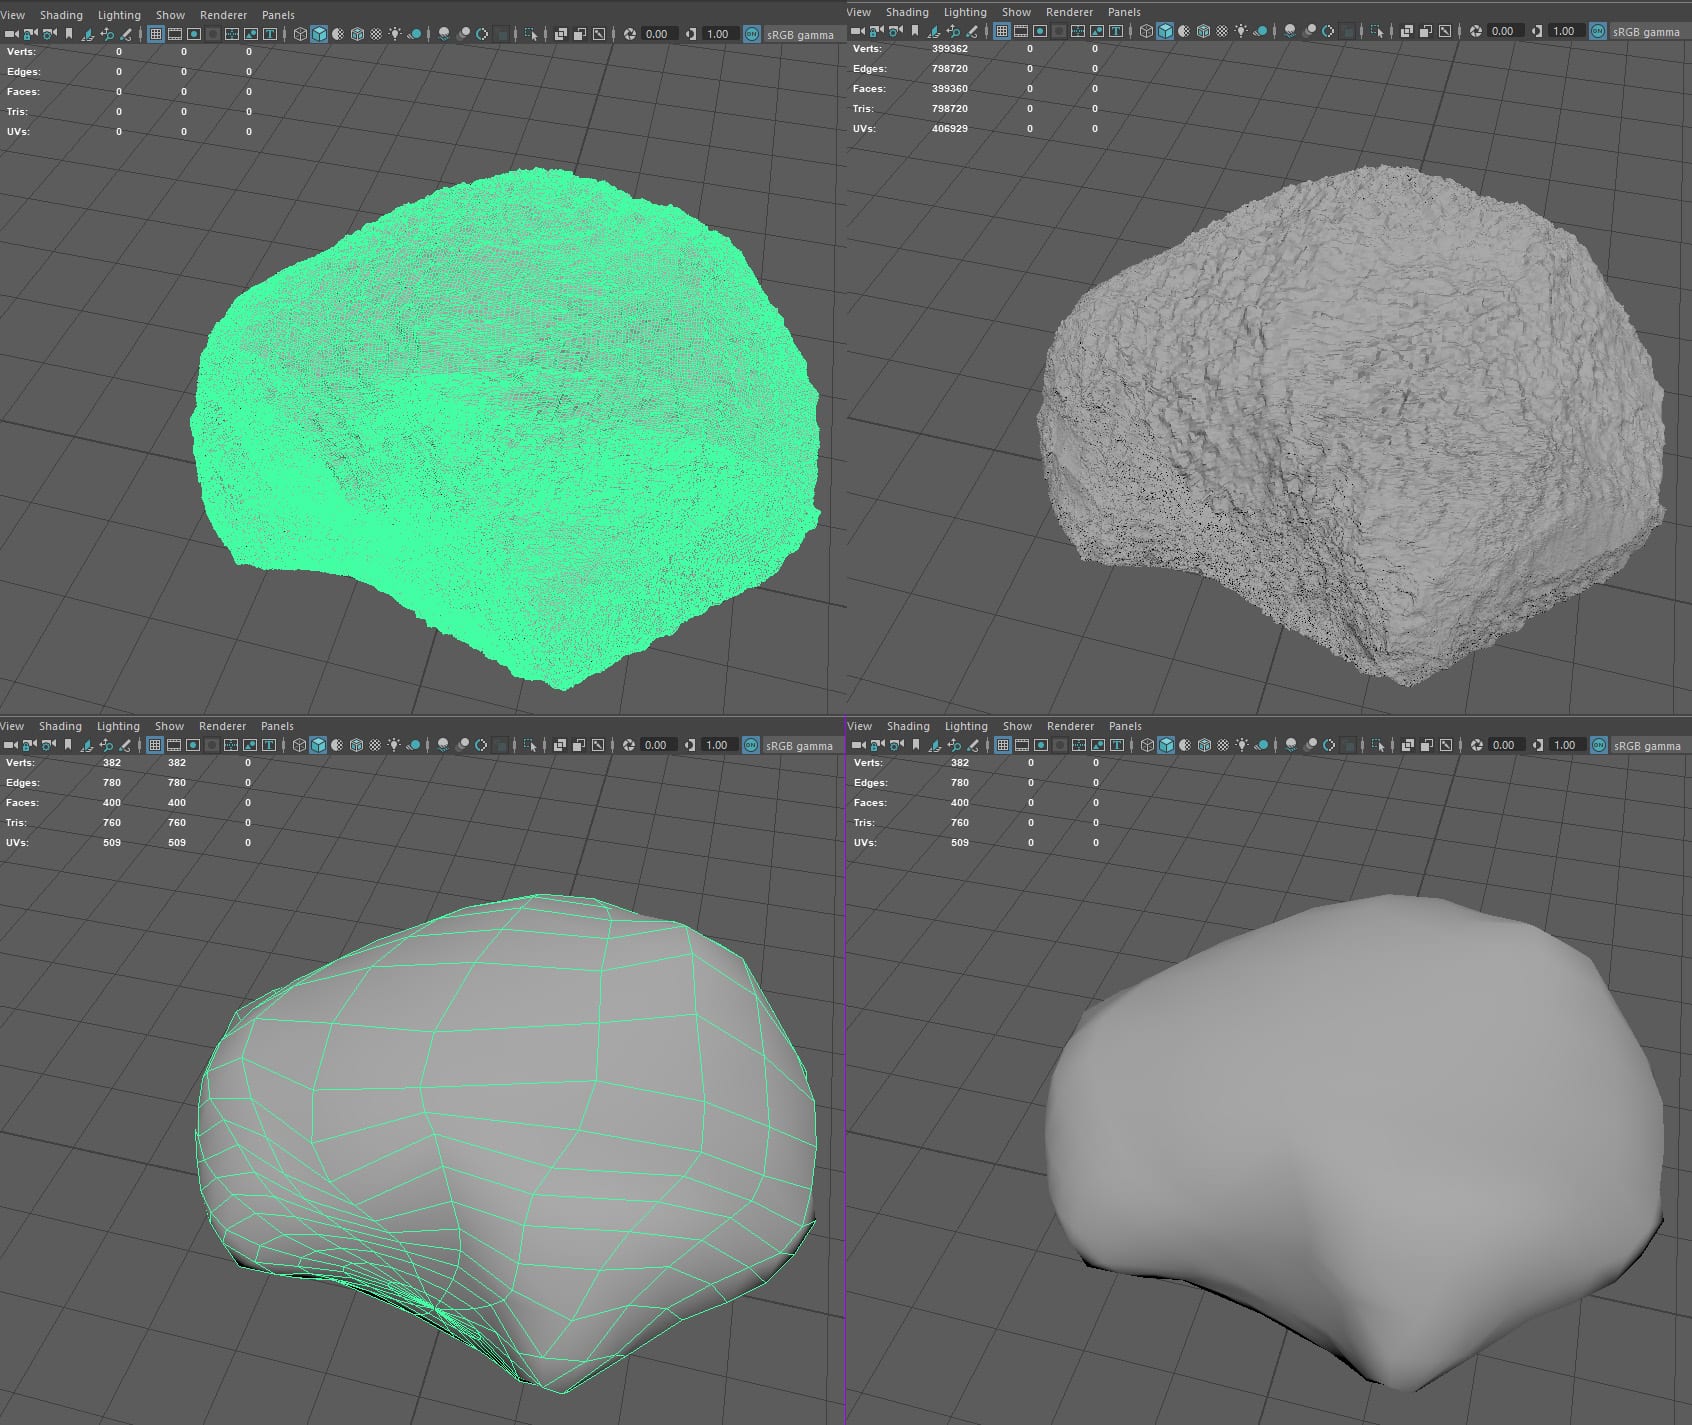
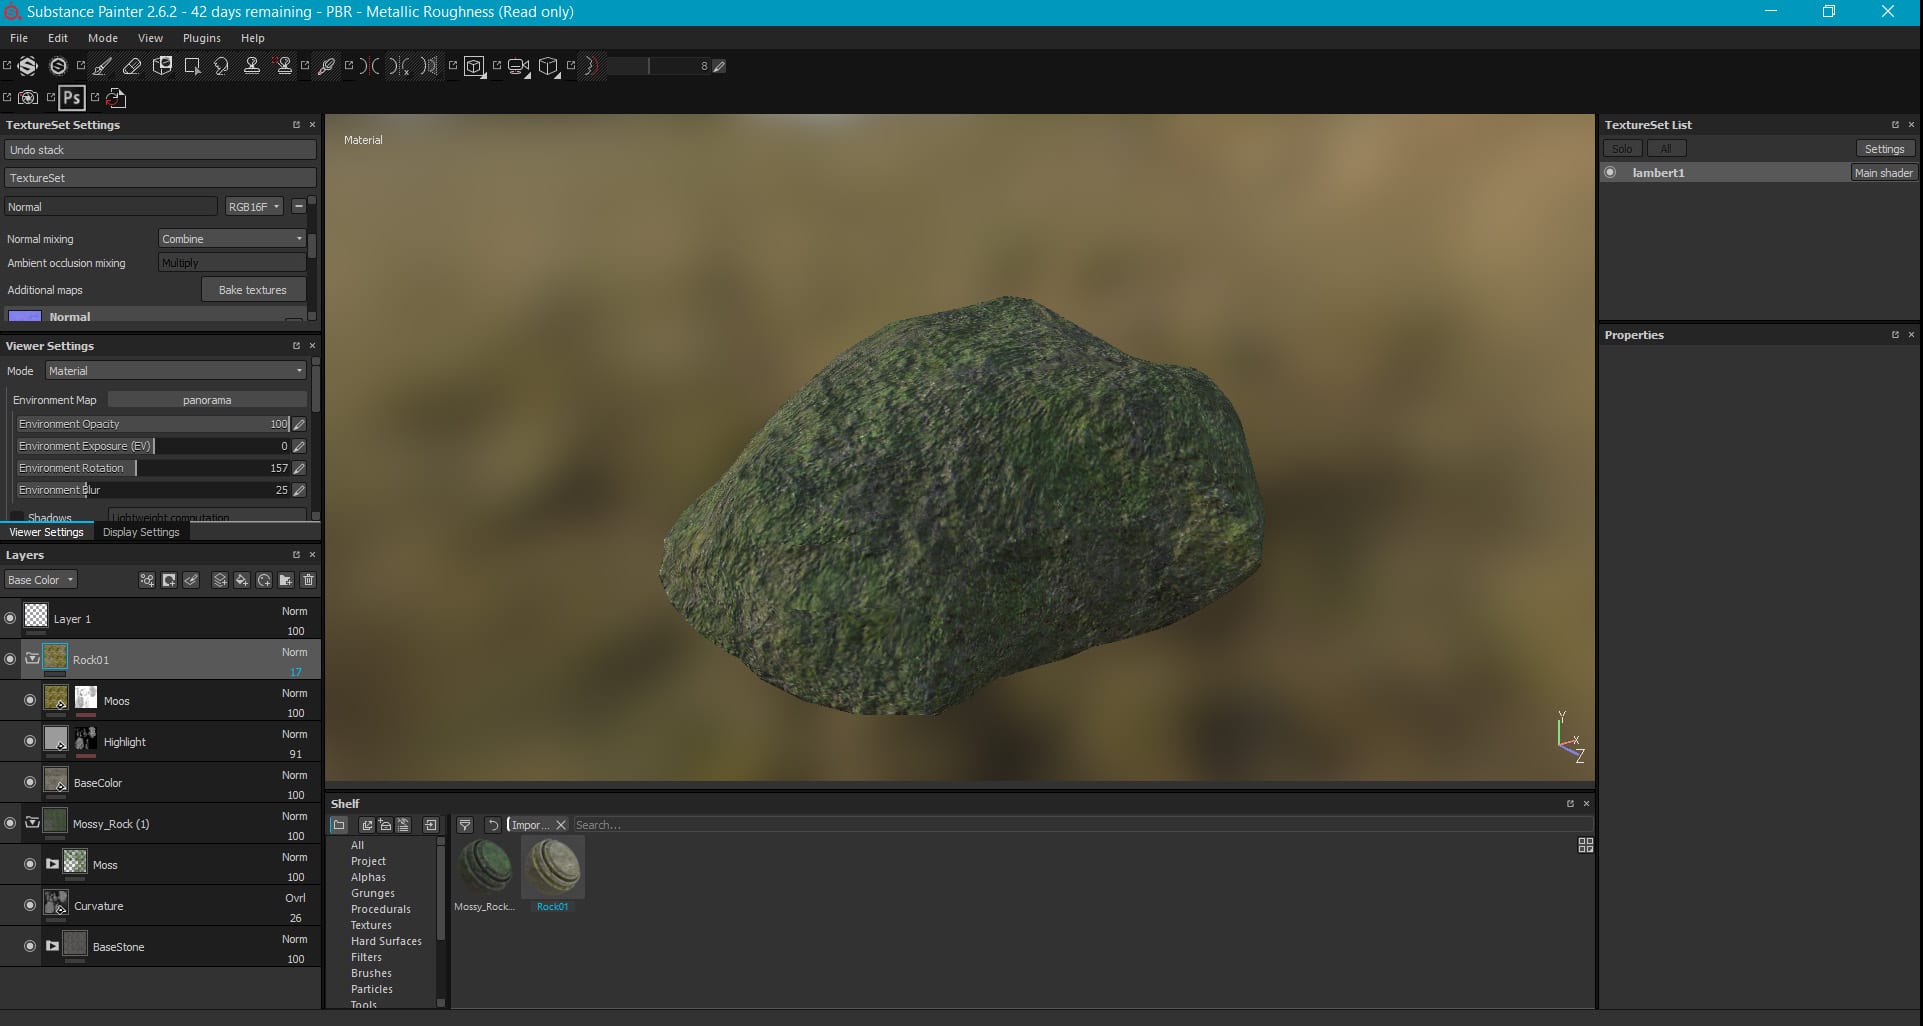
I also learned how to create the UV map from these so they matched in layout. I then followed the workflow into Substance Painter. I learned how to bake a normal map from a high to a low poly object. This is something I hadn’t planned to learn from this experiment, but is also something I needed to learn in the future, and now it makes sense. Additionally, I learned about the substance share site, which will be a great resource I can use.
After texturing, I exported the textures in preparation for Unity. I found Unity to be a really clunky interface, and it took me a long time to even get my rock with textures into the engine. In doing this, I also realised my rock was very small, which is something I need to be cautious of when creating future assets. My model needs to be much larger when created in Maya.
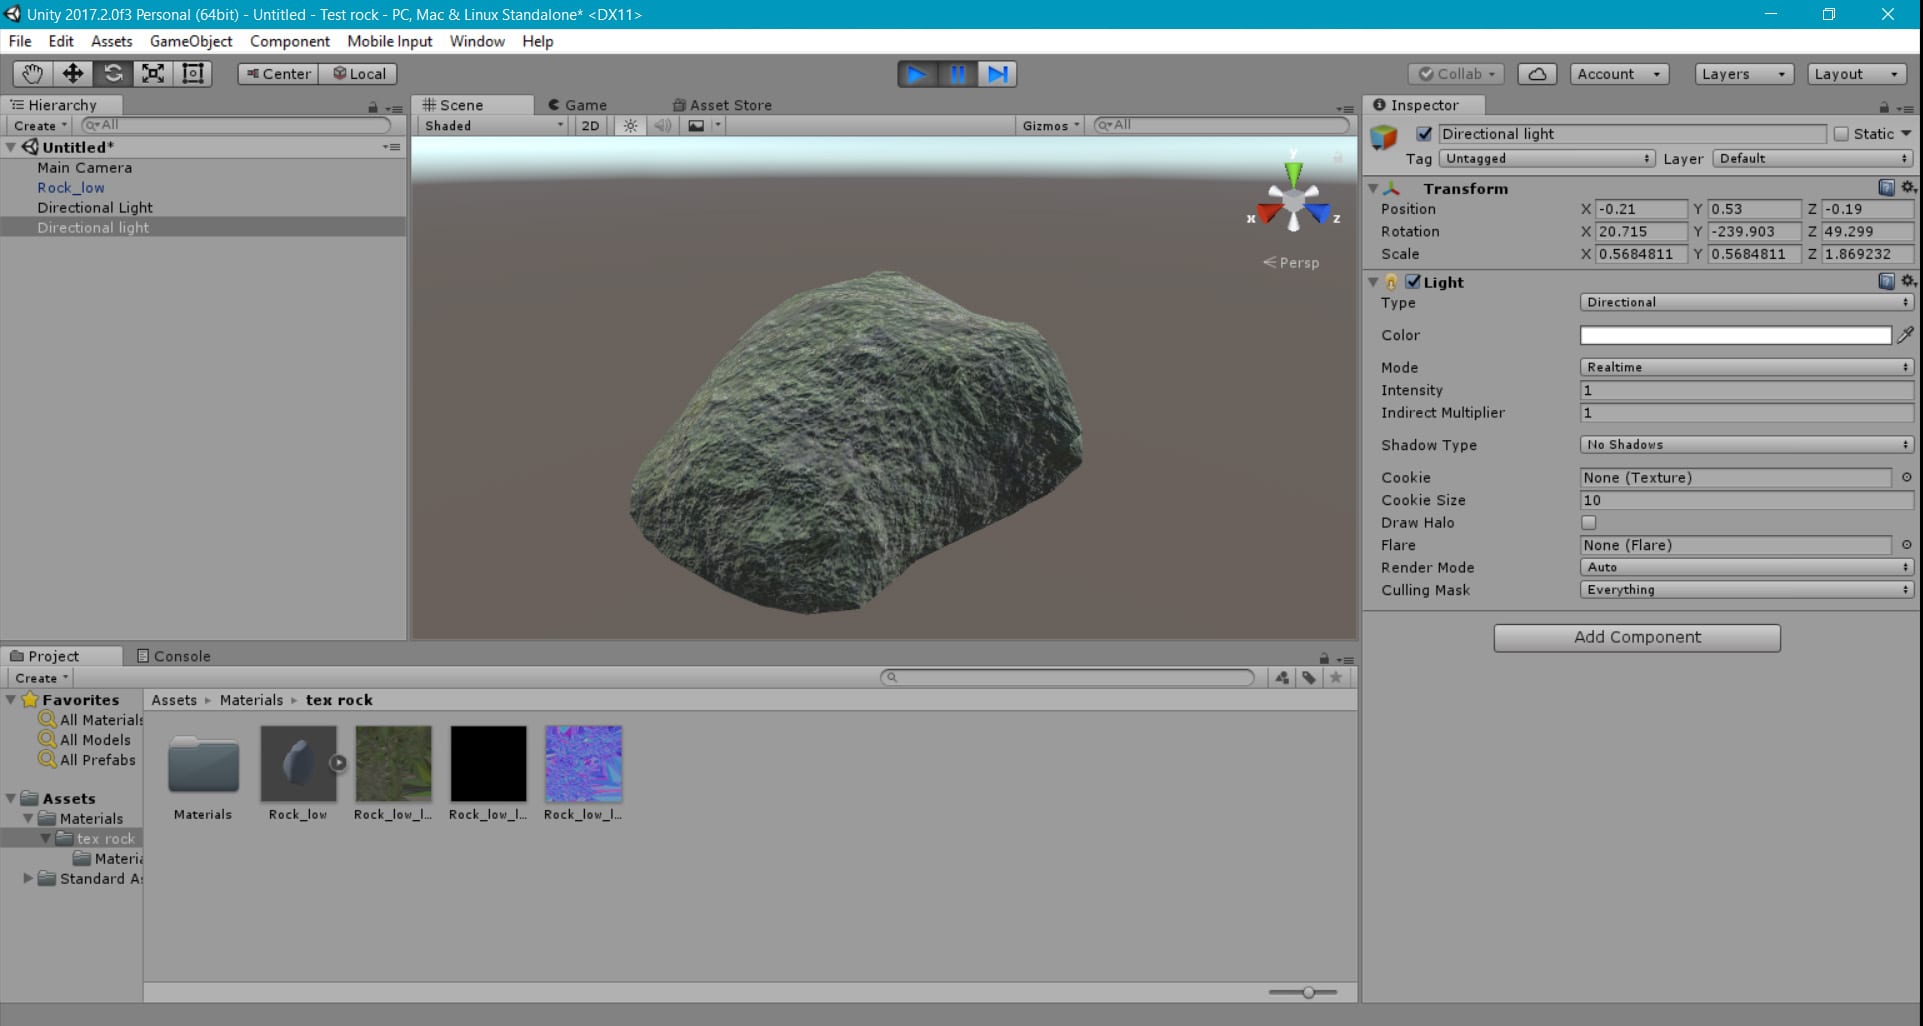
I also feel as though my textures look less realistic in this, though I’m unsure on whether this is just down to lighting.
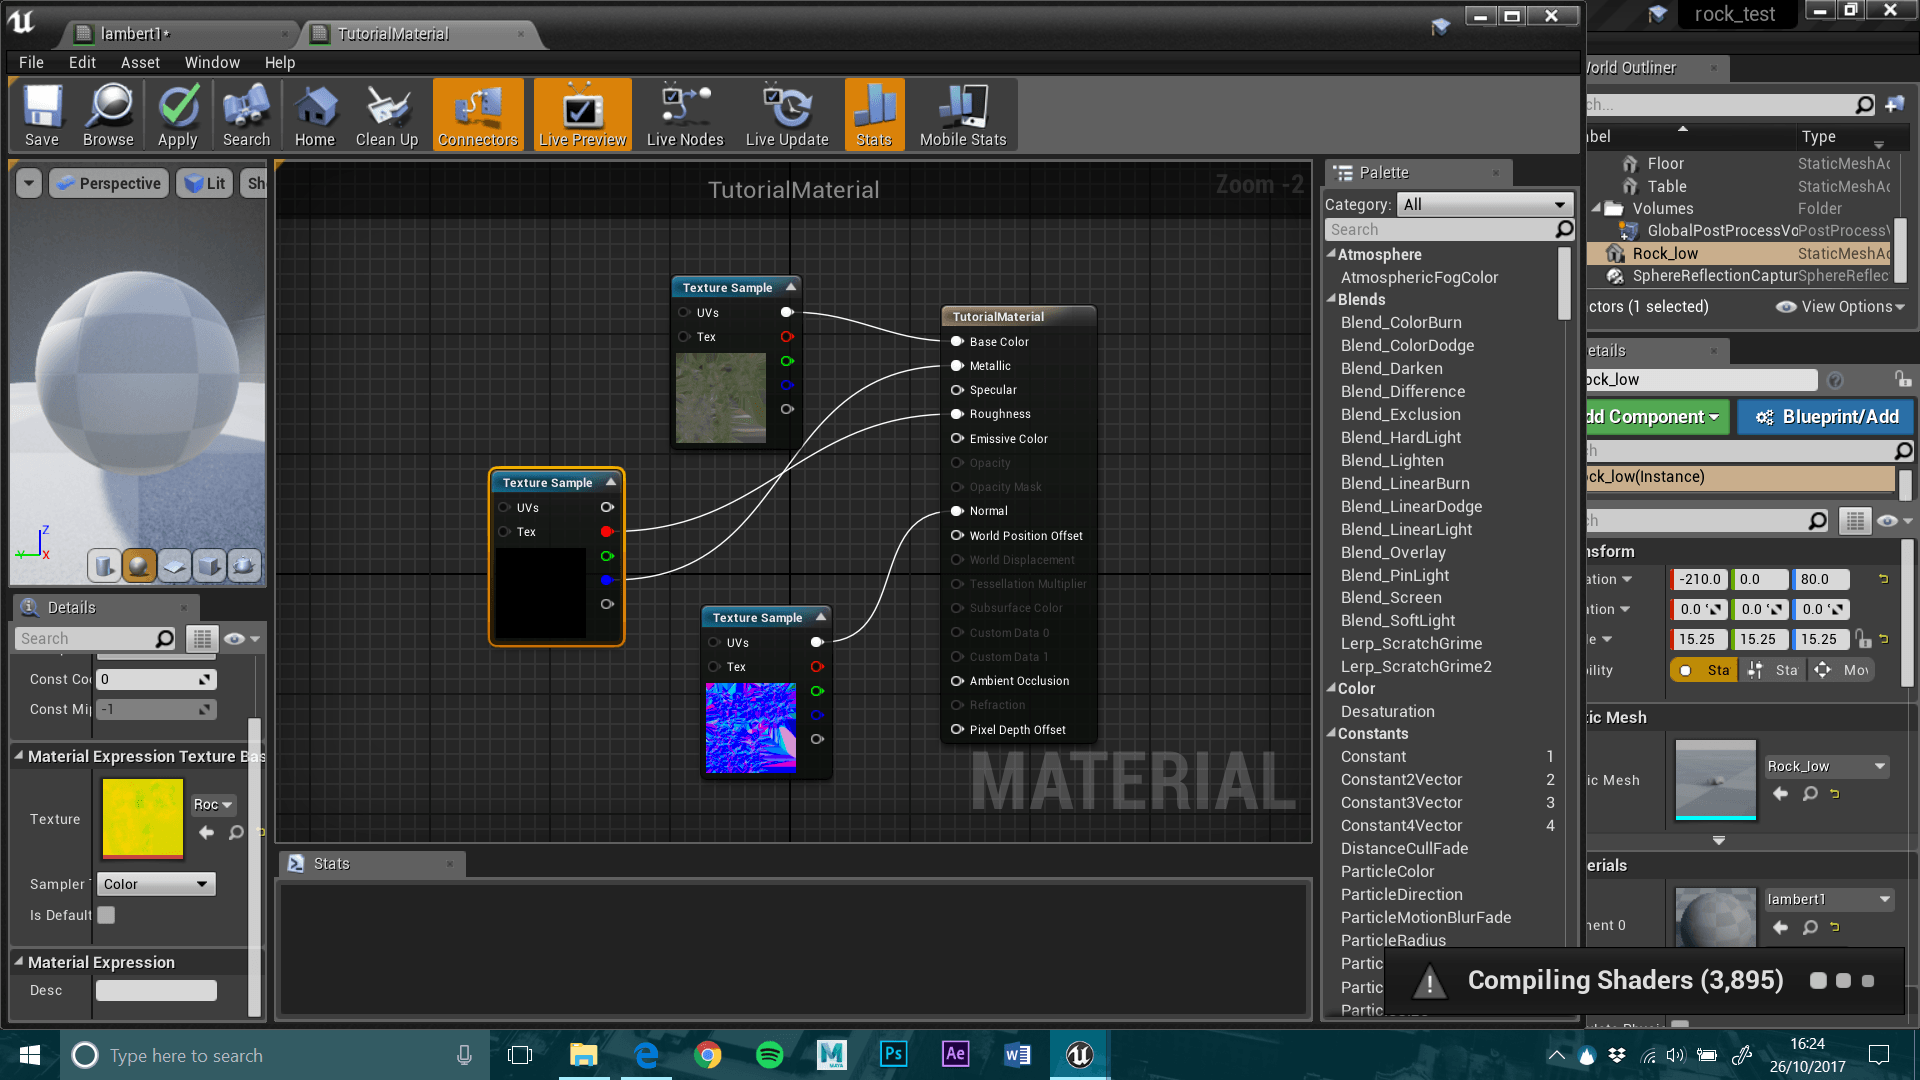
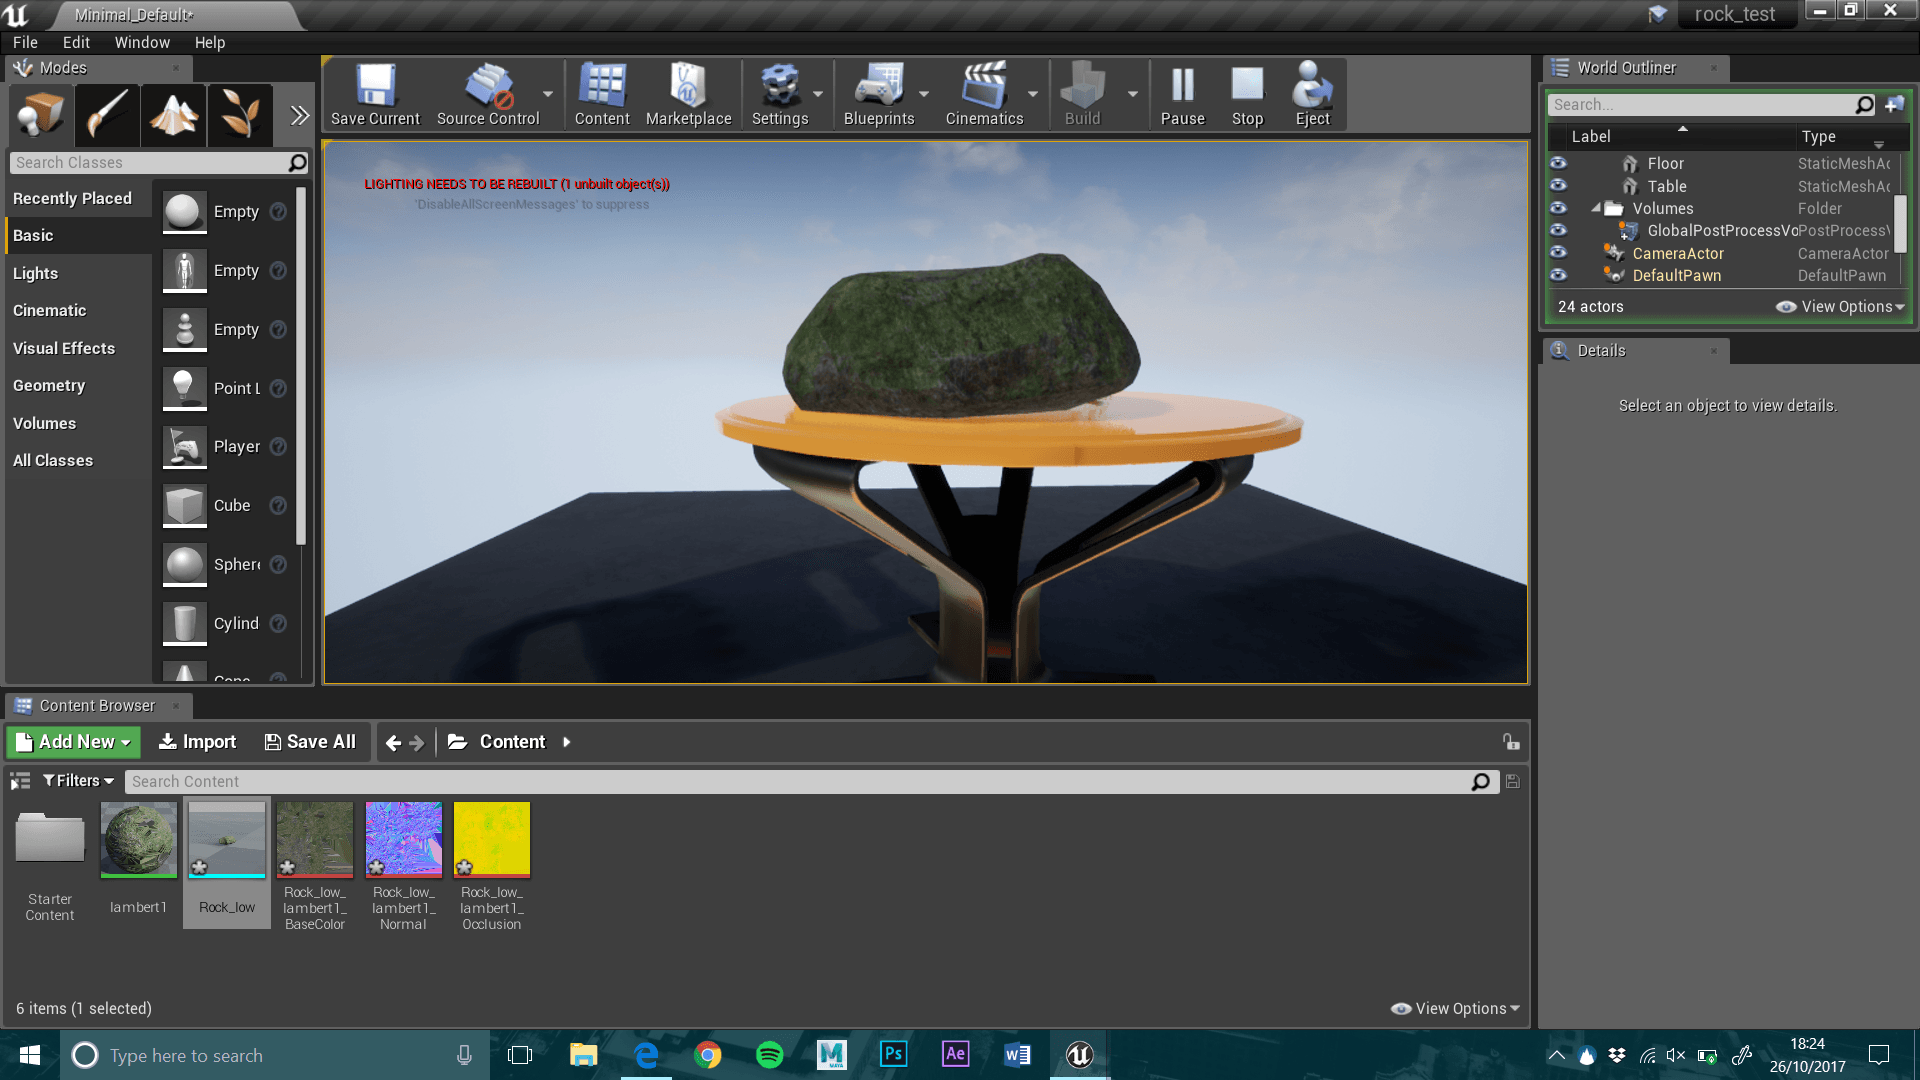
I then attempted to do the same, but with Unreal next. I prefer the interface on this significantly, and it was easy to import my asset into a pre-made environment to test it. I learned how to link nodes to import the substances from painter, and it was over all a much easier experience. My machine struggled to handle unreal, so this is something I need to consider in the future.
I then exported my rock to SketchFab, which will be my way to test my assets in a game engine this semester. It is simple to do, and easy to quickly see how the asset looks, as well as it being a great way to view all layers, including the mesh. I have decided this is the engine I will use, as my machine can handle it easily, and it is a fast workflow for testing and displaying my work.
What I learned:
- How to create a simple but low poly object in Maya, and paint it in Substance as a base for my trials
- How to export my textures from substance, to be used for my asset within Unity
- How to export my textures from substance, to be used for my asset within Unreal
- Which game engine I will use for this project
I also learned additional things along the way:
- How to create low and high poly assets with the same mesh
- How to sculpt details using brushes in Maya
- How to bake a normal map from a high poly object
- Where to find a large database of materials and brushes for Substance
Things I need to improve on:
- Making sure the low poly mesh doesn’t bulge past the bounds of the high poly mesh
- Making sure the Asset created in Maya is larger before I export the .fbx
- Checking my asset’s textures look as effective in SketchFab