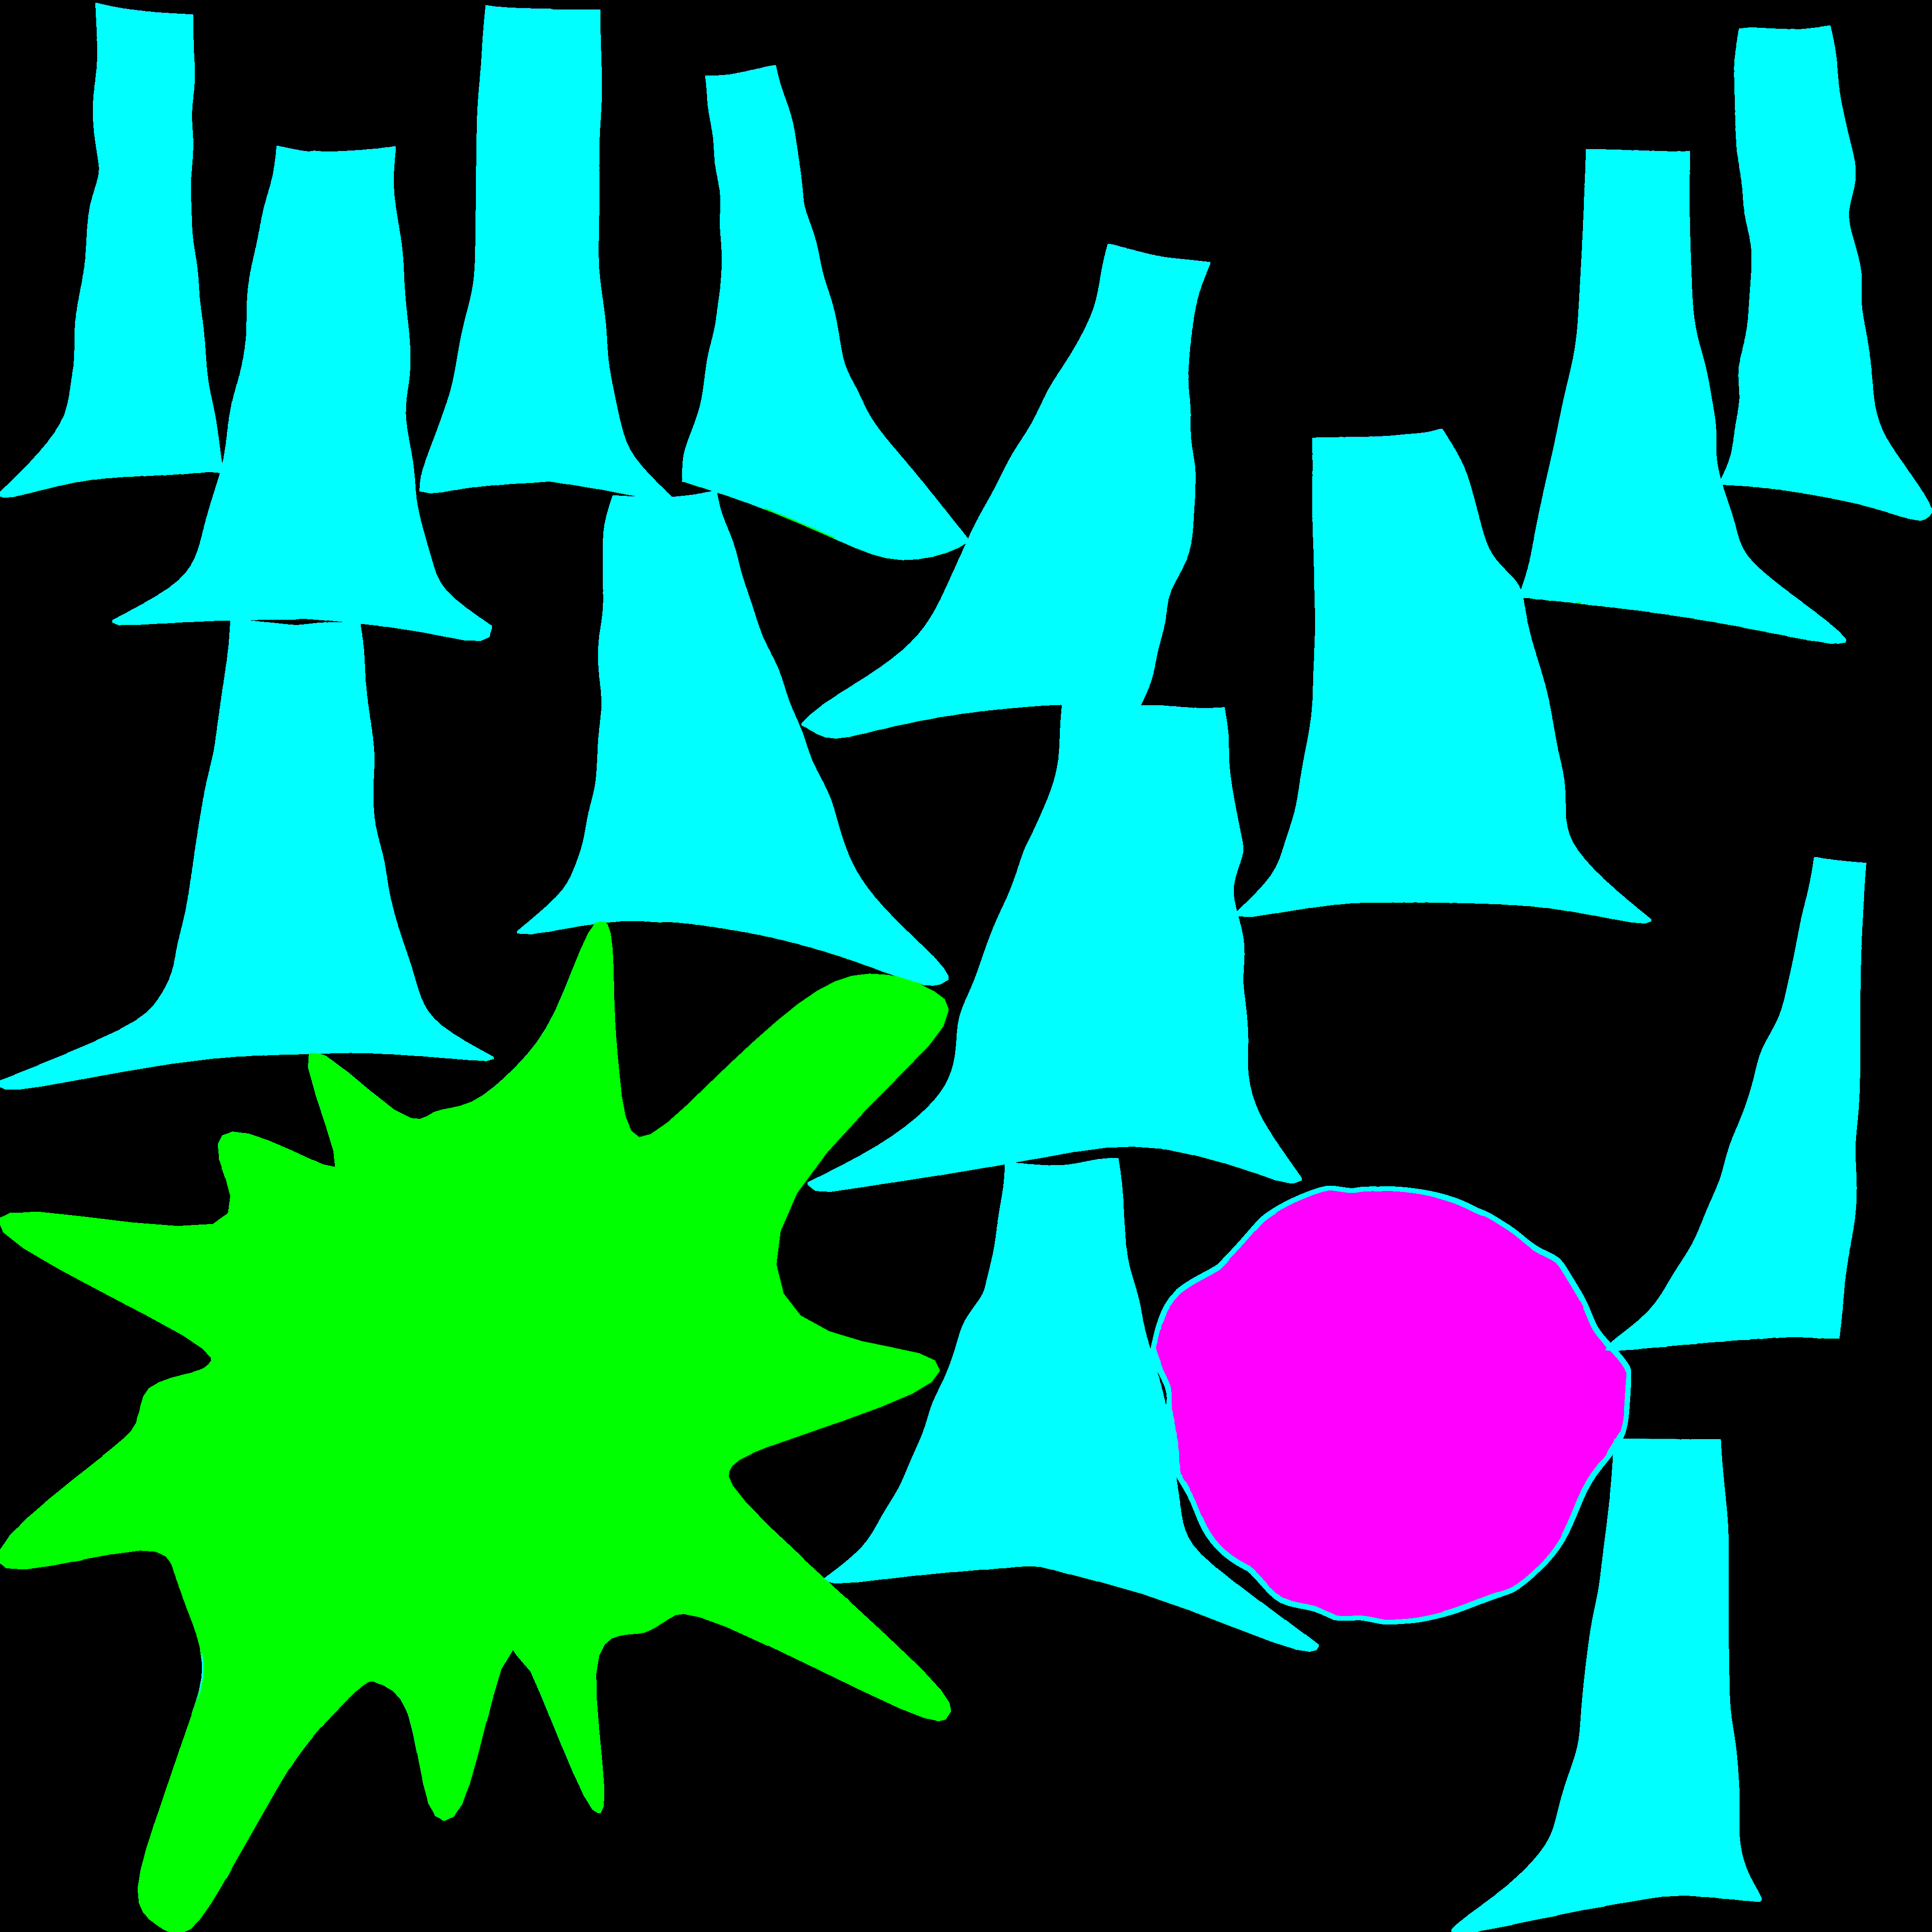
After applying my UVs, I experimented with a different way to create my colour ID maps.
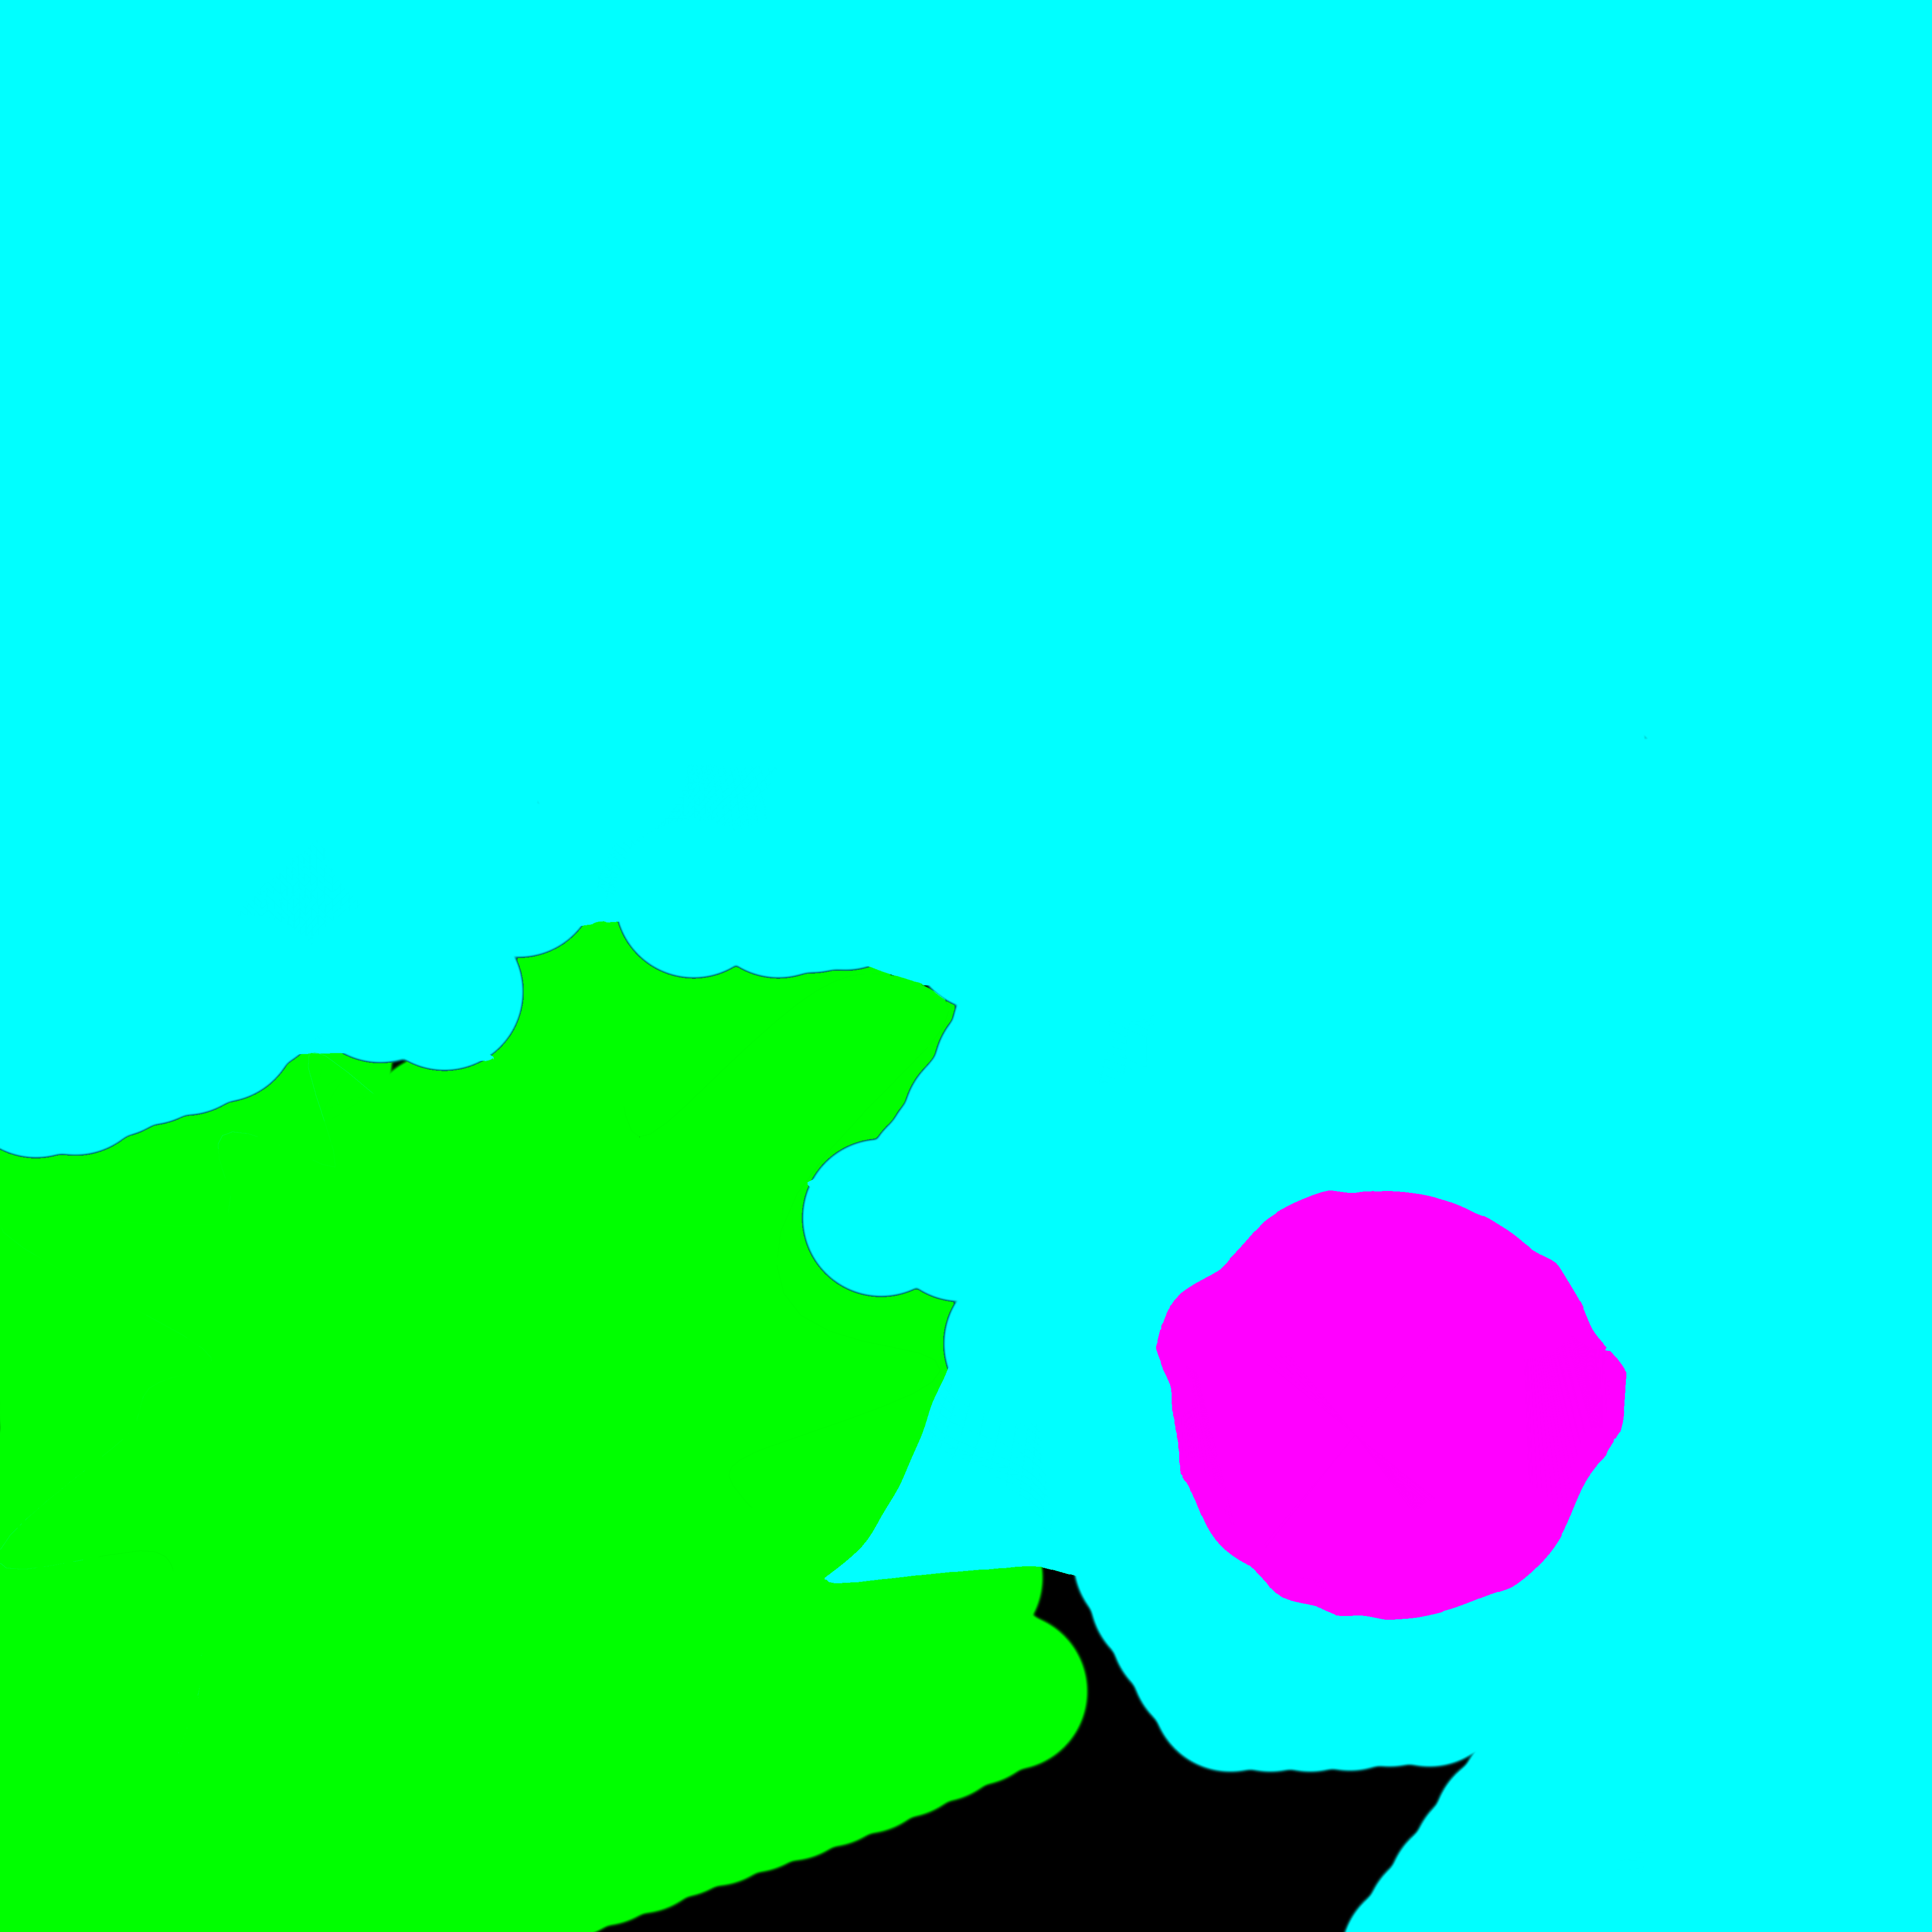
When creating the colour ID for the stump, I realised that there were issues with the edges, which I then fixed in Photoshop. This took a large amount of time, and still had issues so I tried simply painting in blocks, which proved to be successful.
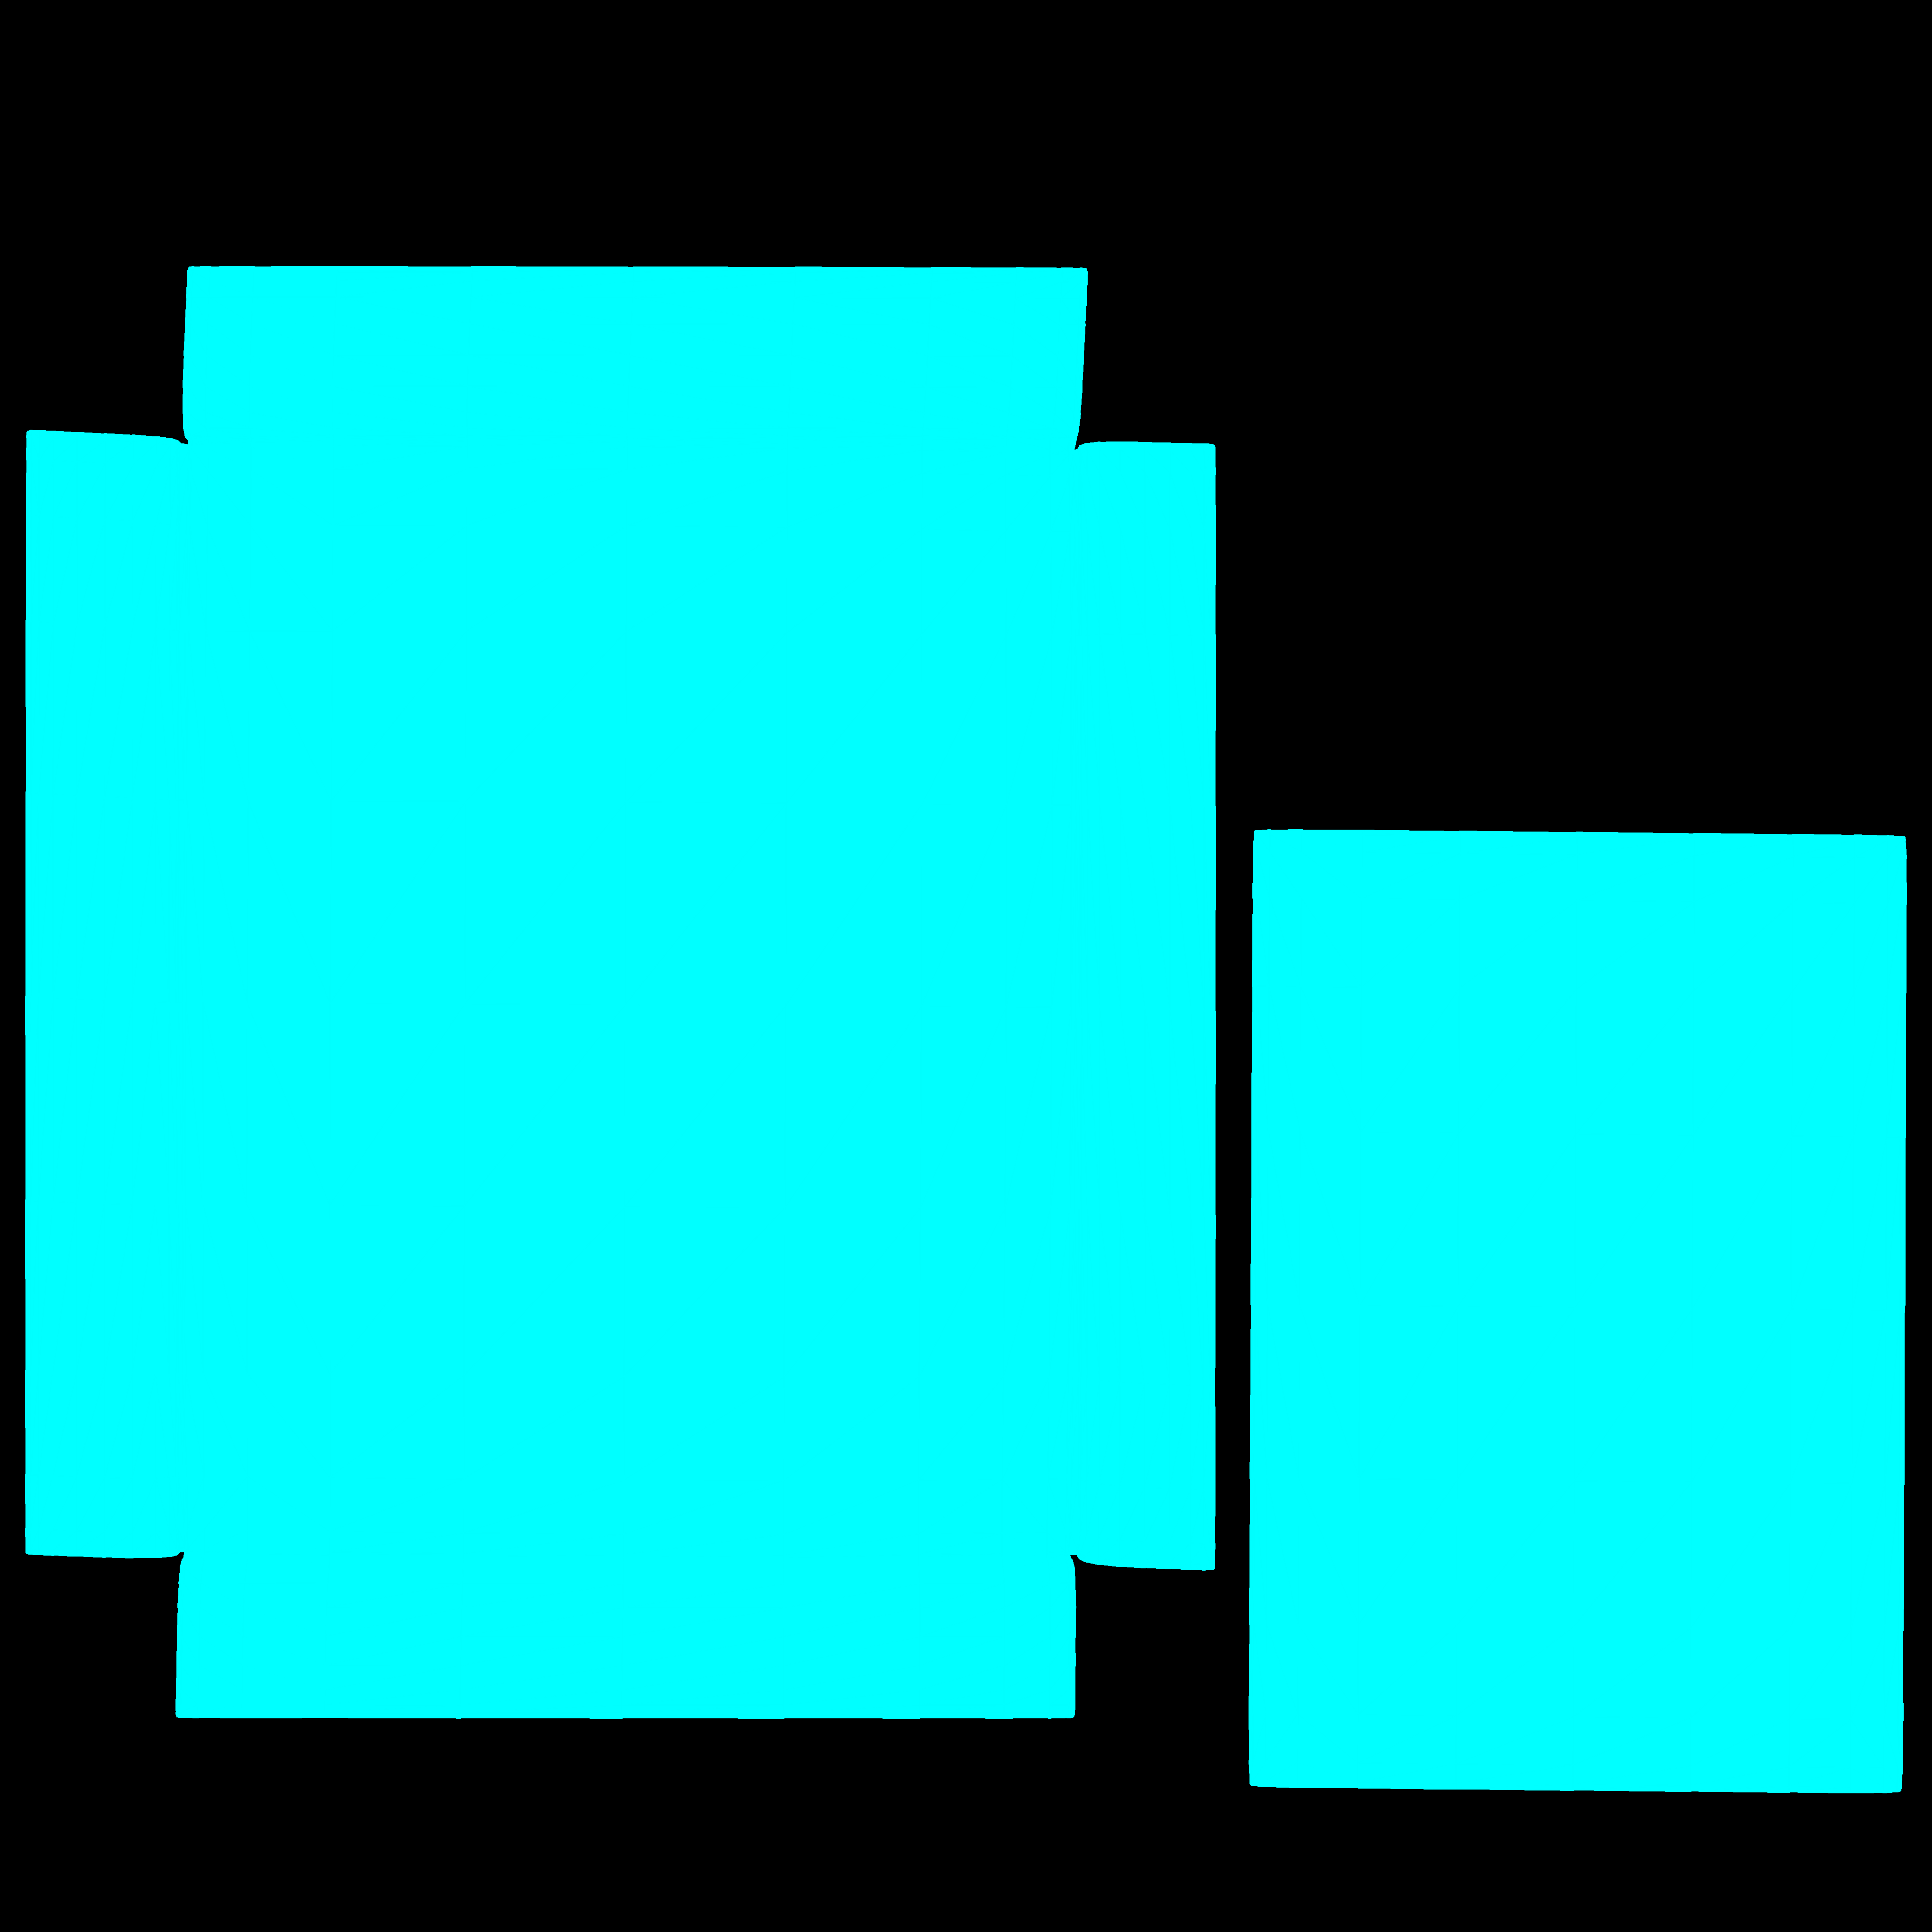
When creating my UVs for the bed, I also considered the layout, by adding slight gaps or ‘buffers’ to aid the painting of the Colour ID map afterwards.
I coloured the entire object blue, and created a colour ID map for each UV map. I then took the ID maps straight into Photoshop, and simply coloured over the shapes with various colours to apply different IDs.
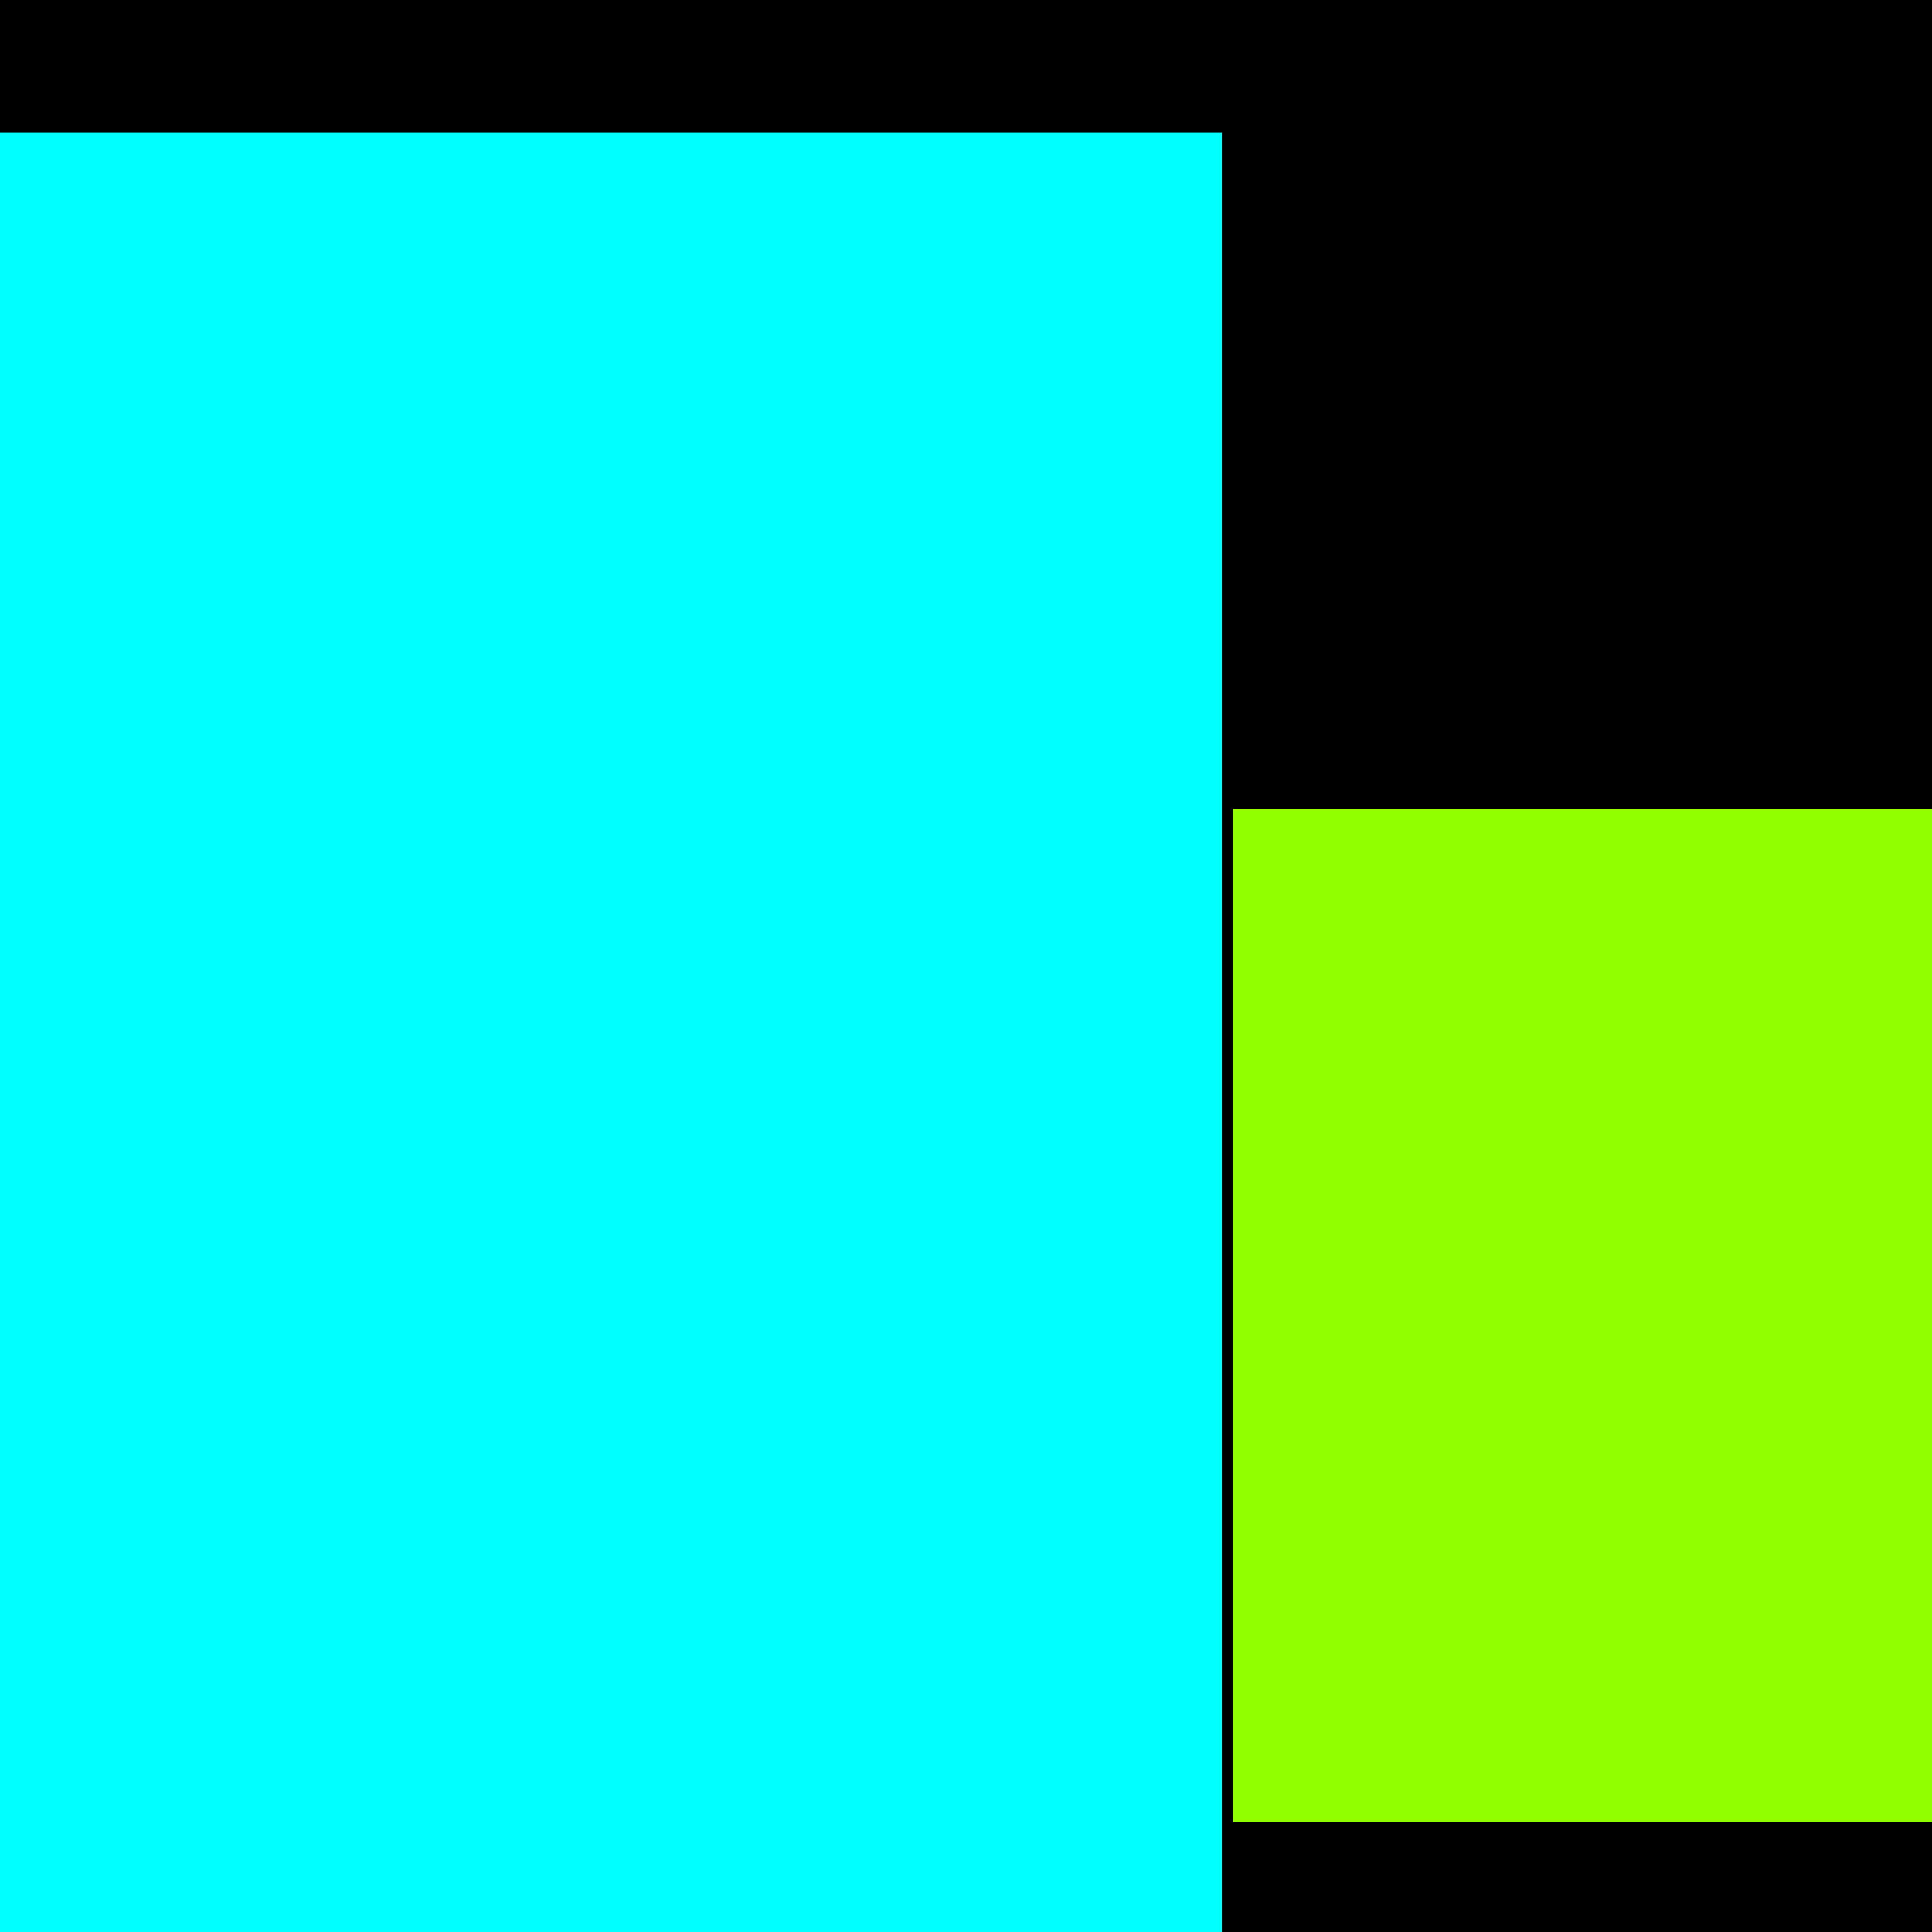
This worked really well, and saved me a lot of time. It meant that I didn’t have to add different coloured materials in Maya, and that I didn’t have any bleeding issues to fix in Photoshop either. This was an idea I had myself, and wanted to see if it worked out well, which it did! I will create all my colour ID maps like this from now on, as it saves time as well as making the end result cleaner.