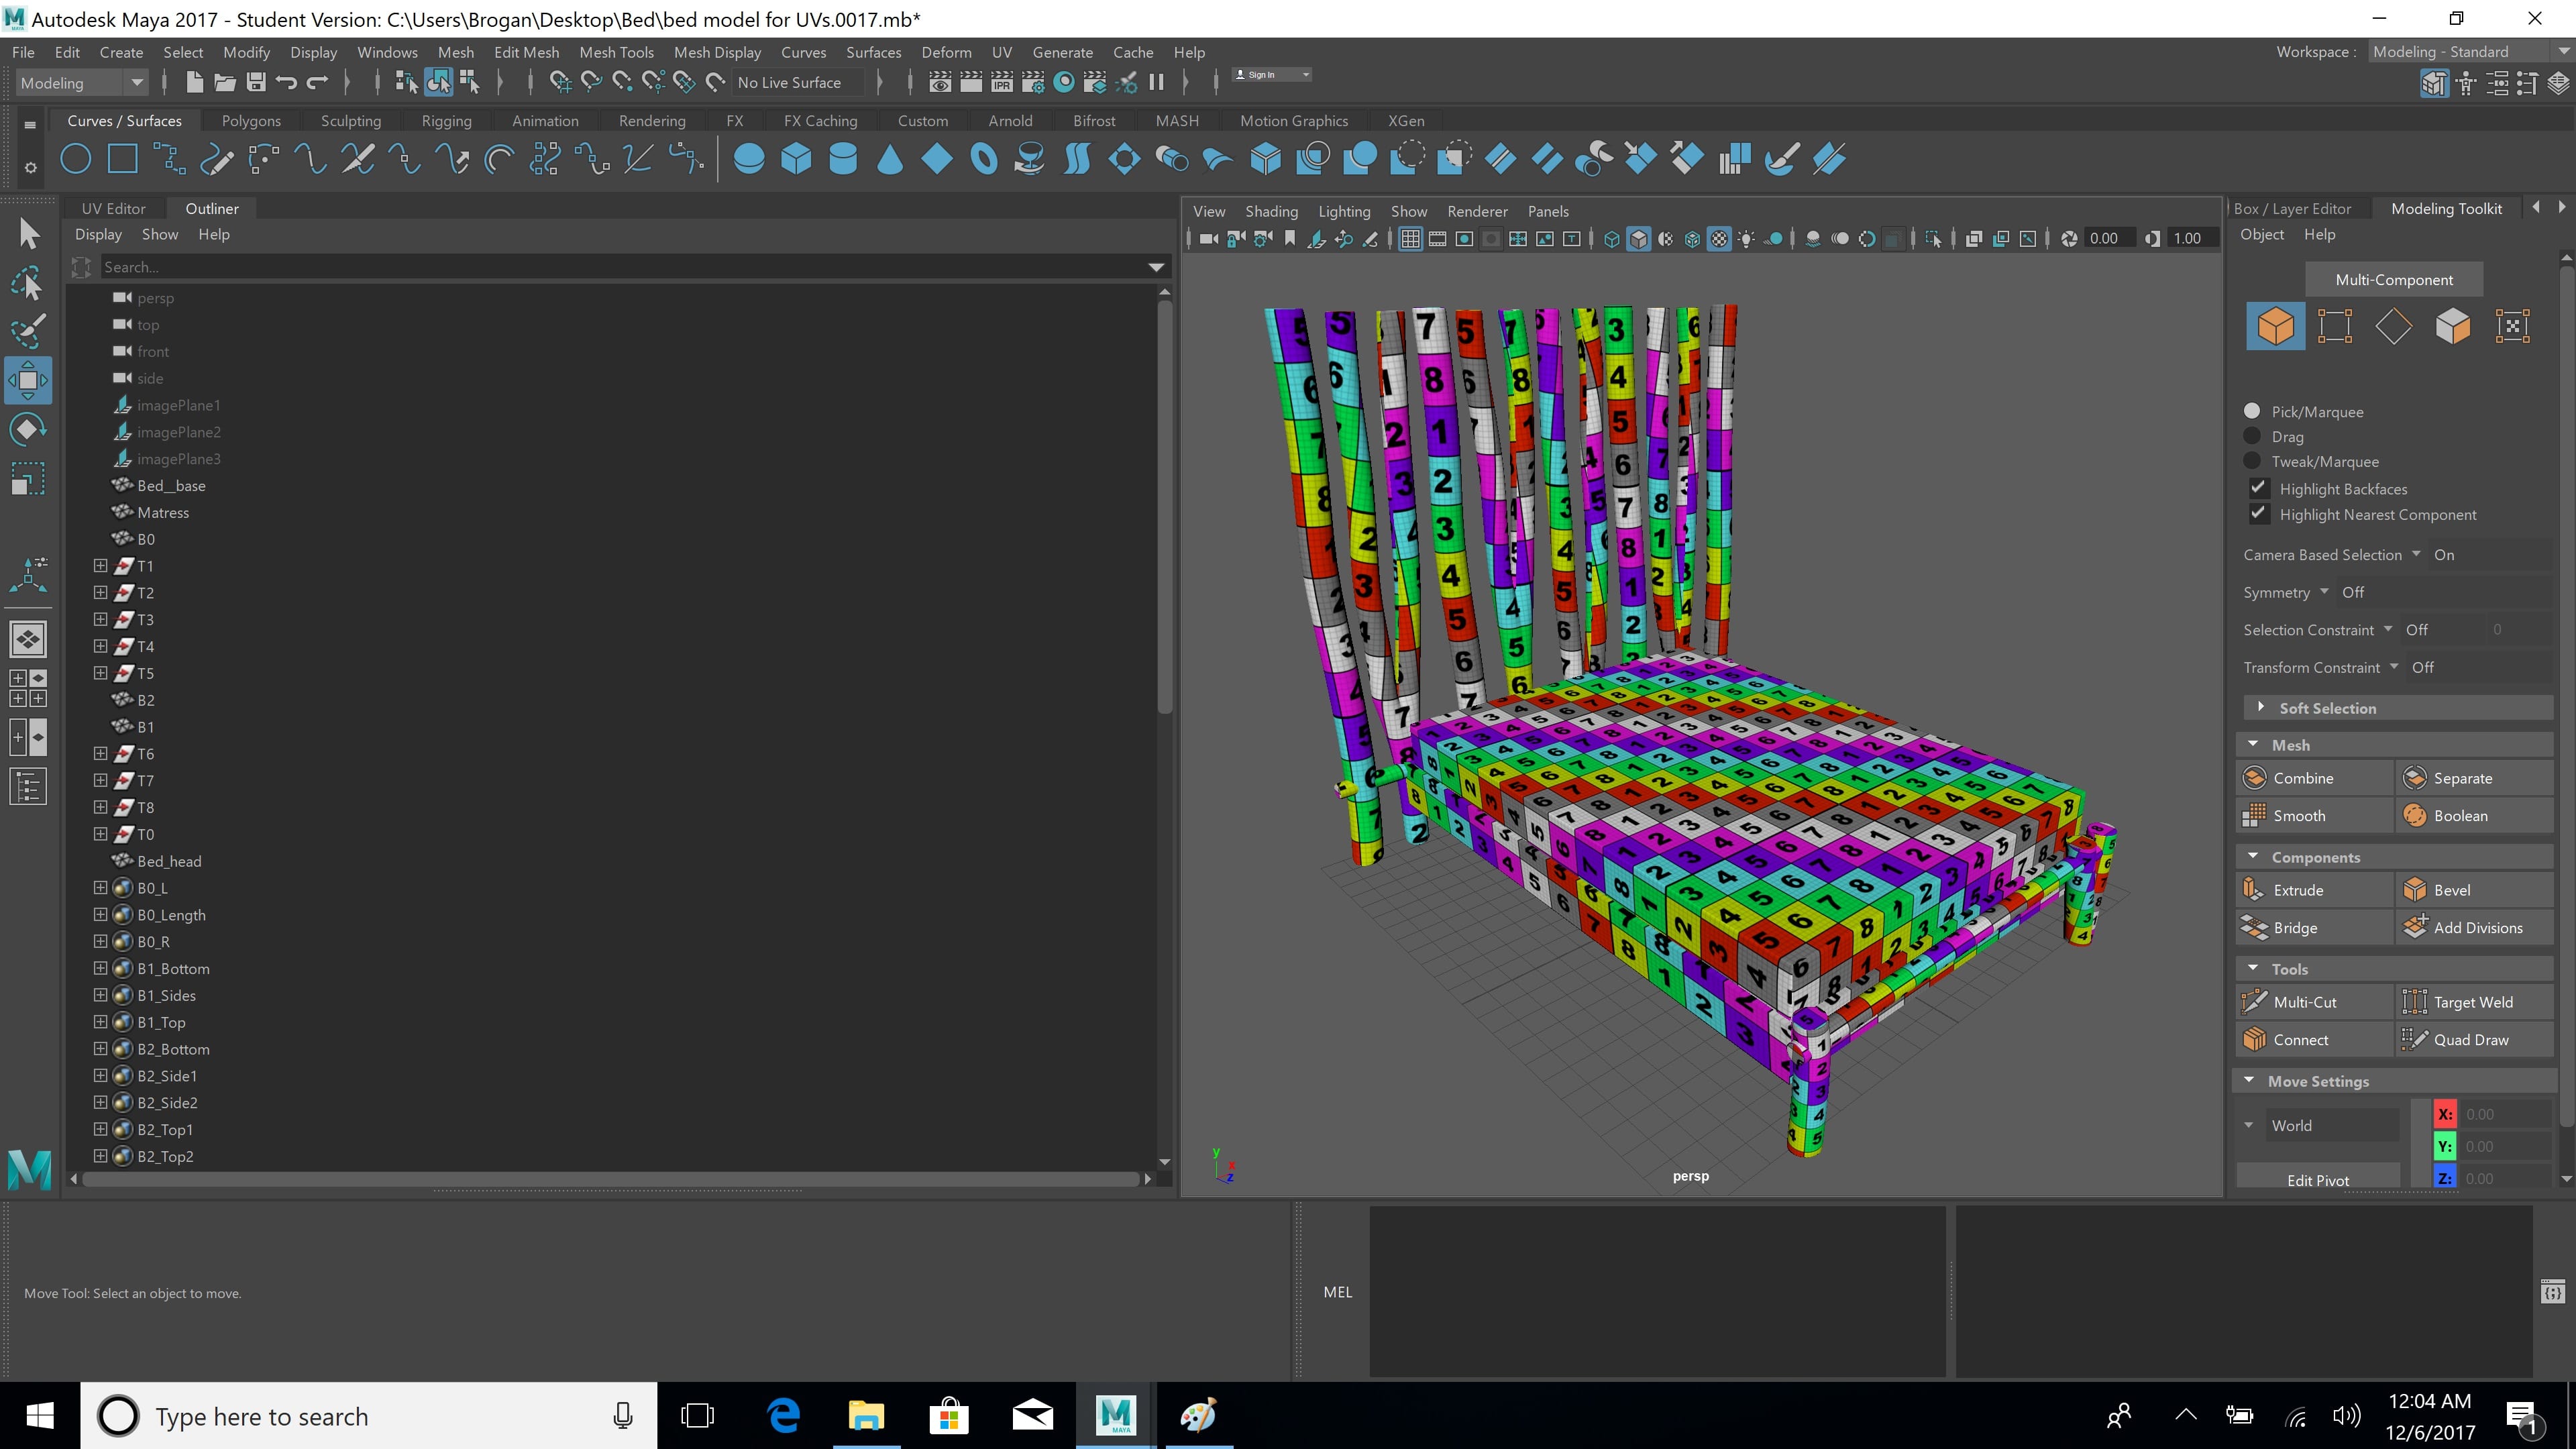
Next for the bed was smoothing, but as I learned from the stump, breaking the model up into sets before smoothing worked best. I broke everything up, before smoothing, then UVing my model. I remembered what I had learned about wood grain, and made sure I applied this to my UV layout. I split my model into 3 UV sets. The base of the bed and foot, the headboard, and the mattress. The reason I UVed the mattress separately, was so that if I choose to add bedding or pillows in the future, I can add those to the mattress UV map.
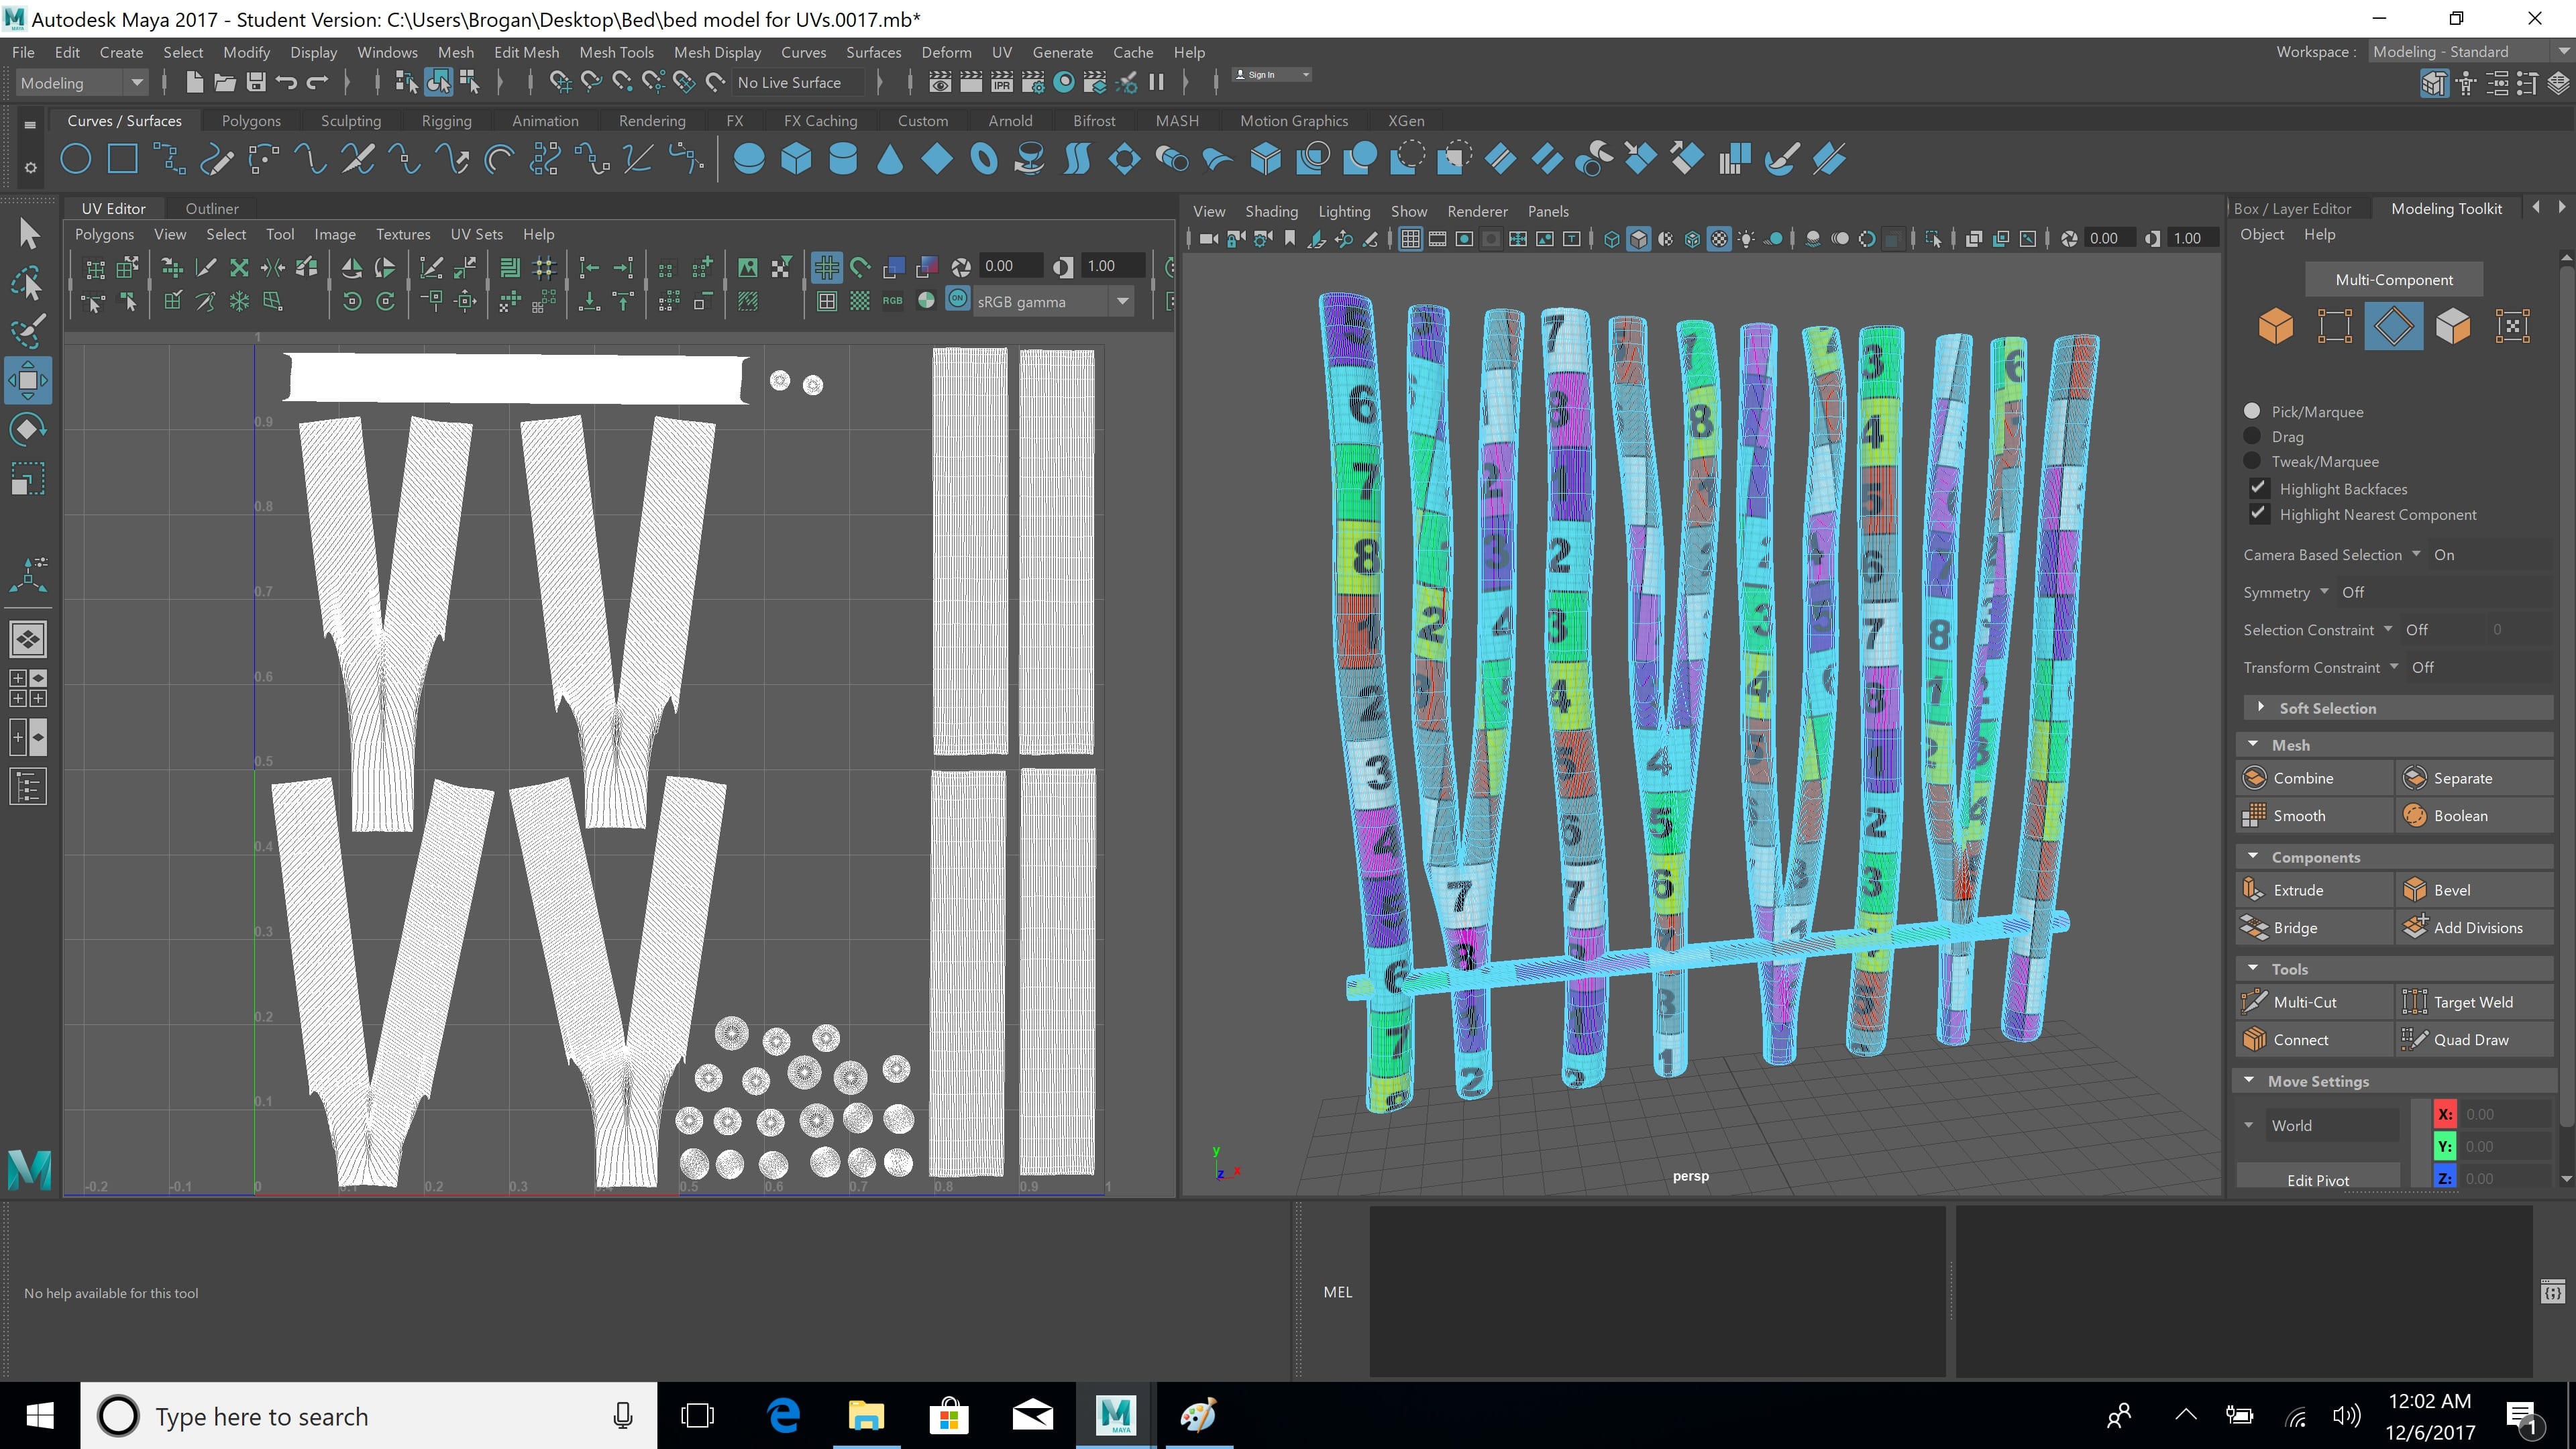
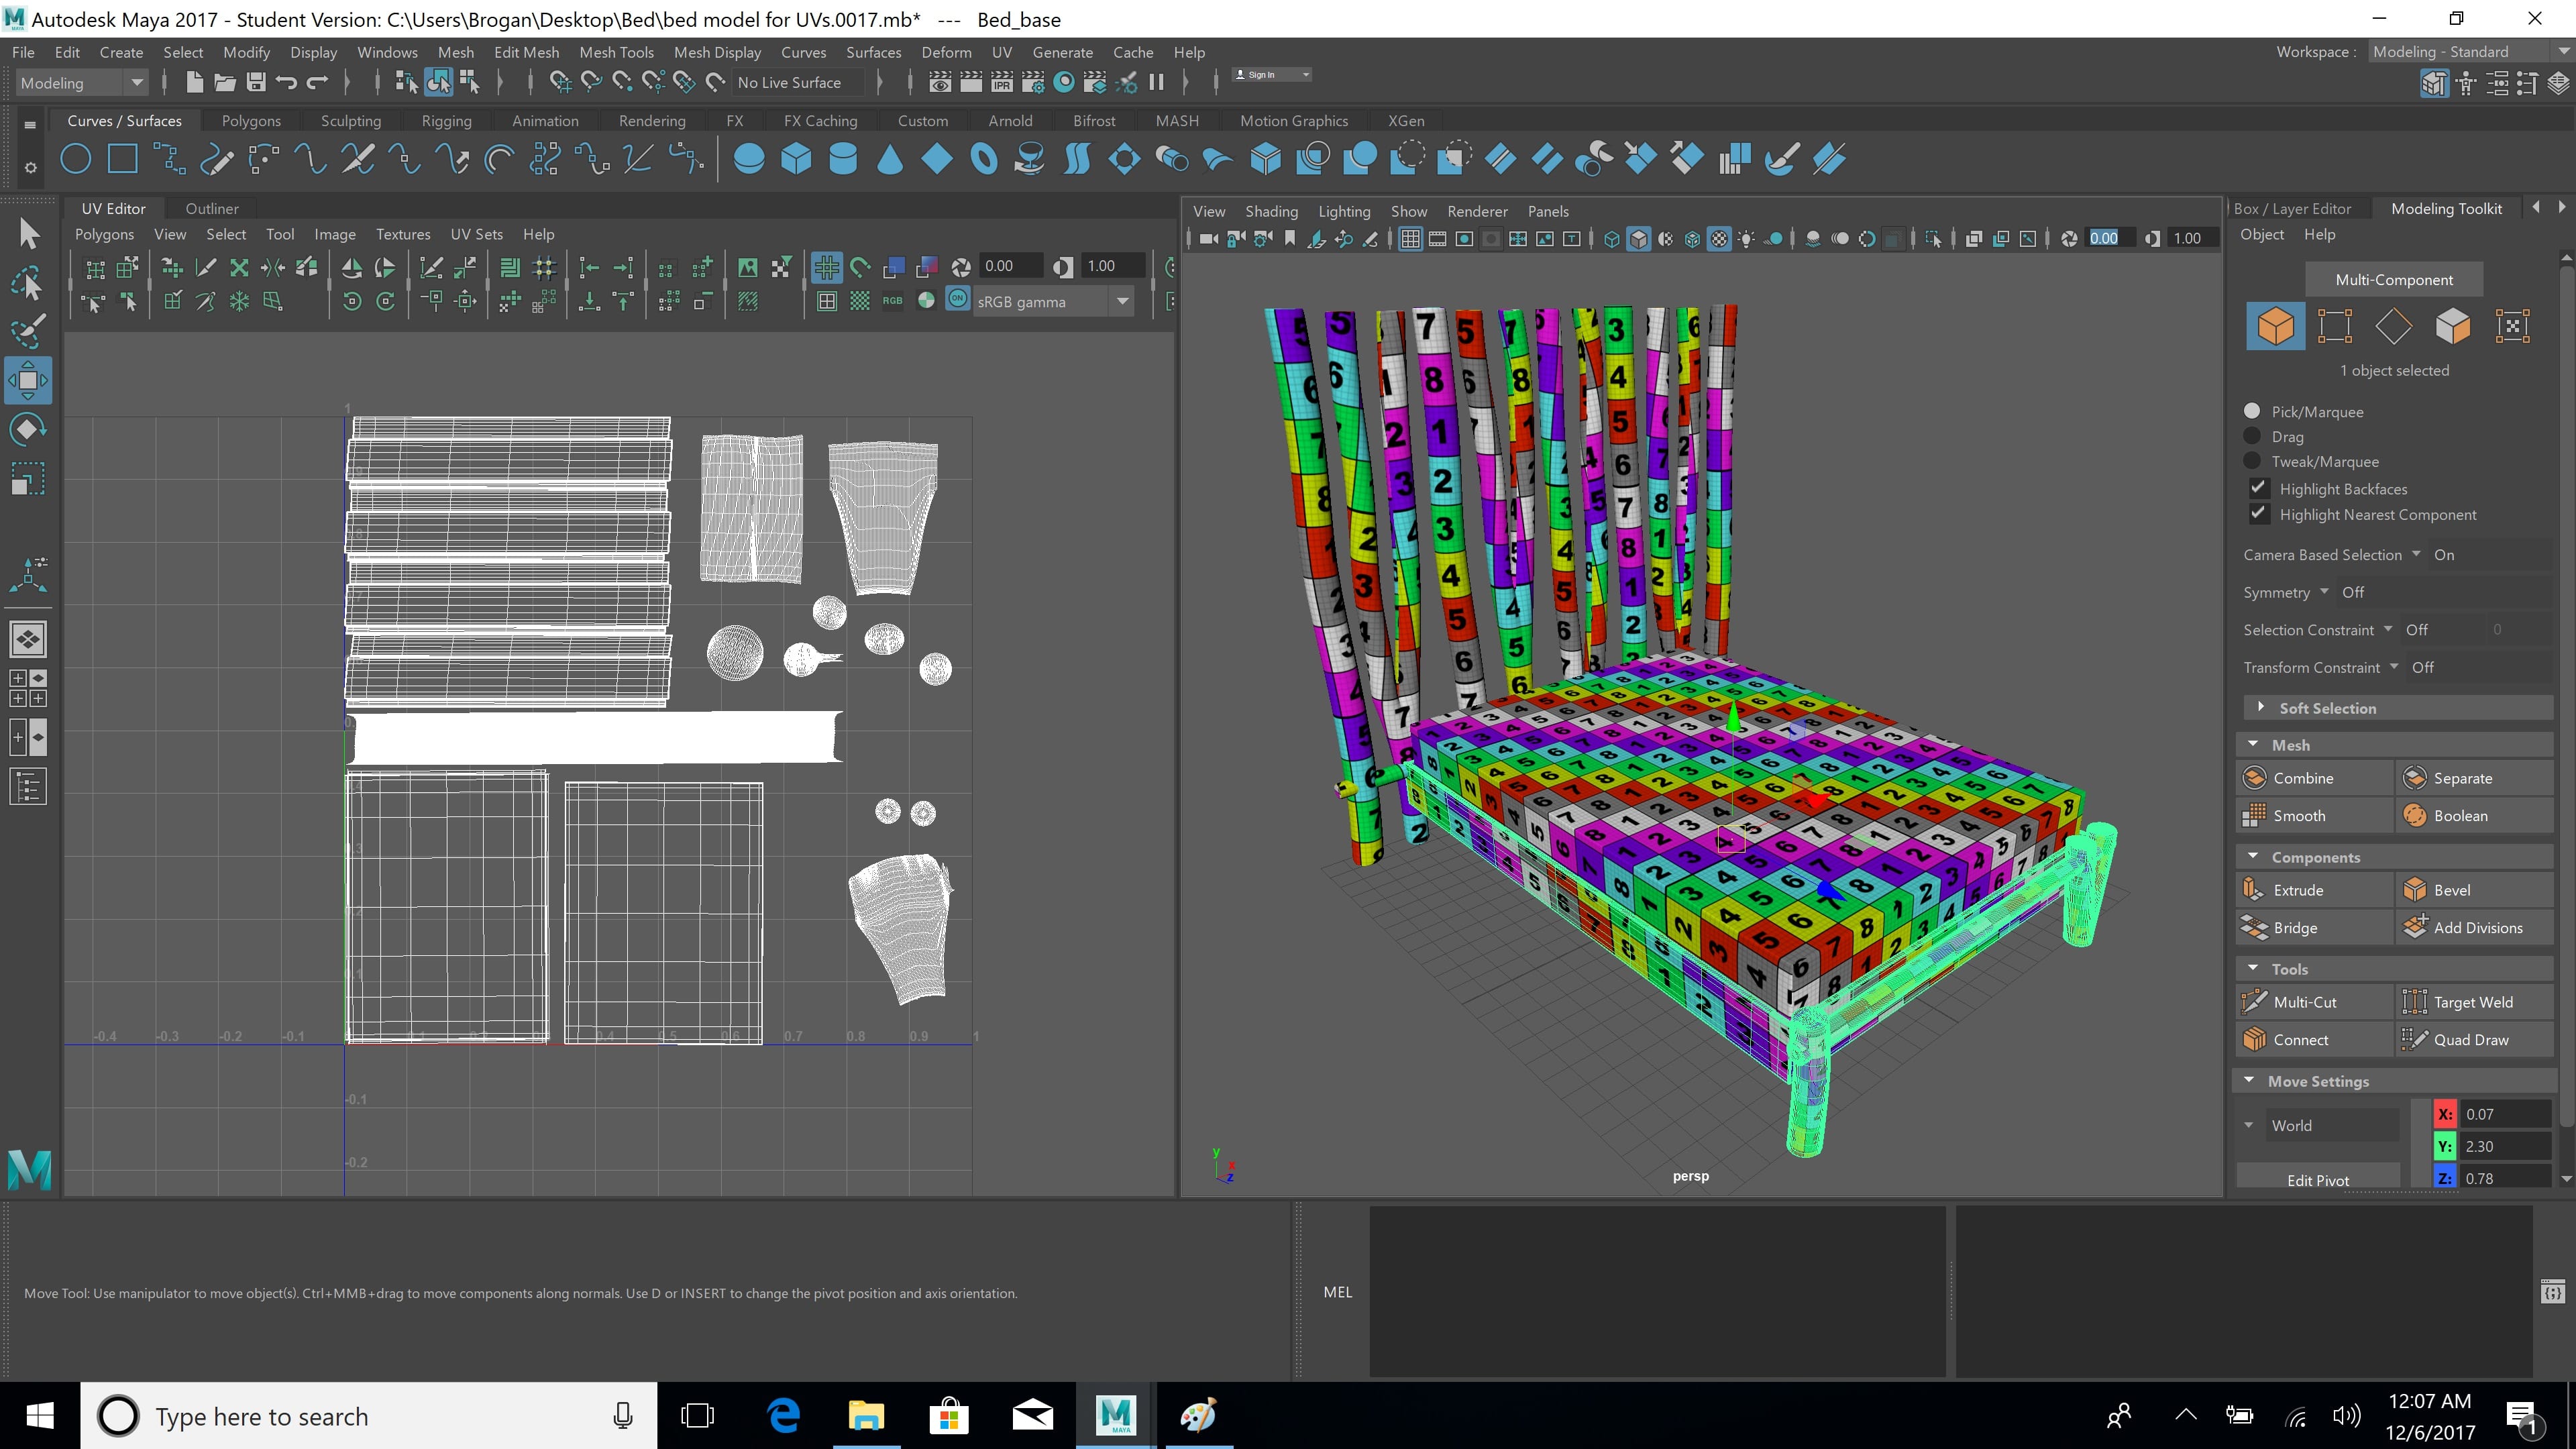
The whole process took many hours, but it was still a lot quicker and more efficient than previous attempts. I knew where to cut to unfold objects without visible seams, and so that they laid out without distortion.