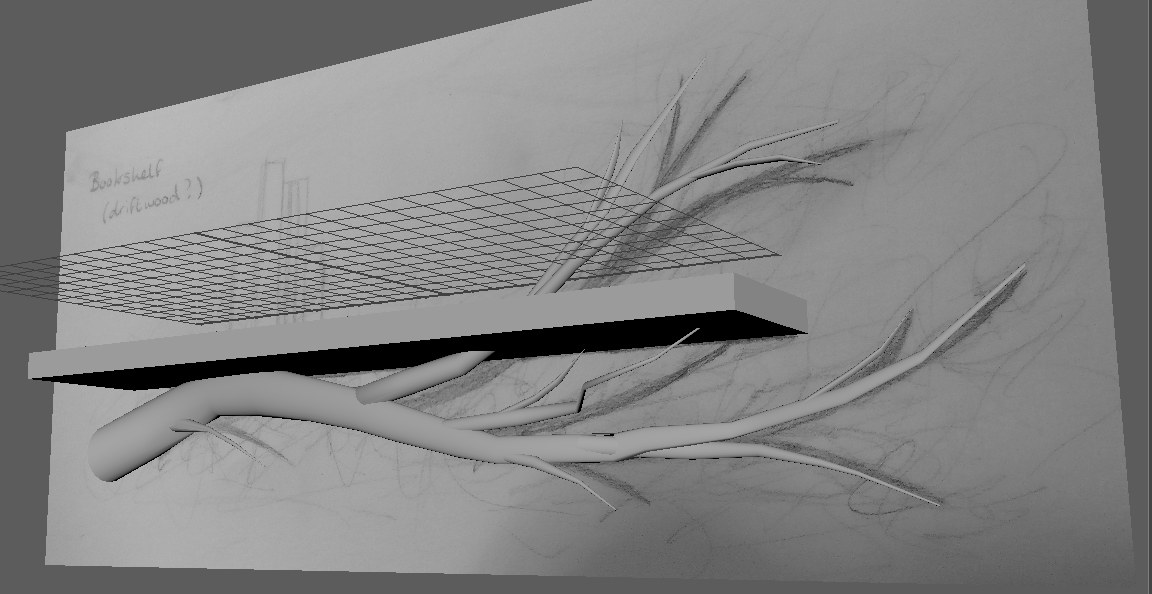
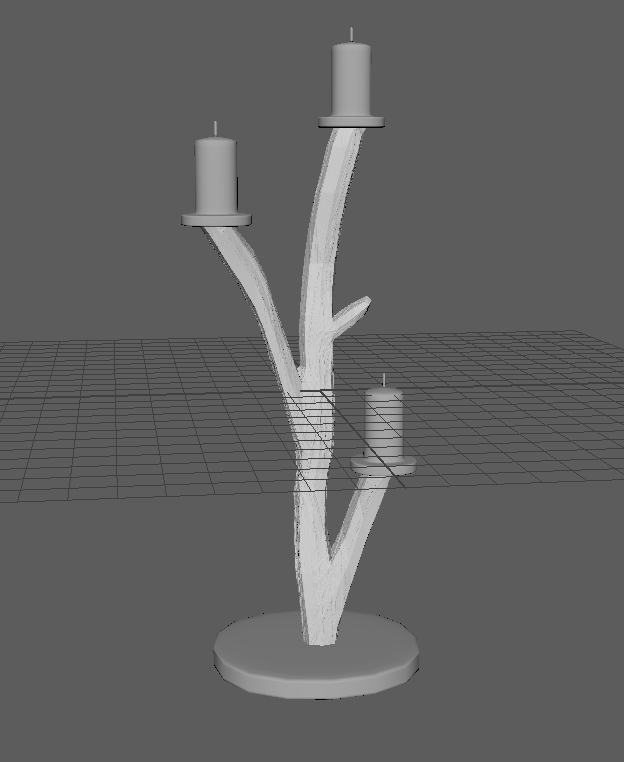
A little modeling practice…

I attempted to sculpt the basis of my shelf in Maya, and failed miserably. When moving and adjusting angles of the branches, points were missed out, and it made a mess of my sculpture.

Screenshot 2017-11-06 00.21.43


I then decided to attempt a slightly easier sculpture at first, the candlestick. I created a high and a low poly sculpture as I previously learned, and made sure to not make the same mistake again with the low poly and high poly meshes overlapping. I created 3 different lamberts so that I could edit each object (the base, the wood, and the candles) separately. I used the smoothing technique Jon taught us to create driftwood from a very primitive box shape, with rectangular arms extruding from it.

Screenshot 2017-11-06 00.30.51

I then opened this in Substance, and instantly found issues. As soon as I applied textures, I realised that my UV was an issue.

Screenshot 2017-11-06 00.58.30

Jon suggested that I try to change to Tri-planar projection, which helped to some extent, but it was still not as I’d have liked.

Screenshot 2017-11-06 00.58.301

I then received feedback from Jon in class. He told me to consider trying to paint normals myself, and using UV colour ID (as well as fixing my strange mesh).


I have learned;

How to smooth in Maya, which is a good technique for my wood

To check my UV before I export

To use Tri-planar projection in substance painter


I need to explore;

Colour ID UVs

Alternative mesh creation methods

Normal painting by hand in Substance


Where’s the hole?

My next step has been to work out which assets I will create. There are endless resources available to buy or download online, I needed to fid a gap in the market. Looking through sites such as TurboSquid, itch.io, SketchFab, and ArtStation, I noticed the extortionate amount of furniture, which is something I had considered creating. I have a love of nature, and trees and wood are something I enjoy aesthetically and on a deeper level. Both myself and my family are artistic, and we have always been surrounded by wood, nature, and trees inside and outside the home. One thing I noticed a lack of in these collections, was natural statement pieces of furniture. I would love to design something which can be used in games or film as a statement piece, as furniture is clearly something creators use within their work. I plan to sketch out some ideas, and see what I can come up with.


Experiment 1- Workflow

My first experiment will involve working out the software I will use, and which workflow will work best for me.

I already know that I would like to learn Maya for modelling, as many employers prefer for artists to have knowledge within Maya. Substance Painter is something I would like to learn for similar reasons. PBR is quickly becoming the way for games, and is a software I feel I need to learn. Where I go from here, is what I need to explore. I will trial ways into the gaming side of things first, exploring which game engines I will use to test my assets in.

Aims of this experiment:

  • To create a simple but low poly object in Maya, and paint it in Substance as a base for my trials
  • To learn how to export my textures from substance, to be used for my asset within Unity
  • To learn how to export my textures from substance, to be used for my asset within Unreal
  • To compare the workflow of Substance to Unreal, and Substance to Unity, and use this comparison to choose which game engine I will use for this project.


I found a very useful video for the workflow here. I followed the tutorial, which taught me how to create a high and low poly mesh. It also taught me how to use brushes in Maya to sculpt.

rock low high ss


I also learned how to create the UV map from these so they matched in layout. I then followed the workflow into Substance Painter. I learned how to bake a normal map from a high to a low poly object. This is something I hadn’t planned to learn from this experiment, but is also something I needed to learn in the future, and now it makes sense. Additionally, I learned about the substance share site, which will be a great resource I can use.

rock subs ss


After texturing, I exported the textures in preparation for Unity. I found Unity to be a really clunky interface, and it took me a long time to even get my rock with textures into the engine. In doing this, I also realised my rock was very small, which is something I need to be cautious of when creating future assets. My model needs to be much larger when created in Maya.

rock unity ss

I also feel as though my textures look less realistic in this, though I’m unsure on whether this is just down to lighting.


I then attempted to do the same, but with Unreal next. I prefer the interface on this significantly, and it was easy to import my asset into a pre-made environment to test it. I learned how to link nodes to import the substances from painter, and it was over all a much easier experience. My machine struggled to handle unreal, so this is something I need to consider in the future.

Screenshot 2017-10-26 16.24.11

Screenshot 2017-10-26 18.24.46


I then exported my rock to SketchFab, which will be my way to test my assets in a game engine this semester. It is simple to do, and easy to quickly see how the asset looks, as well as it being a great way to view all layers, including the mesh. I have decided this is the engine I will use, as my machine can handle it easily, and it is a fast workflow for testing and displaying my work.


What I learned:

  • How to create a simple but low poly object in Maya, and paint it in Substance as a base for my trials
  • How to export my textures from substance, to be used for my asset within Unity
  • How to export my textures from substance, to be used for my asset within Unreal
  • Which game engine I will use for this project

I also learned additional things along the way:

  • How to create low and high poly assets with the same mesh
  • How to sculpt details using brushes in Maya
  • How to bake a normal map from a high poly object
  • Where to find a large database of materials and brushes for Substance

Things I need to improve on:

  • Making sure the low poly mesh doesn’t bulge past the bounds of the high poly mesh
  • Making sure the Asset created in Maya is larger before I export the .fbx
  • Checking my asset’s textures look as effective in SketchFab


Initial Research

Proposal Week!

So far this week, I have been doing a lot of research on:

  • How assets are created for games
  • Software used
  • What low and high poly is
  • UV maps
  • Retopology
  • Normal maps and baking
  • Information about LOD versions of assets
  • How to display and distribute my own work

These are all elements I need to look into further as I progress, but for now, I have been learning the basics. I am finding that this is quite difficult, as much of the information is available on forums, and often information is contradictory. I am aware that this means I will need to trial lots of things.


Summary of research- How assets are created for games/ Software.

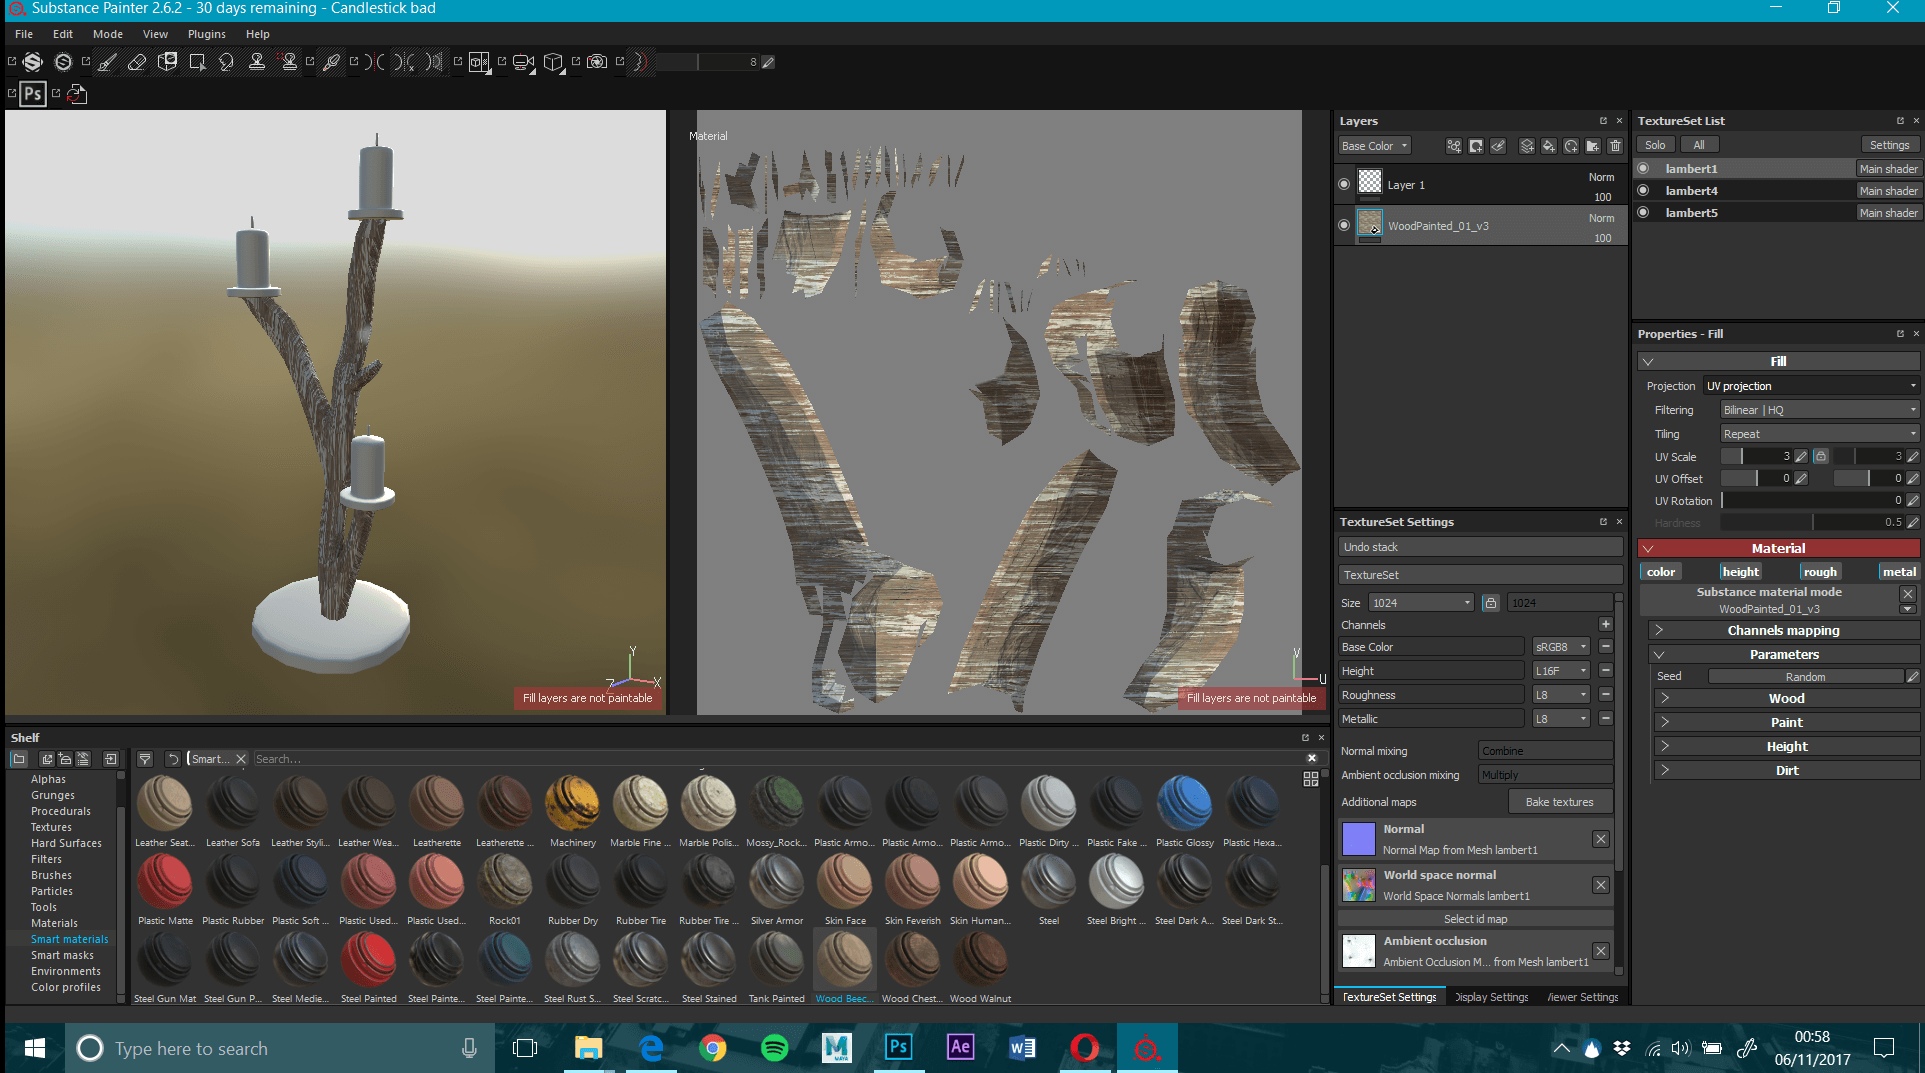
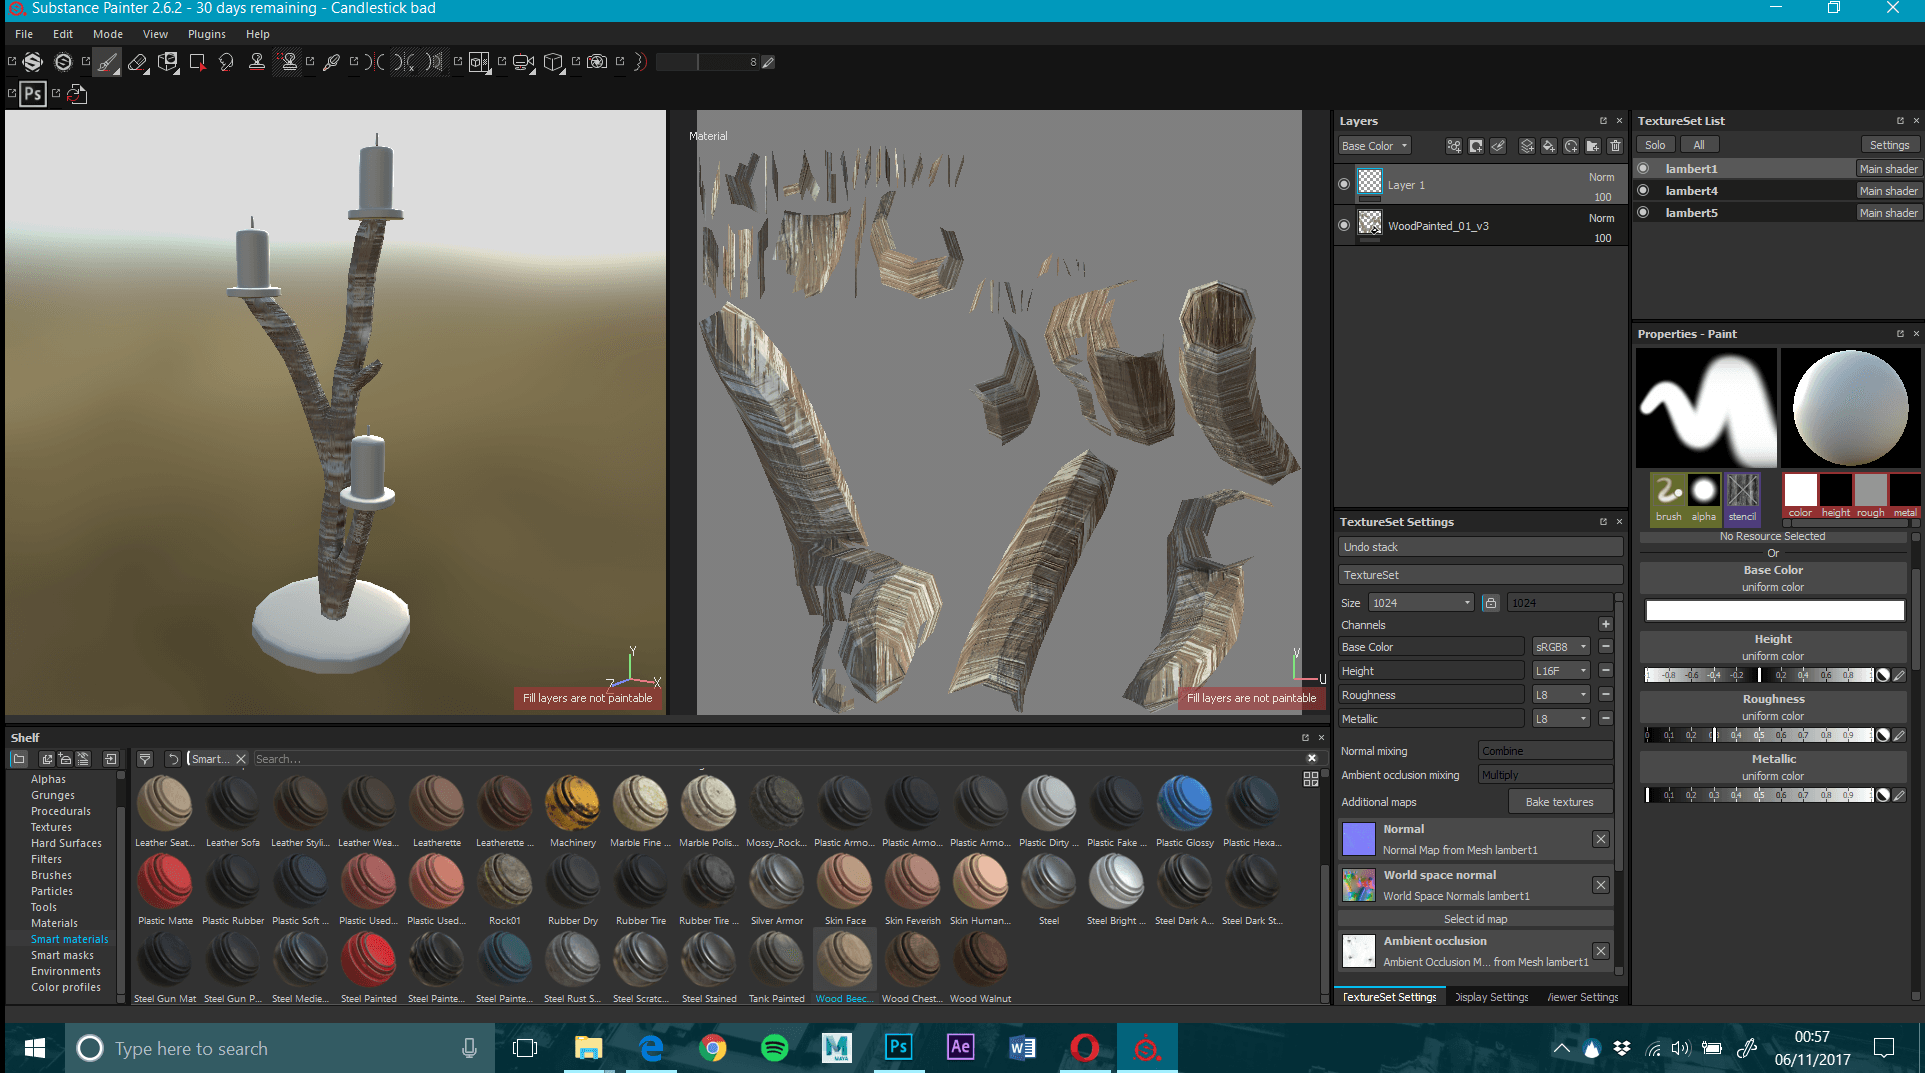
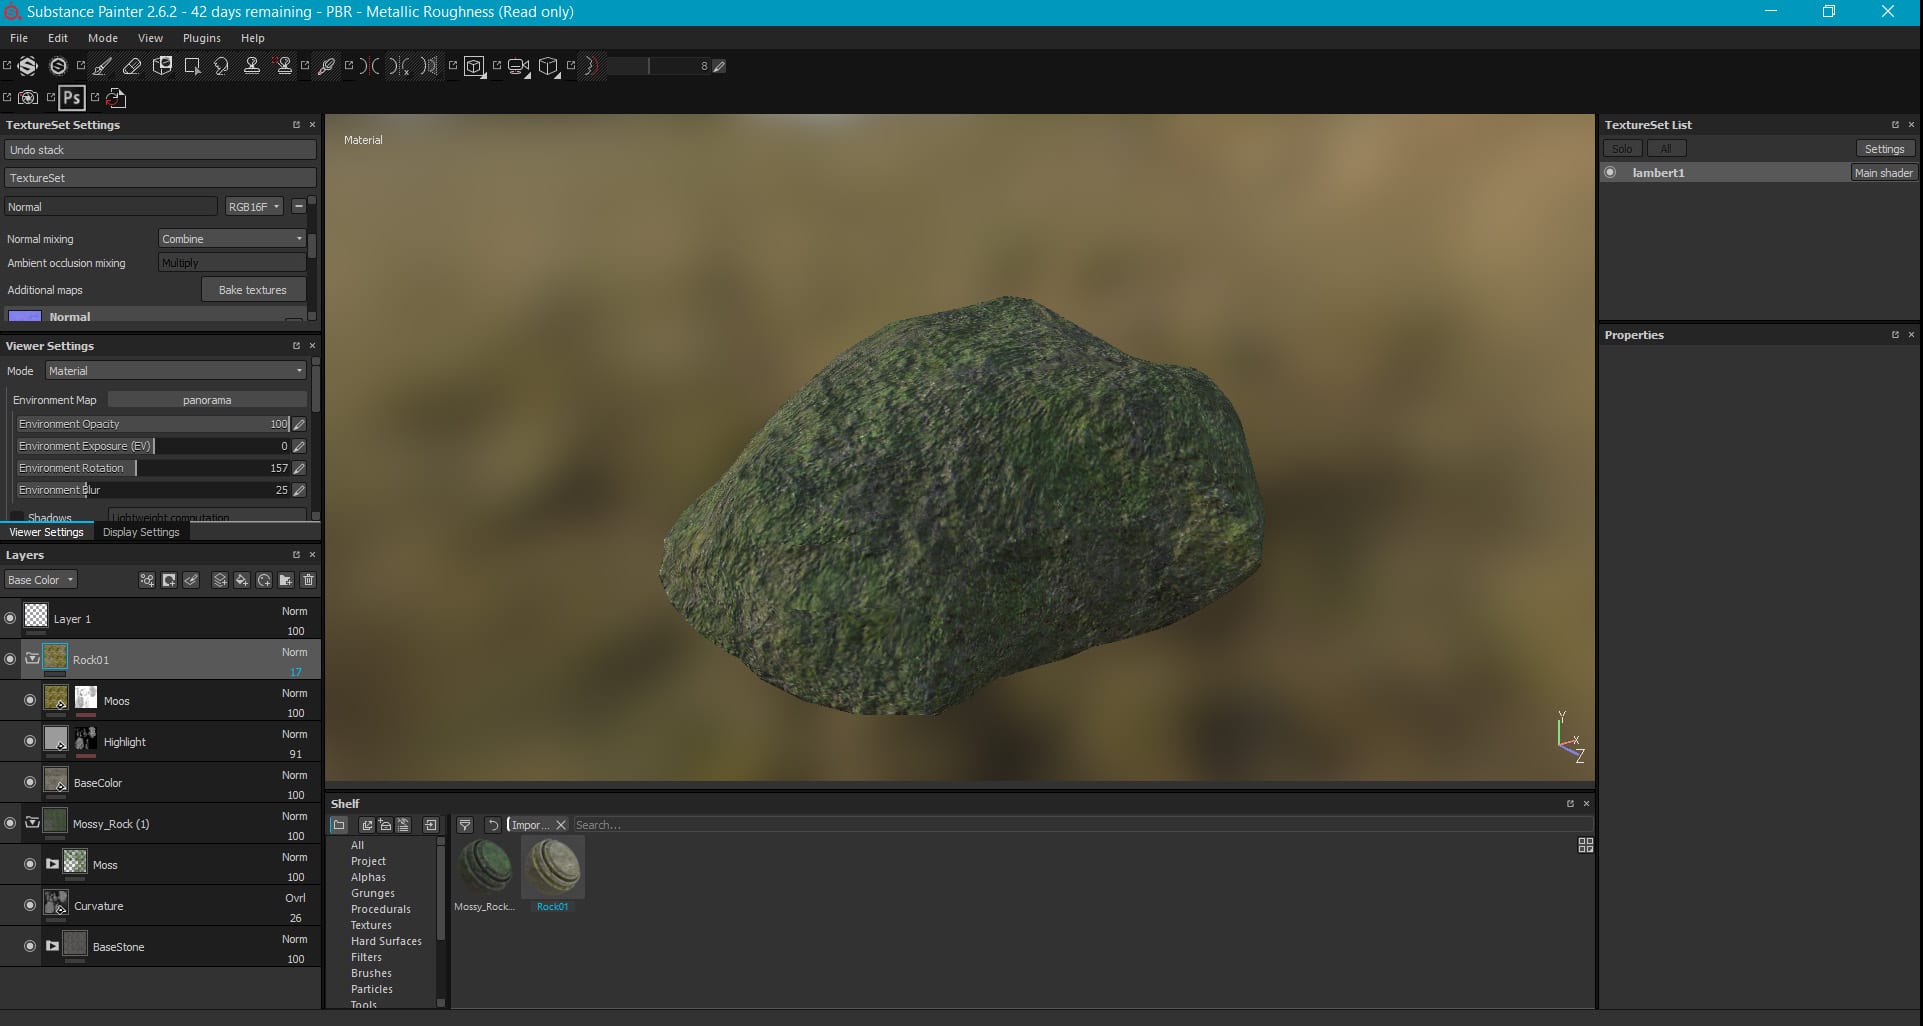
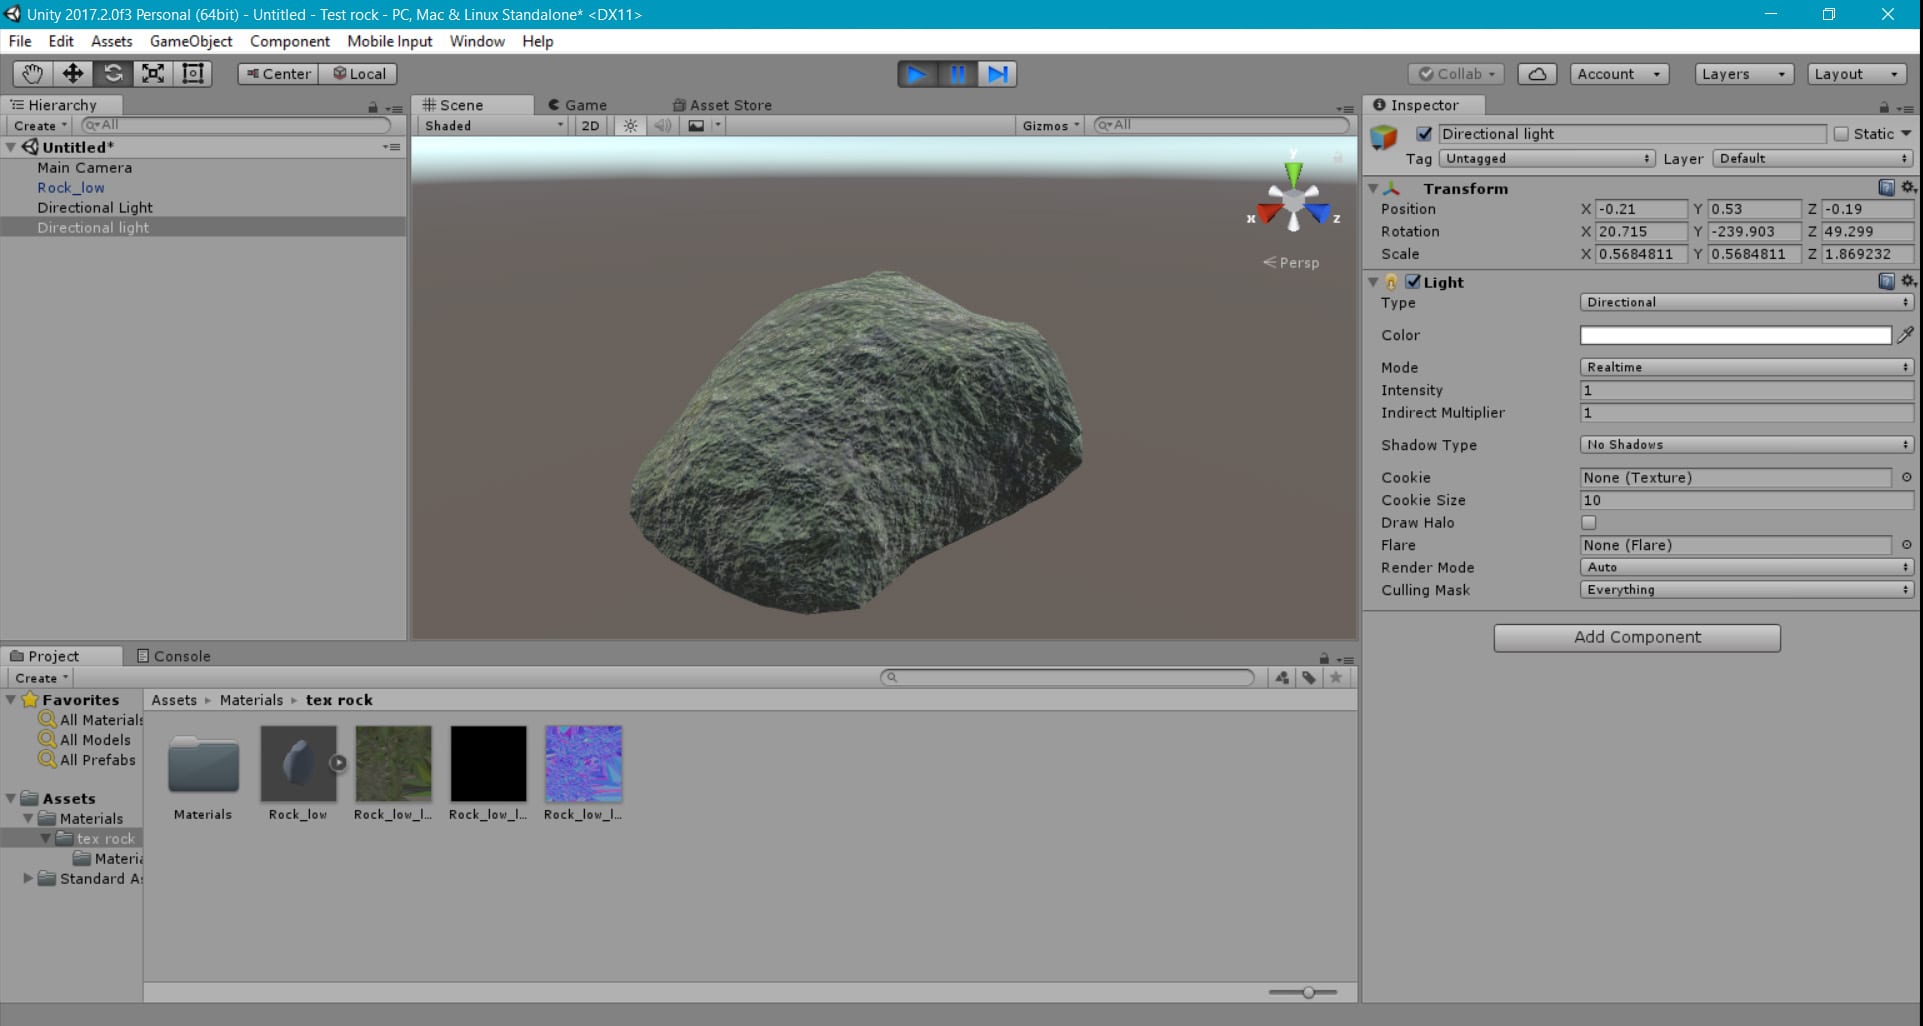
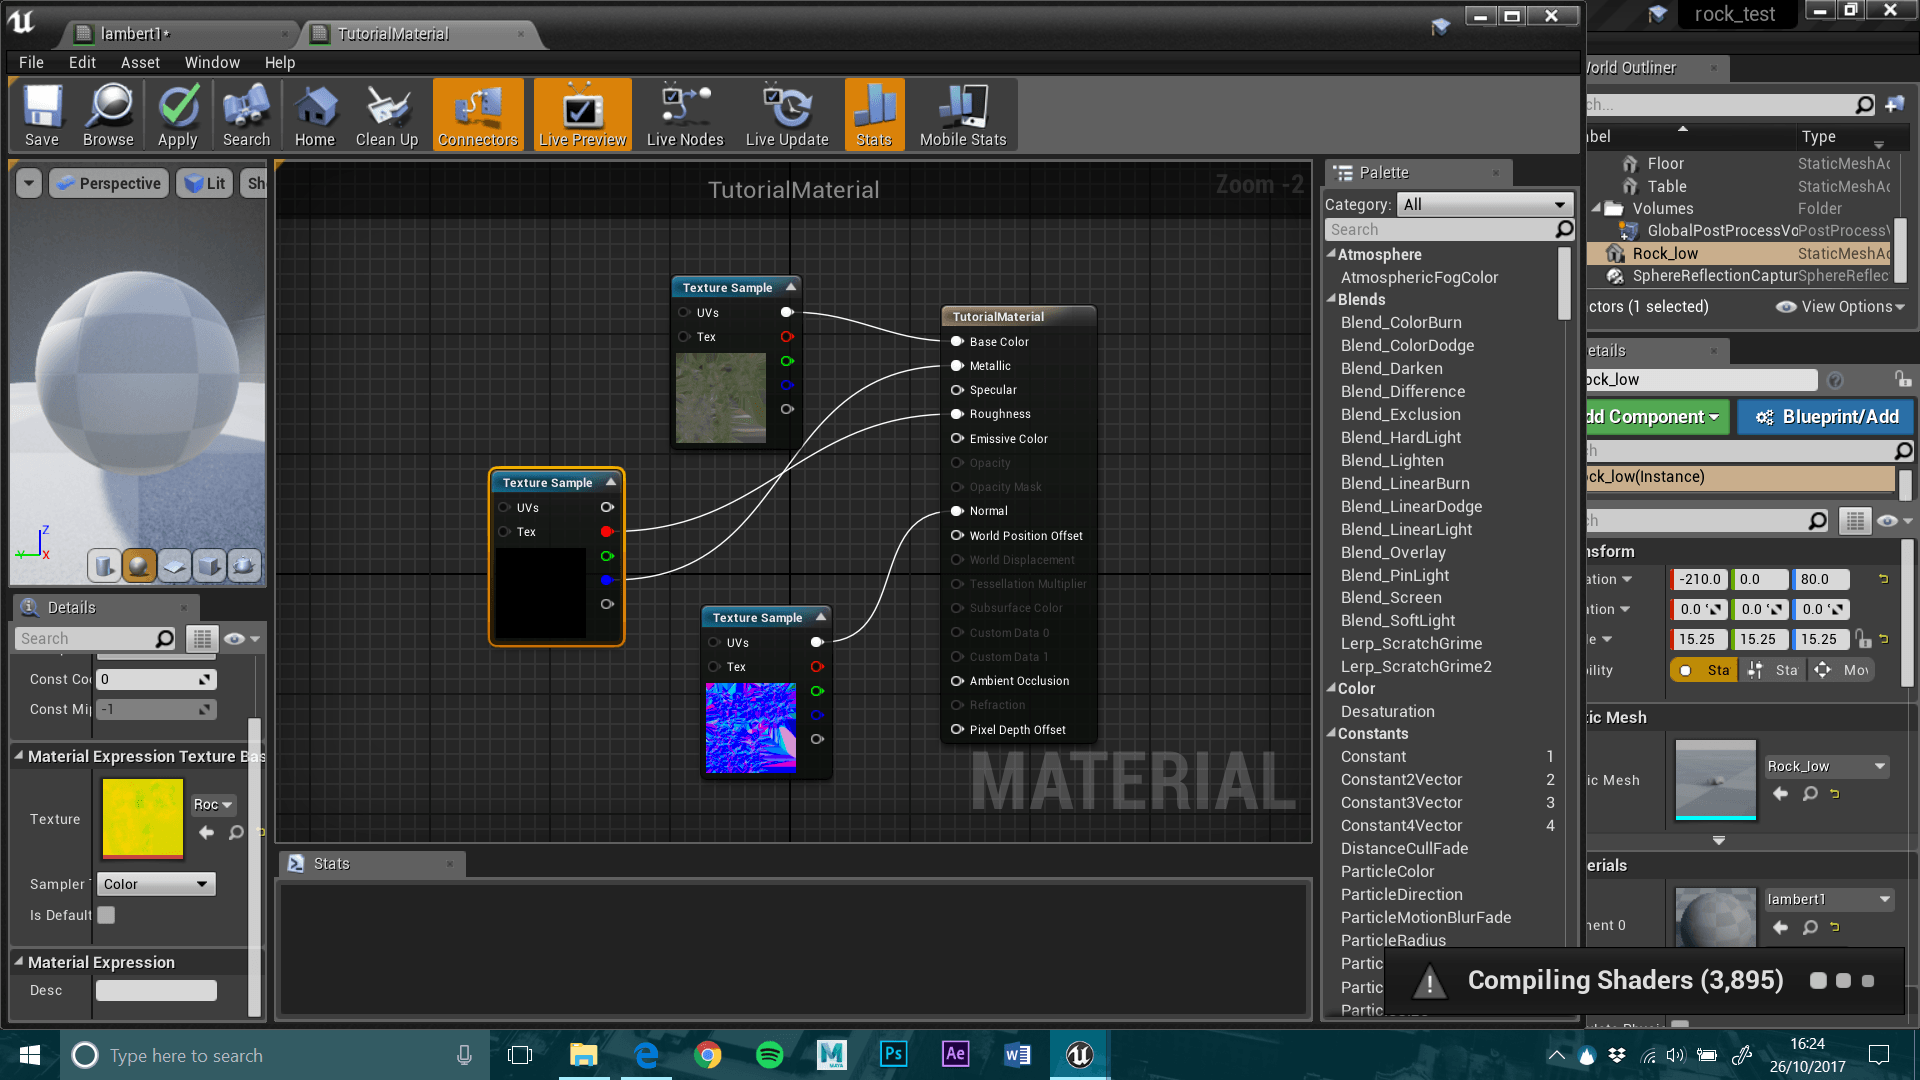
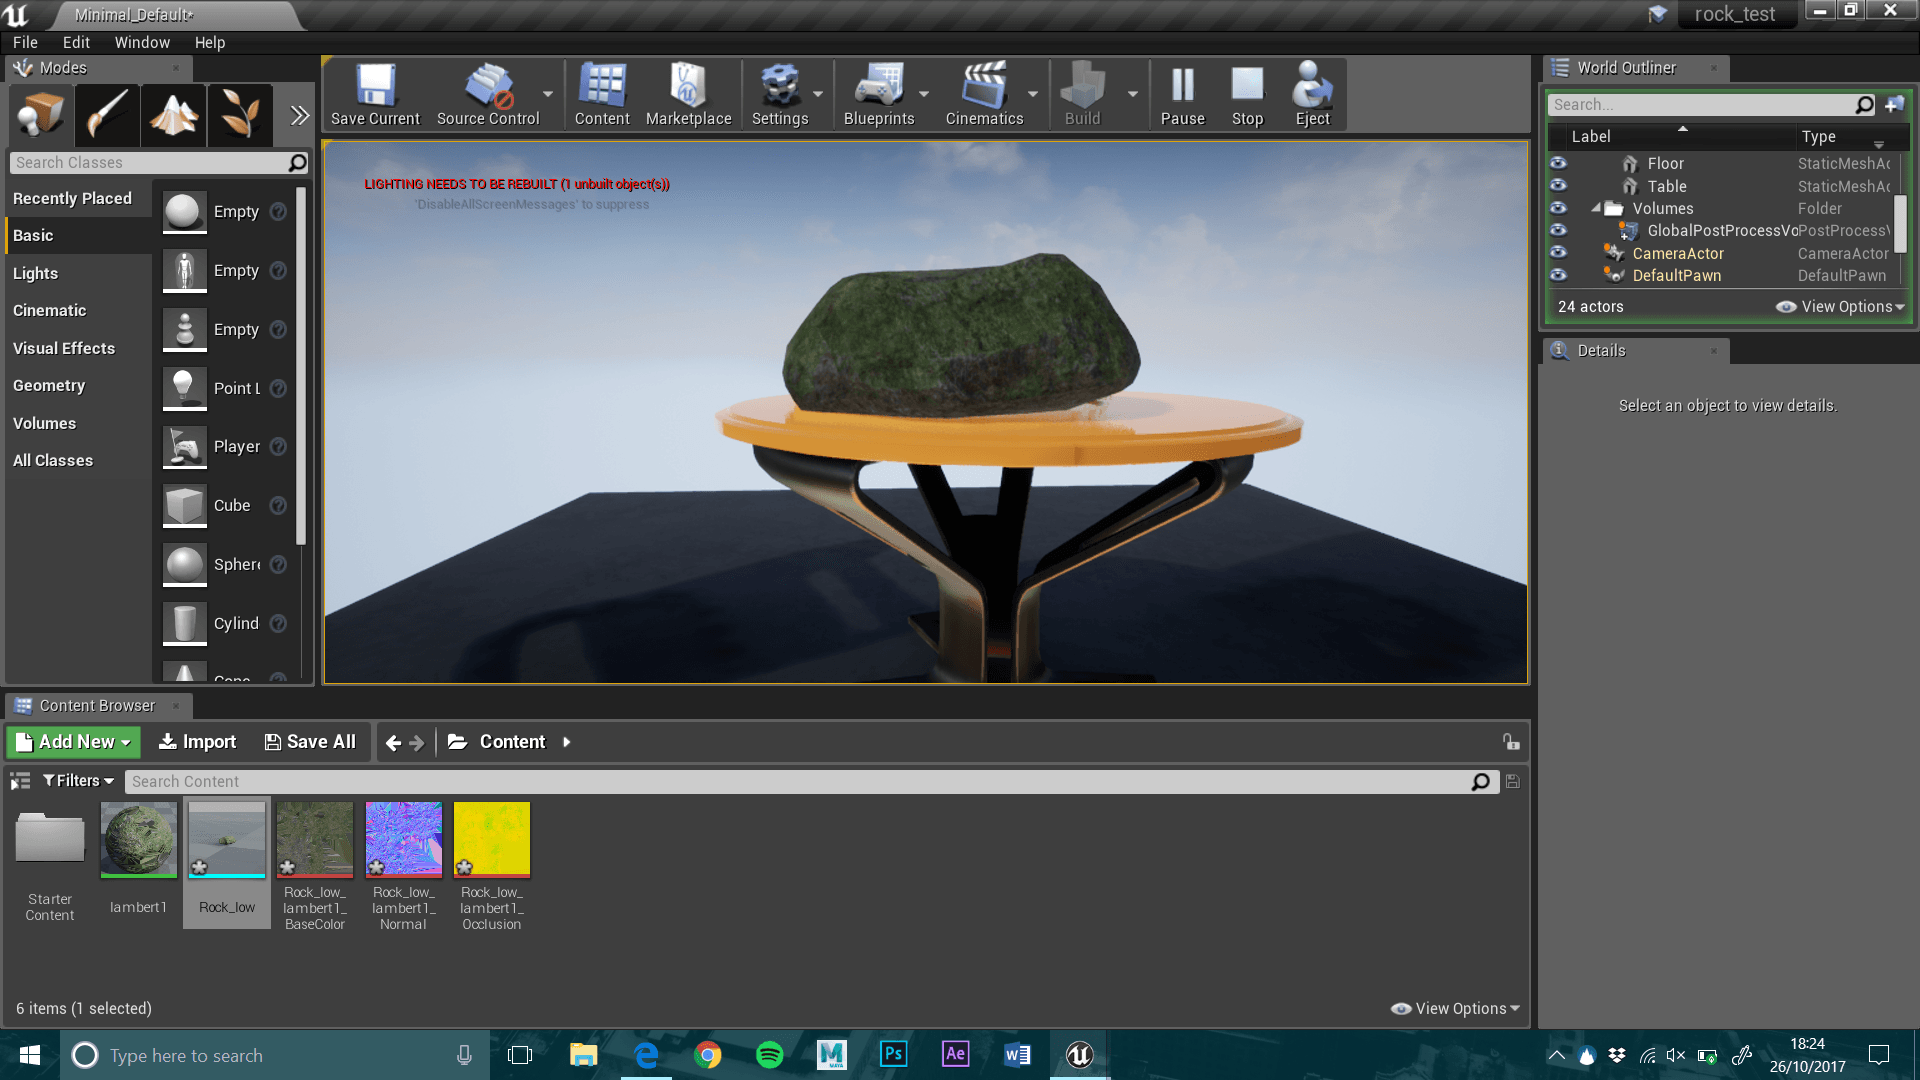
I have learned that game assets are often created in Maya, Blender, 3DS Max, or Zbrush, textured in Photoshop, Substance painter, or Substance Designer, and are then put into a game engine such as Unity or Unreal. I have decided to sculpt in Maya, as many companies want employees to have skills in Maya, and it is one of the more commonly used. I also found many tutorials on Retopology, and many were in Maya, due to it’s new update which makes retopology easier. Zbrush seems to be more for organic sculpting, which is a step up from the basics which I need to learn first. I have decided to work mostly in Substance Painter, with the possibility of using Designer if necessary, as Substance Painter is something I have worked with briefly before, and the software is becoming more and more popular in the game industry. I am undecided on which game engine to use for now, this is something I need to look into further. (sources 6 and 8)

maya-34da88e18b SP_Black_Title_13 UE_Logo_Black_Centered_Filfffled-fcb16e04e0e6306235adcca98e4064aa


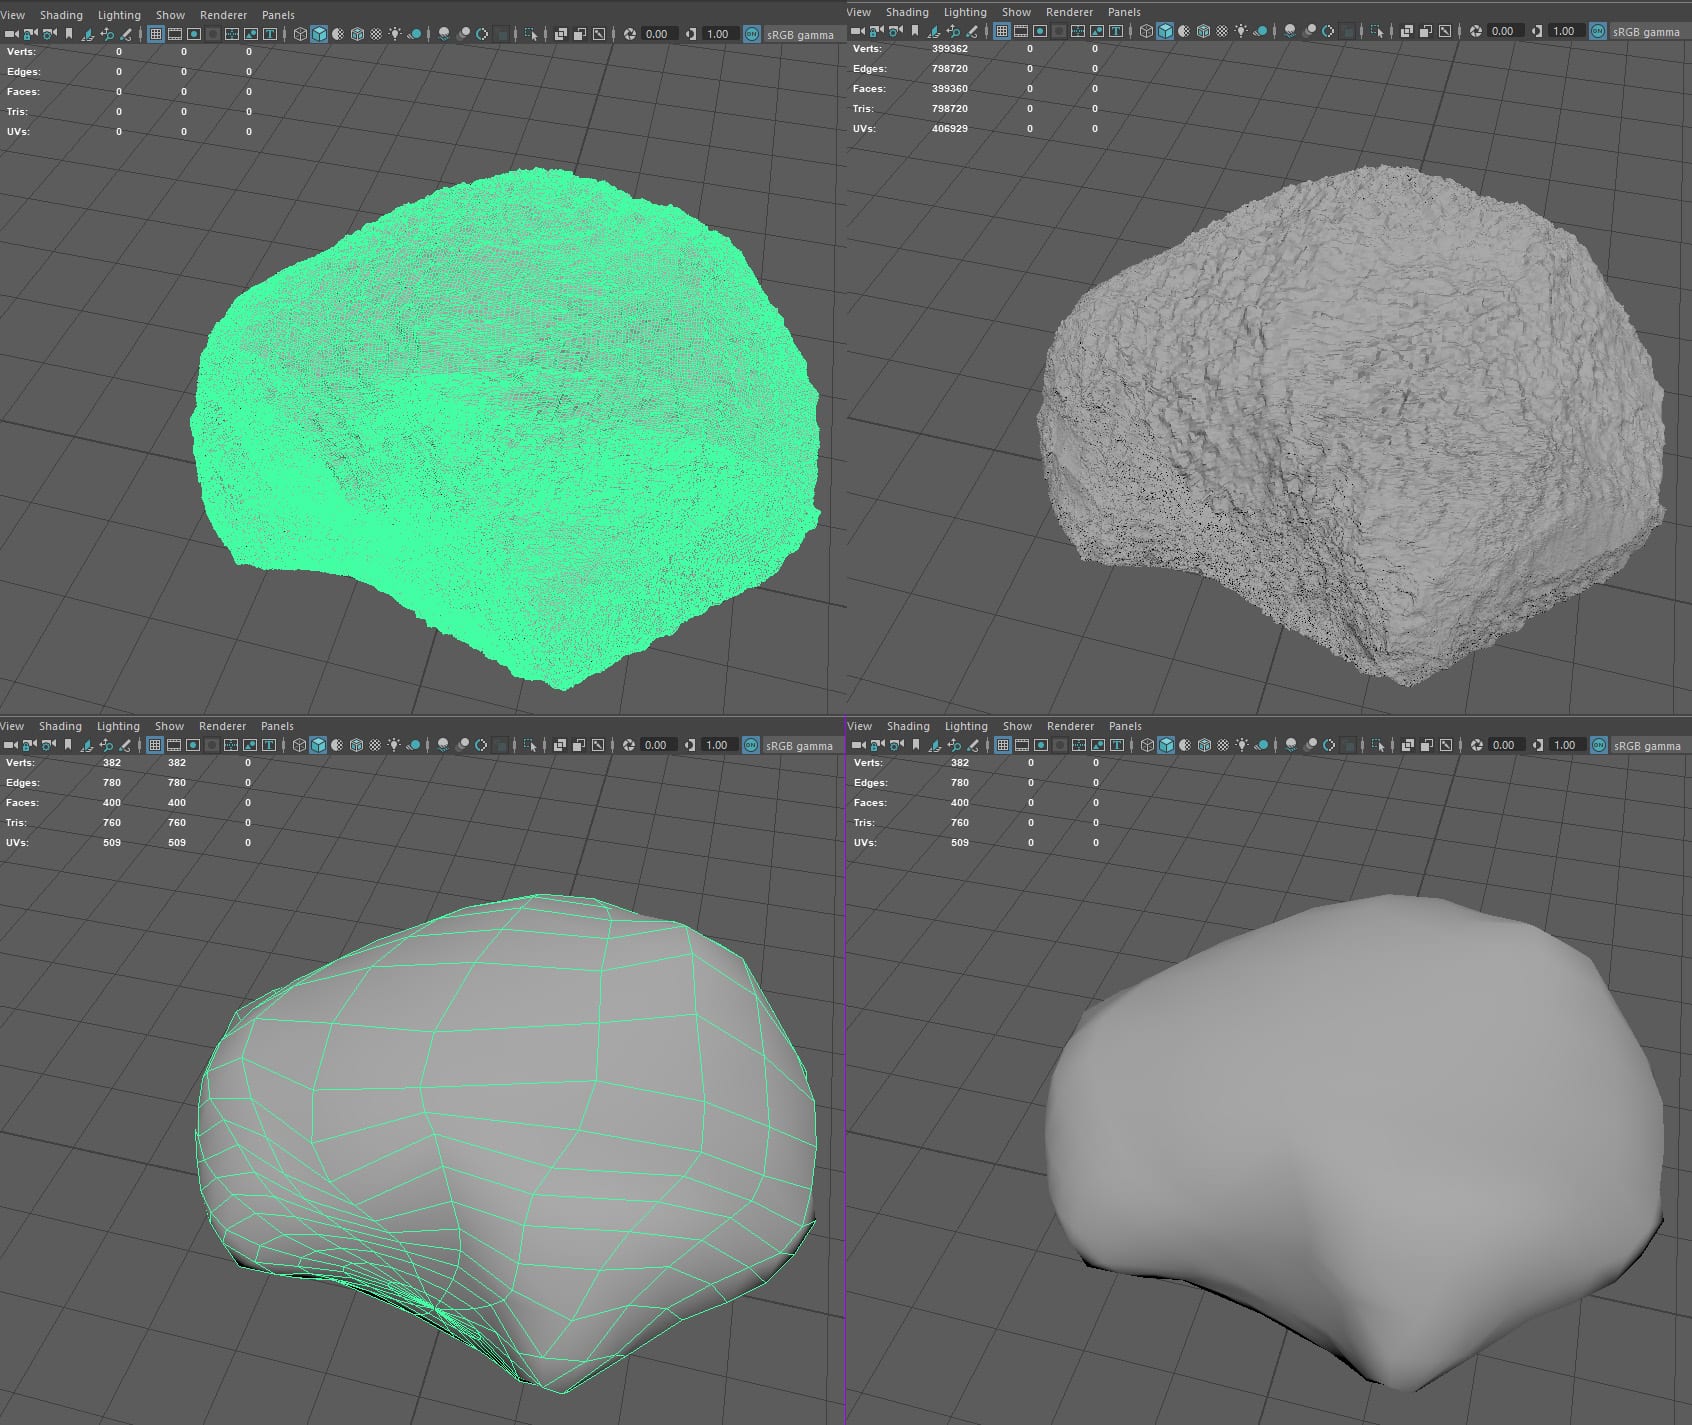
Summary of research- What low and High poly is.

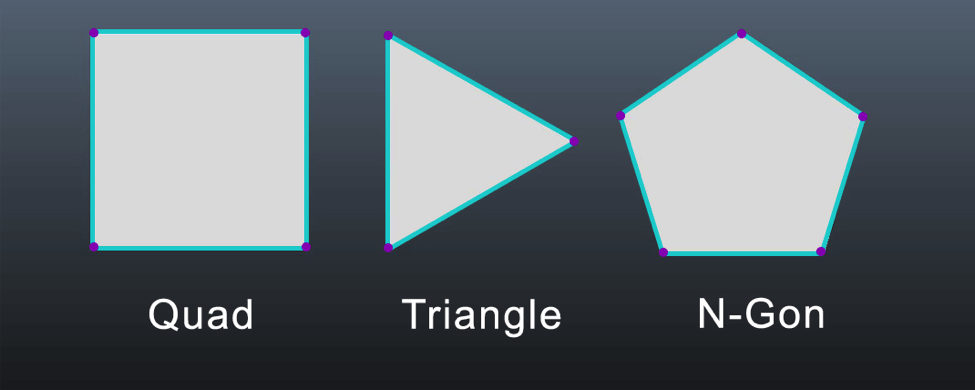
Over the past few days, I have looked into the difference between low and high poly assets. It is simply, how many polygons are used to create the shape. There is no definitive answer as to how many polygons is classed as high or low, but high has no concern for the number of polygons the artist uses, as they are mostly used in films which are rendered, and low has to have as few polygons as possible to use as little power as possible when in game (as these assets are rendered in real time). After a lot of confusion, I finally got to the root of why so many conflicting answers are online about whether to use quads or tris. Tris are used in the game engine, but quads are best for modelling and texturing, as it causes less anomalies. Tris are allowed in modelling (but are a last resort), N-gons (with 5 or more sides) are a no. When assets go into a game engine, quads are easily transformed into tris. Anything above 4 sides has too many ways of being split into tris and this causes issues. (sources 1, 3, 4, 5, and 7)

quad-triangle-n-gon


Summary of research- UV maps, and Retopology

UV maps are a flat deconstruction of the surface of the model. Retopology is the creation of a low poly asset from a high poly asset. It involves creating polygons on the surface of the high poly model, so that the low poly model matches without loosing its shape. Maya has a new workflow which allows you to make your high poly model ‘live’ so you can add your points for your new polygons to the surface, which speeds up workflow. It is possible to not use retopology if you can remove polys manually from a duplicate model. (source 4 and 7)


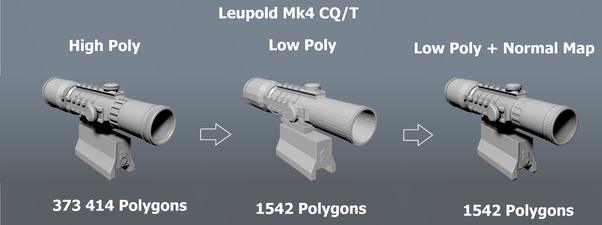
Summary of research- Normal maps and Baking

This is an area I certainly need to explore further. As I understand it, normal maps contain the details of the high poly model, to apply to the low poly model using a map. This speeds up rendering time, as you can lower the poly count and replace with a map. Normal maps are used to create the illusion of depth without increasing processing time. Normal maps are a part of the PBR workflow, and the term ‘Baking’ is the process of creating these maps (as they are hard to hand- paint).

main-qimg-167dbebad9f5f0527315058ac4508f13


Summary of research- Information about LOD versions of assets

This is another area I need to look into deeper. I came across the term ‘LOD version’ while looking at the difference between 3D assets for game and film. LOD versions are different versions of the same objects, with more or less detail in each, so that objects can have a really low poly count, which gets higher as you move closer to the object. I am unsure on whether the same texture map can be used with each, or if you have to create them all separately. This is something I will look into further, although probably not something I will create within my project.


Summary of research- How to display and distribute my own work

In my research, I have discovered ArtStation, which is where I will create my profile and share my assets. It is a well known site for artists to share their work and portfolios. I will use sketchfab to display my assets so that they can be viewed from all angles and so that meshes can be seen. I plan to display my assets in a film setting, as well as a game engine, to demonstrate my knowledge of high and low poly. I will most likely use Blender to render my high poly assets, though I will look into this at a later date. I am still undecided on whether I will use Unity or Unreal, I need to test my workflow with a very basic model. I am considering sharing my assets online for free, and Gumroad was recommended, but I need to investigate other avenues on this.


Sources:

1 – Unity Manual- https://docs.unity3d.com/Manual/HOWTO-ArtAssetBestPracticeGuide.html

2- Creative Bloq- http://www.creativebloq.com/3d/create-3d-models-game-engines-5-pro-tips-41411267

3- Laura Oravakangas Thesis- https://www.theseus.fi/bitstream/handle/10024/101918/Thesis_LauraOravakangas.pdf?sequence=1

4- Juuso Salminen Thesis- https://theseus.fi/bitstream/handle/10024/123967/Salminen_Juuso.pdf?sequence=1&isAllowed=y

5- Unity- https://forum.unity.com/threads/modeling-are-triangles-bad.270051/

6- Nick Pettit- http://blog.teamtreehouse.com/asset-workflow-game-art-3d-modeling

7- Aidy Burrows- https://cgmasters.net/free-tutorials/what-to-know-when-creating-next-gen-assets/

8- Nuts- https://www.nutscomputergraphics.com/en/maya-vs-cinema-4d-to-orient-yourself-choosing-the-right-software/

Last week, The root of my idea…

Last week, I refined what I want to focus my media project on, by working out what I want to do after I graduate. I would like to work as a 3D environmental artist in the games industry. I found an article by Sierra Mon on Artstation- ‘Everything you need to know to become a game environment artist.’ In the article, Robert Hodri, Senior 3D/ Environment artist, explains what you need to know to pursue a career as an in game environment artist. He explains that your portfolio should consist of a few high quality assets, with high and low poly examples, and an environment, so for this project, I am focusing on the asset half, to build my skills and knowledge of the programmes before moving on to creating a whole environment.